Containment Bay S1T7 (Extreme)
An up-to-date reference would be Nukemaru’s guide:
English
■2x stacks     ■ Green + purple spread
    MT         ↑↑↑↑↑↑
 H+ST▲DPS            ▲
■ Adds phase     D1 MT(P)ST D2
 MT→Big ST→Small  H1    H2
 Kill: SBSSBS        D3 D4
■ Towers
 With colour buffs:West→T/H East→DPS
 Without buffs:West→MT   East→ST
■ Tethers:Take green tethers, stack top-left
■ Da'at spread    ■ Earthshakers
 ←D1  D2→     West→Healer
 ←MT ST→      East→DPS
 ←H1 H2→
 ←D3  D4→
Japanese
■2連頭割り     ■緑と紫マーカー散開
    MT          ↑↑↑↑↑↑
 H+ST▲DPS          ▲
■雑魚フェーズ     D1 MT 紫 ST D2
 MT→大 ST→小   H1    H2
 小大小小大小      D3 D4
■ 塔処理優先
 バフある時:西→T/H 東→DPS
 ノーバフ時:西→MT   東→ST
■ 緑線処理:線取って左上に集合
■ダアト散開     ■ アースセイカー
 ←D1  D2→     西→ヒーラー
 ←MT ST→      東→DPS
 ←H1 H2→
 ←D3  D4→
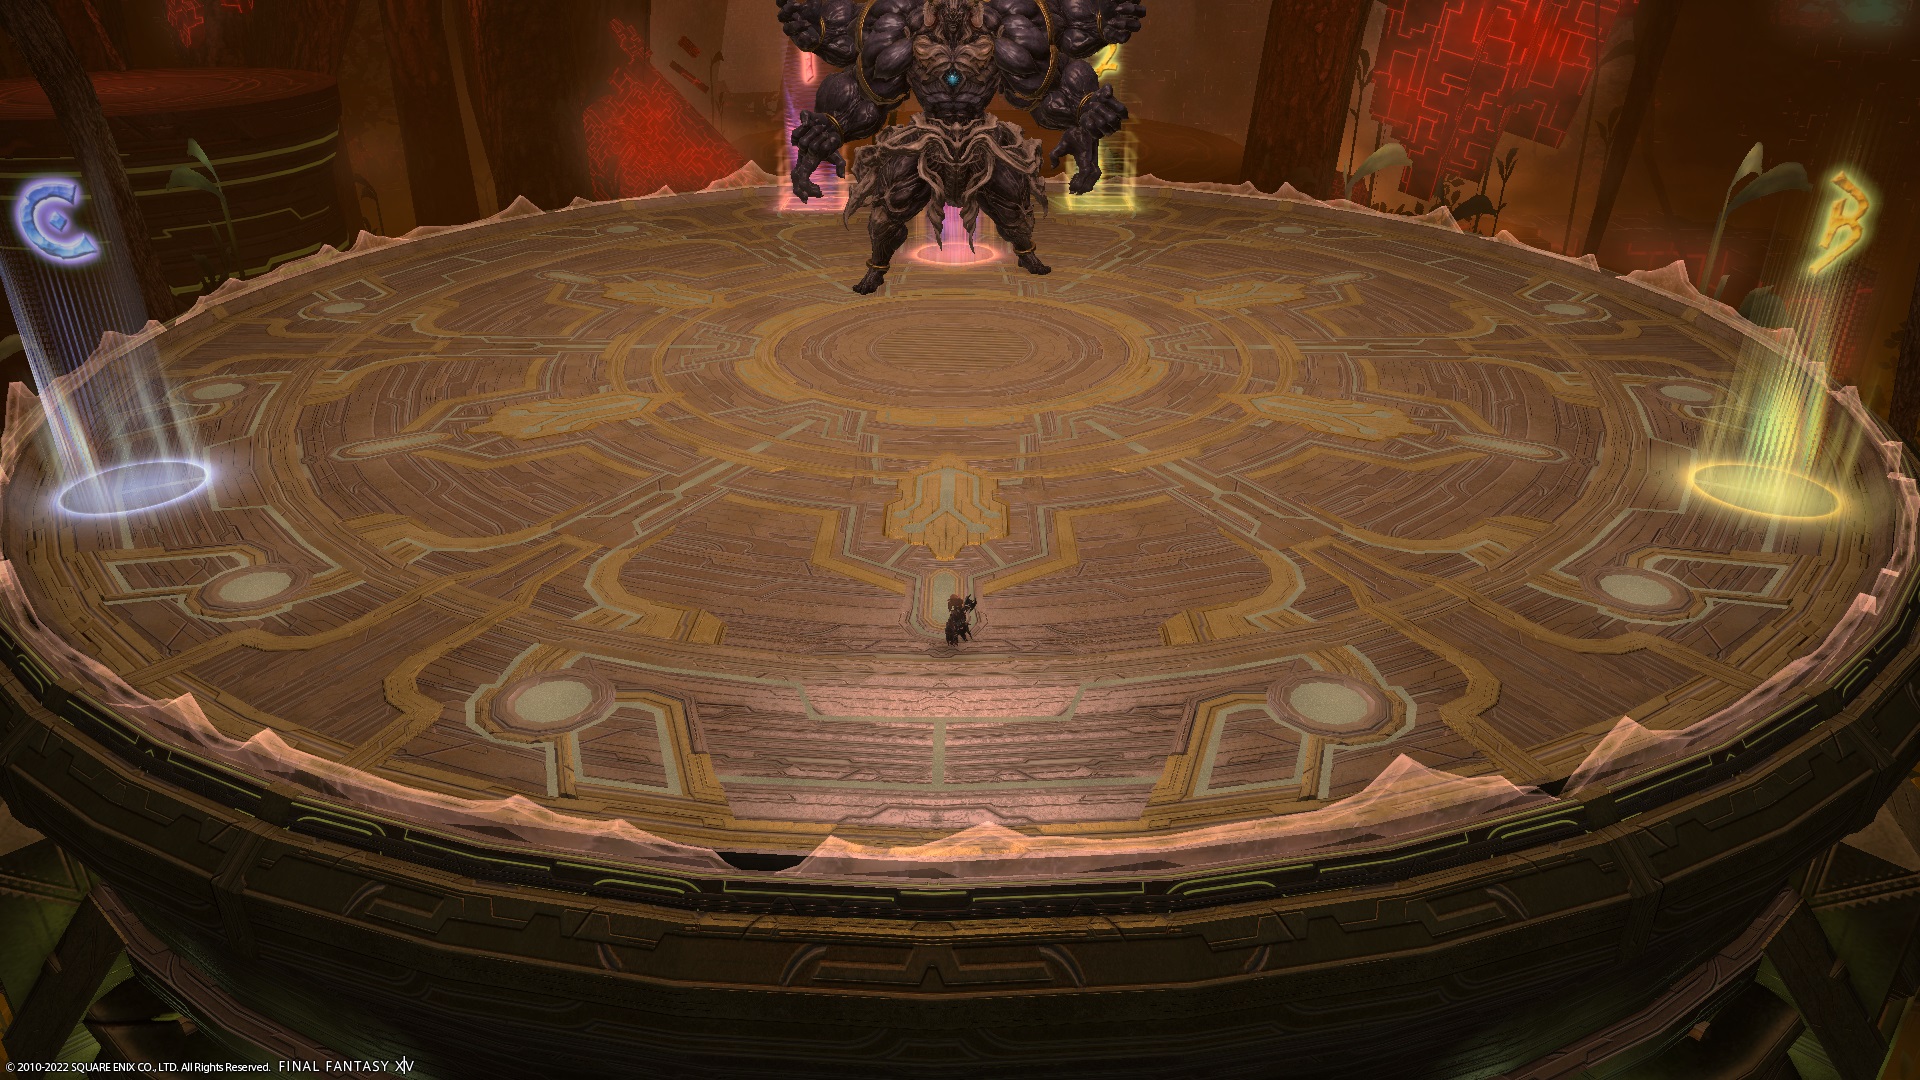
Markers
The B and C markers were used for Earthshakers as they are proximity damage in Sephirot EX.
Earthshakers have been changed in the Unreal version of the fight, and are not proximity damage.
A: Party stack at the start of the triple-knockback sequence.B: DPS Earthshaker (not really needed for Unreal)C: Healer Earthshaker (not really needed for Unreal)1: Green players stack (with tethers).2: Orange players stack.
XIVLauncher WaymarkPresetPlugin positions
{
  "Name":"Sephirot EX",
  "MapID":135,
  "A":{"X":0.0,"Y":0.074,"Z":-9.75,"ID":0,"Active":true},
  "B":{"X":16.0,"Y":0.052,"Z":9.0,"ID":1,"Active":true},
  "C":{"X":-16.0,"Y":0.052,"Z":9.0,"ID":2,"Active":true},
  "D":{"X":0.0,"Y":0.0,"Z":0.0,"ID":3,"Active":false},
  "One":{"X":-5.35,"Y":0.052,"Z":-17.5,"ID":4,"Active":true},
  "Two":{"X":5.35,"Y":0.052,"Z":-17.5,"ID":5,"Active":true},
  "Three":{"X":0.0,"Y":0.0,"Z":0.0,"ID":6,"Active":false},
  "Four":{"X":0.0,"Y":0.0,"Z":0.0,"ID":7,"Active":false}
}