Run: Dynamis (Omega Version)
Run: Dynamis (Omega Version) can be split down into the following three blocks:
1. Dodging AoEs
Unlike Delta and Sigma, Omega-F will stay on the arena during this part of Run Dynamis (Omega Version).
The party will need to dodge two Omega-M/F AoE combos (like Party Synergy from P2) in combination with Diffuse Wave Cannon from Omega Reconfigured in the center.
To help, observe that there will always be a safe spot along a cardinal direction, either near, middle, or far away from the center.
- Look at Omega-F. If Omega-F is blade-legs, the safe spot will always be along a cardinal direction near the center.
- Look at Omega-M. If Omega-M is holding a sword, move away from Omega-M.
- Otherwise, Omega-M is holding a shield. Move towards Omega-M.
- Otherwise, Omega-F is holding a staff, and a safe spot will always be along a cardinal direction towards Omega-M.
- Look at Omega-M. If Omega-M is holding a sword, move far from the center.
- Otherwise, Omega-M is holding a shield. Move mid-way from the center.
| M Sword, F Blade-legs (Away from M, near) 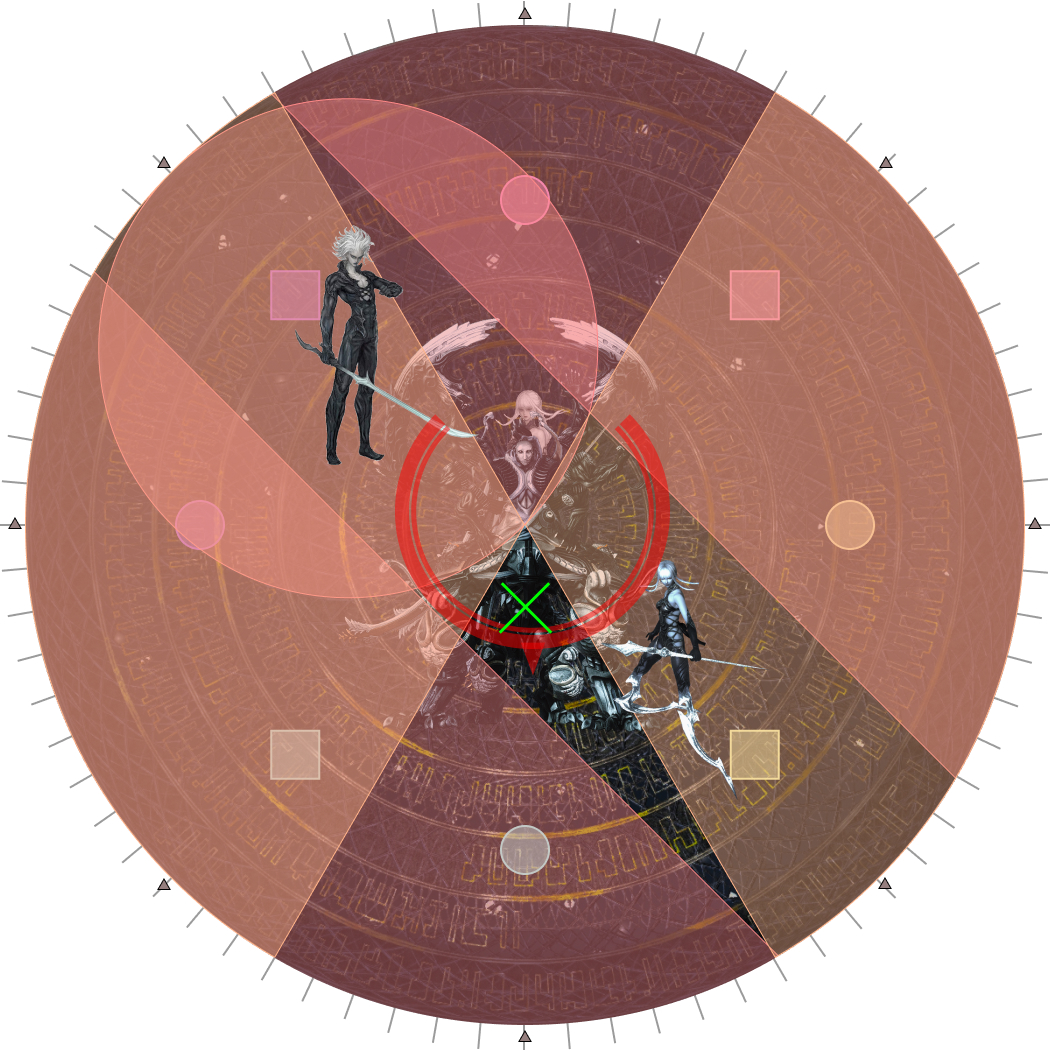 | M Shield, F Blade-legs (Towards M, near)  |
| M Sword, F Staff (Towards M, far) 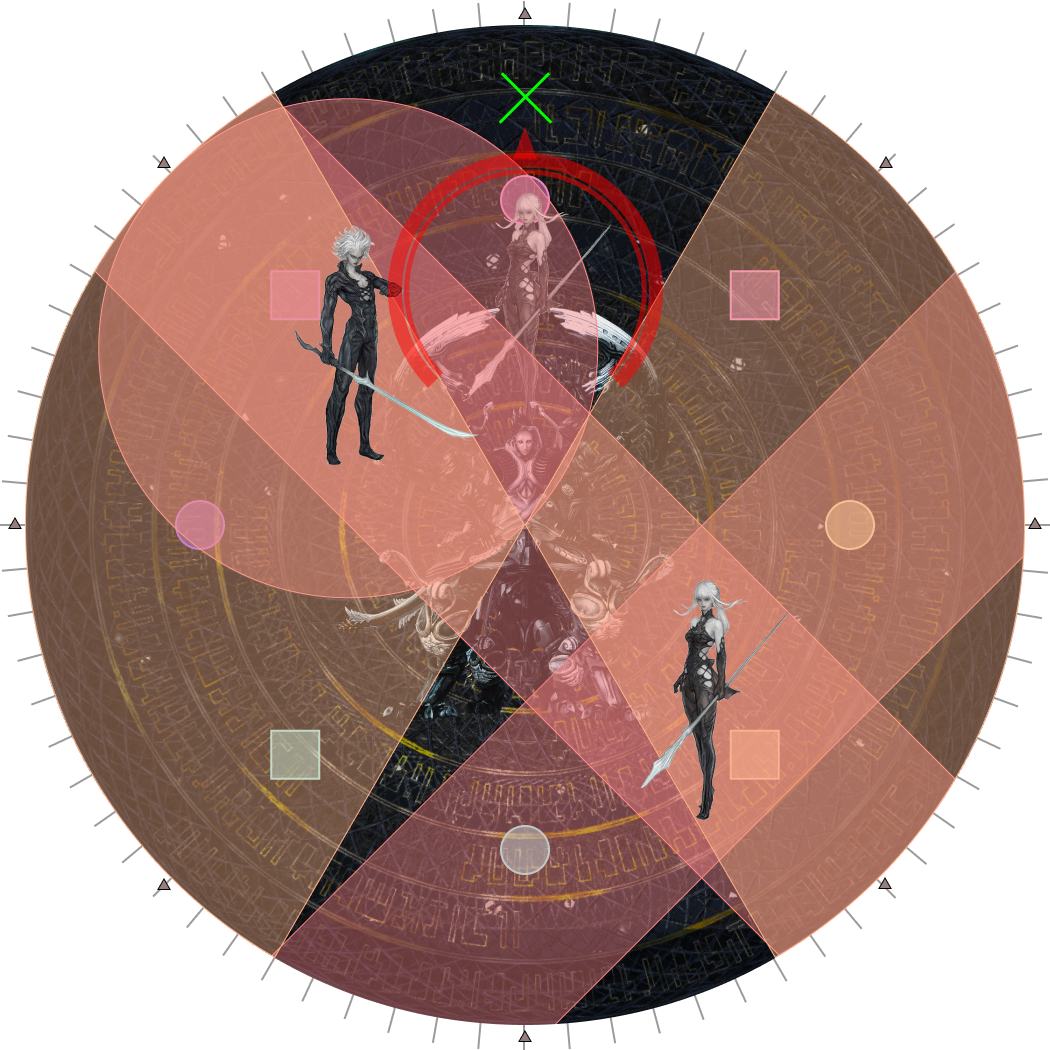 | M Shield, F Staff (Towards M, middle) 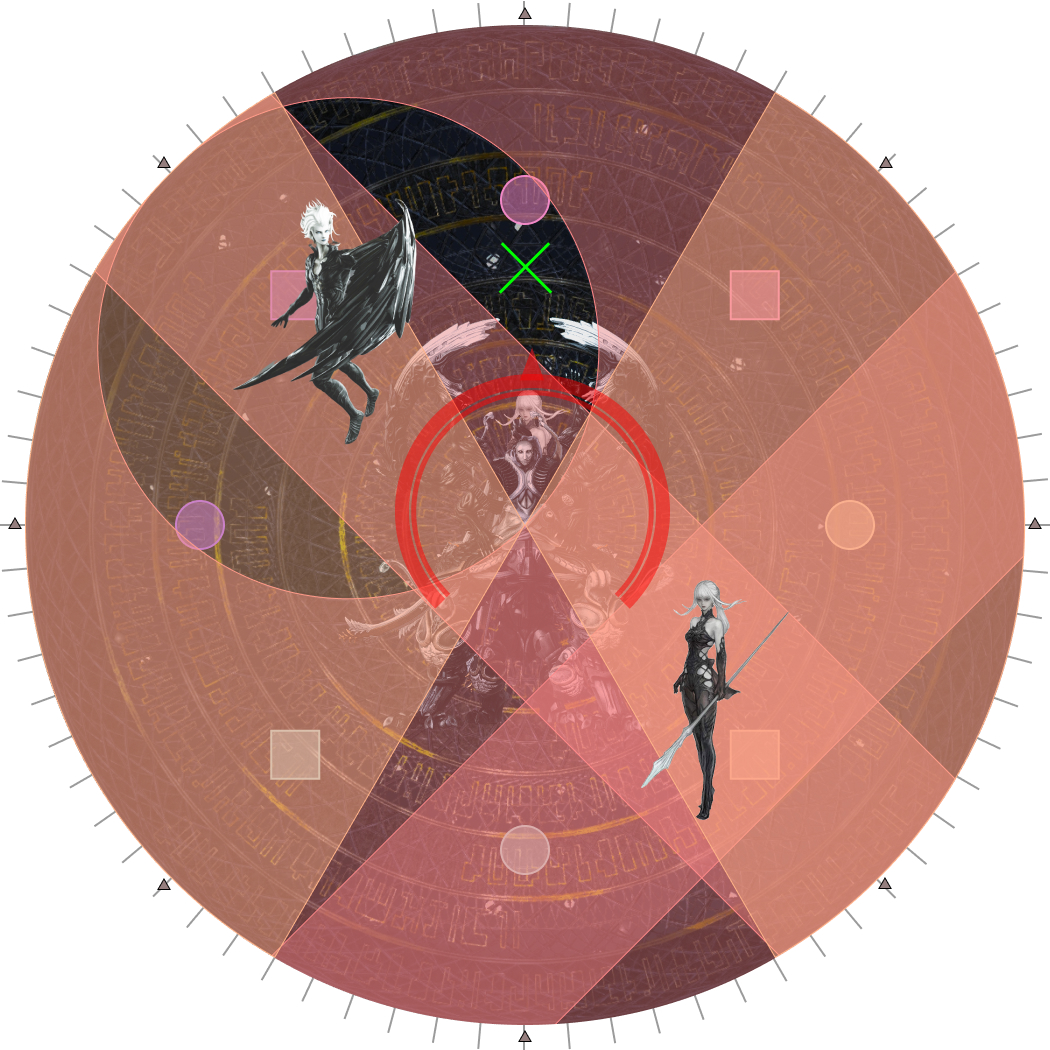 |
For the first set of Omega-M/F AoEs, this process will leave two possible safe spots to choose from.
When Final Omega’s lights glow in the center, one of the two cardinal directions will be eliminated, leaving only one cardinal to go to.
The safe spot for the second set of AoEs will always be 90 degrees from the first safe spot (determine whether you’re going to move cw or ccw, and whether to go near, mid, or far).
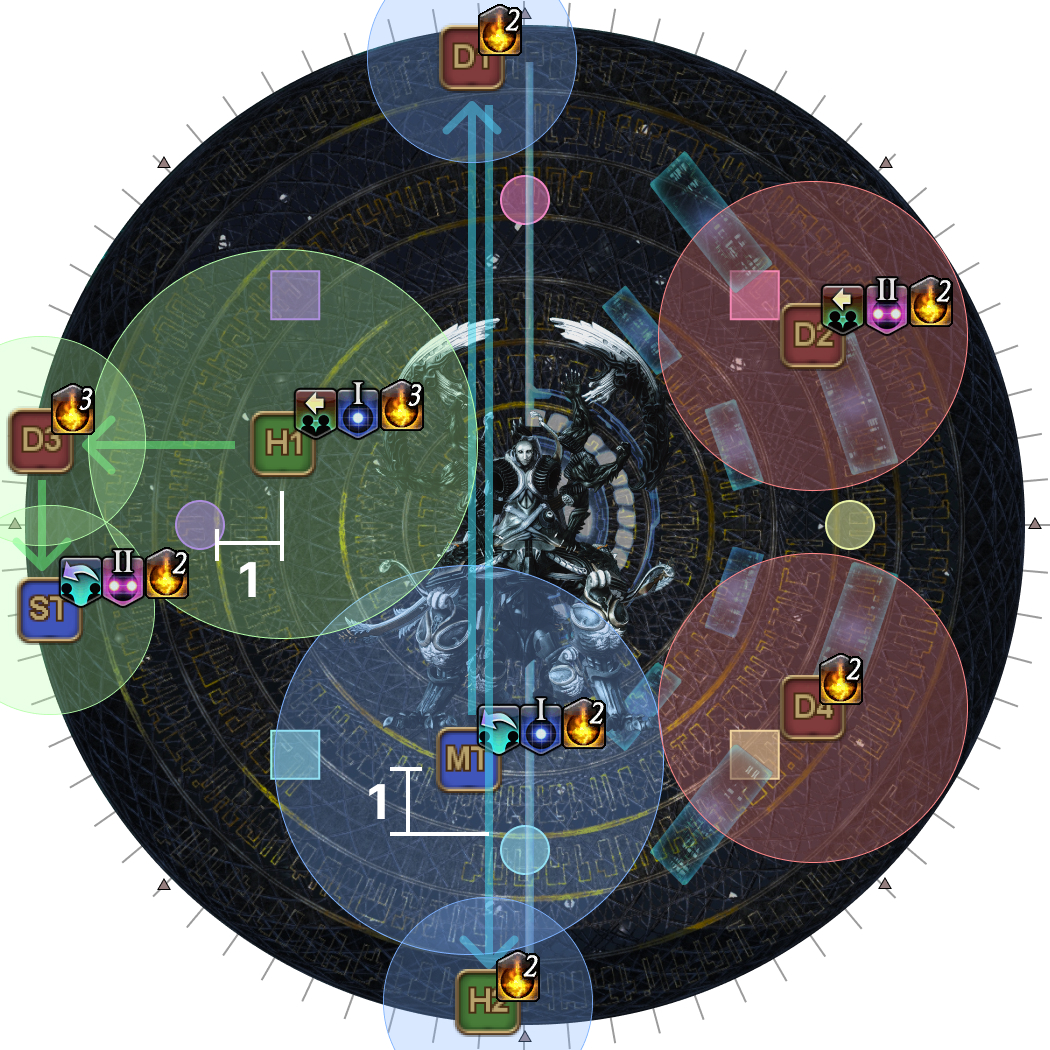
| 1. Final Omega will spawn in the center. An Omega-M/F pair will spawn at opposite intercardinal positions, again with a random Sword/Shield and Staff/Blade-Legs combo. (In this example, the safe spot will be near the middle, either North or West.) |  |
| 2. A second Omega-M/F pair will spawn at the remaining two intercardinal positions, again with a random Sword/Shield and Staff/Blade-Legs combo. | 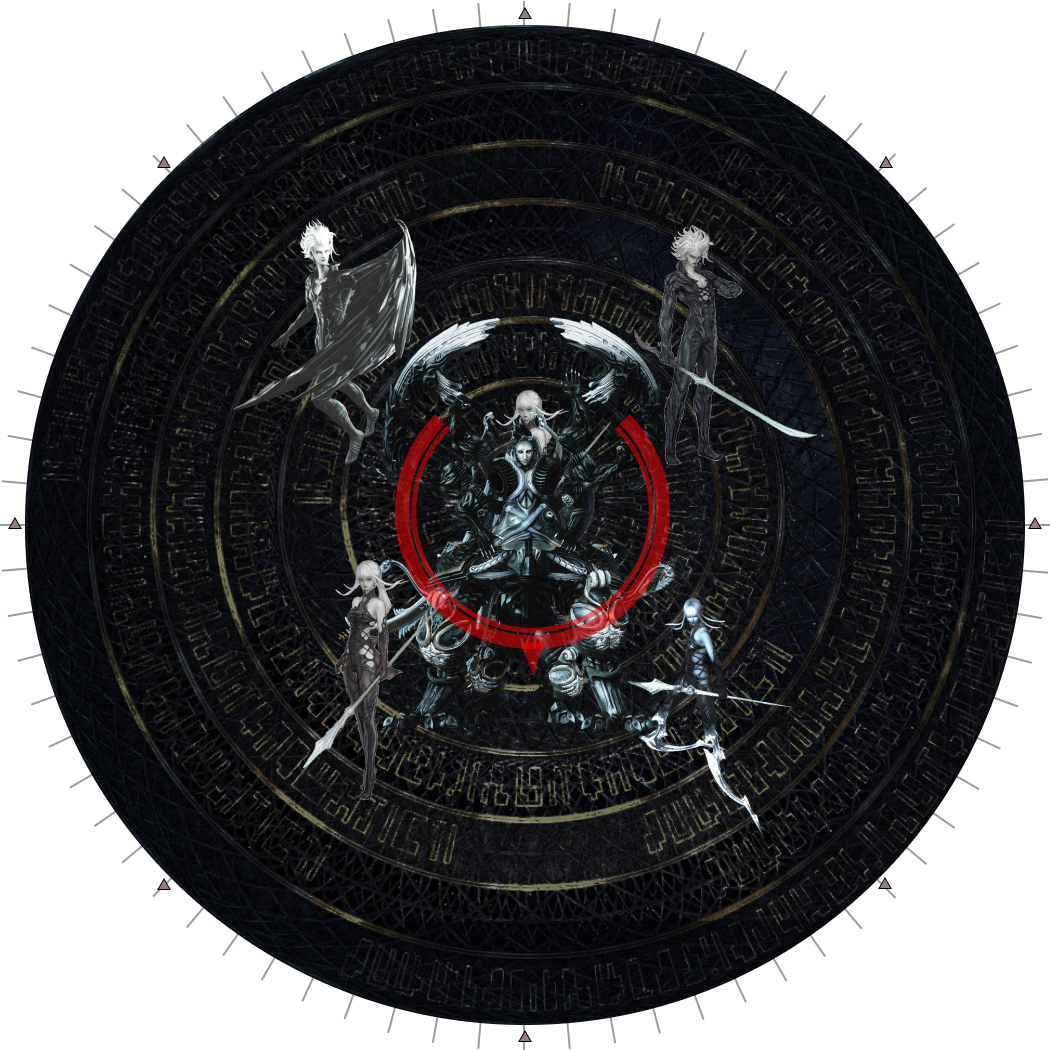 |
| 3. Omega Reconfigured will channel a Diffuse Wave Cannon ("lights") at two opposite cardinal directions, eliminating one of the two safe directions identified earlier. This must be resolved together with the first Omega-M/F pair's AoEs. Use this time to identify the next safe spot. (In this example, the Diffuse Wave Cannon eliminates the West safe spot, leaving only North, near the center.) | 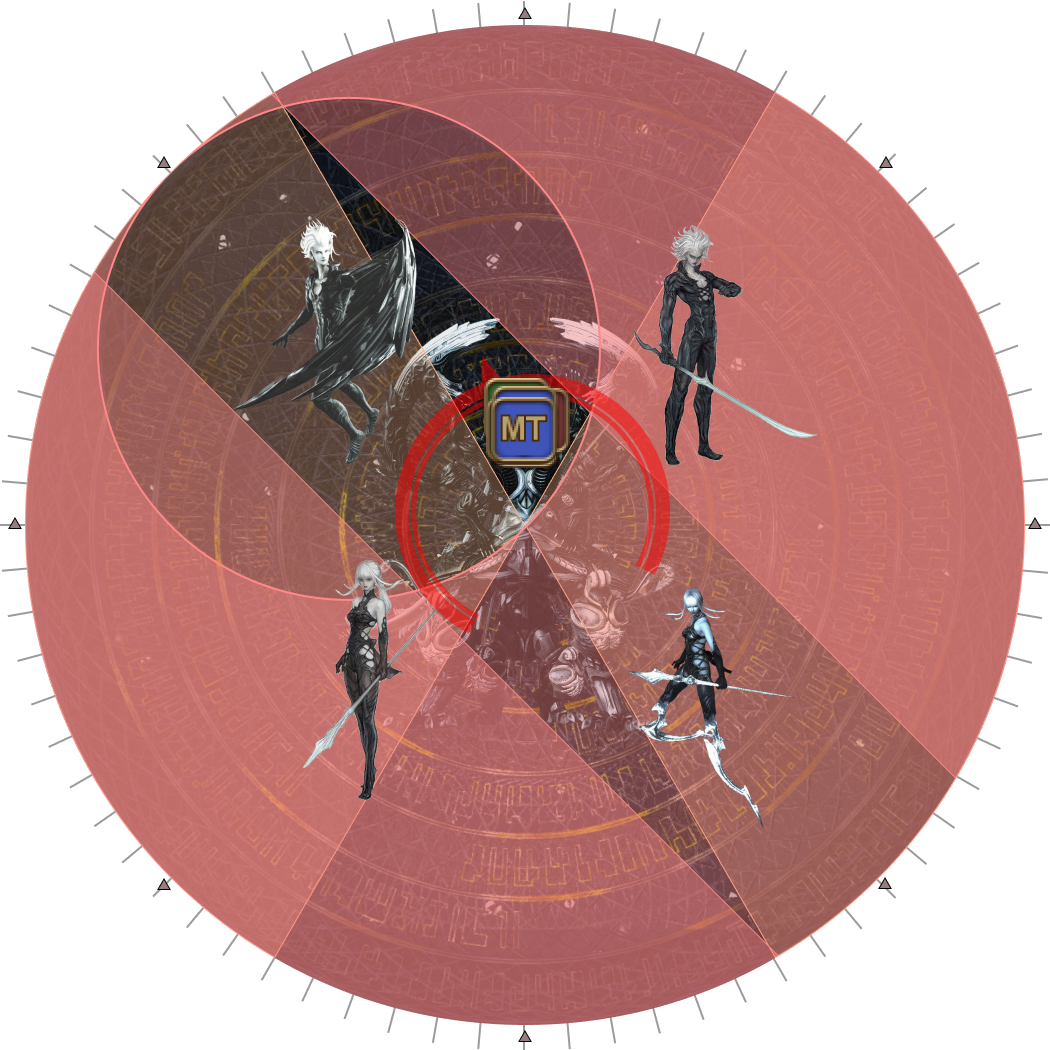 |
| 4. The Omega Reconfigured will then repeat this at the other two cardinal directions, which must be resolved together with the second Omega-M/F pair's AoEs. Sprint is highly recommended if the party needs to run from, or run to a far position. (In this example, the party rotates 90 degrees clockwise, and goes far from the center.) | 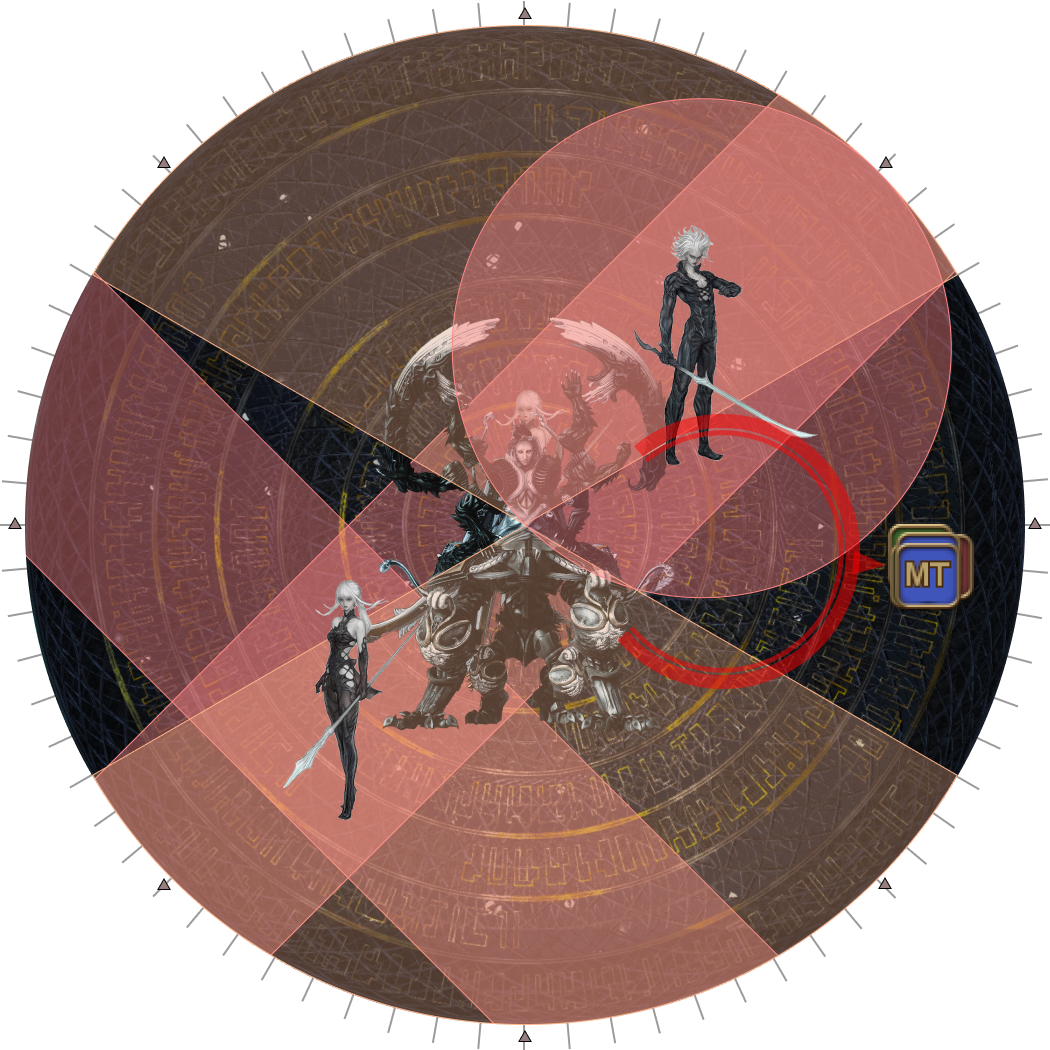 |
Note: Pay attention to the MT, as Omega-F will continue to auto-attack during this whole sequence, and tanks cannot use major cooldowns to mitigate the damage because of the upcoming Solar Ray.
Nukemaru has compiled a collection of clips which may help:
2. First Hello, World with Monitors
| 5. Omega will then present a single monitor set either West or East, to be resolved together with the first set of Hello, World debuffs. Omega's monitors will be taken by two players with two Dynamis stacks. However:
The remaining six players will resolve the Hello, World debuffs. In this example, H1, D2, D3, and D4 each have two stacks of Dynamis.
Once everyone has taken up their positions, the player with Hello, Near World can move a little bit away from the player with Hello, Distant World to ensure Hello, Near World jumps to the correct players. Just like before, these two players should be standing one ring in front of the markers (towards the center of the arena). | 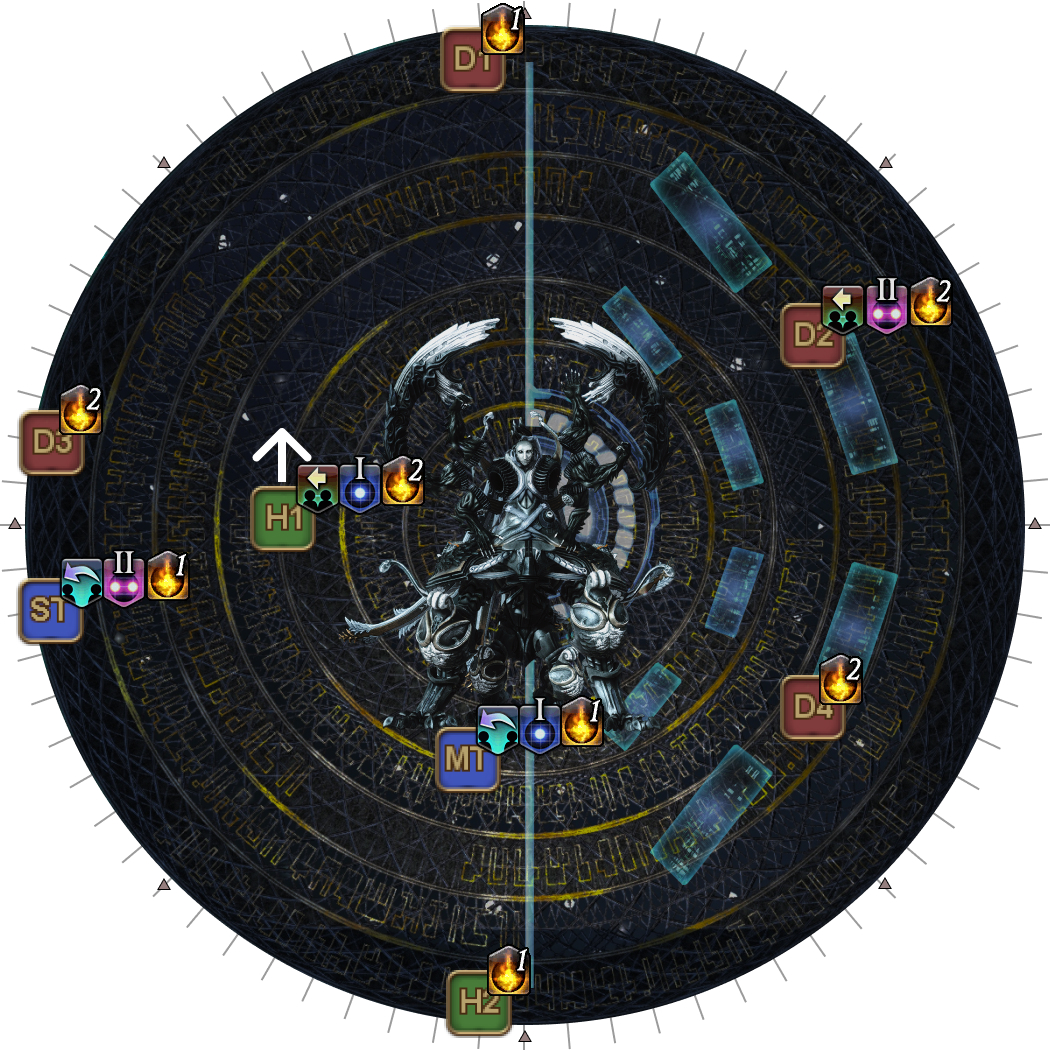 |
| 6. Hello, World debuffs resolve together with Oversampled Wave Cannon. Done correctly, there should be:
|  |
3. Second Hello, World with tethers
| 7. Omega then spawns at a random cardinal position, and tethers to two players. These are the same tethers from P1.
Again, the player with Hello, Near World can move away from the player with Hello, Distant World to ensure Hello, Near World jumps to the correct players. Both Hello, World players should stand one ring in front of the markers (towards the center of the arena). | 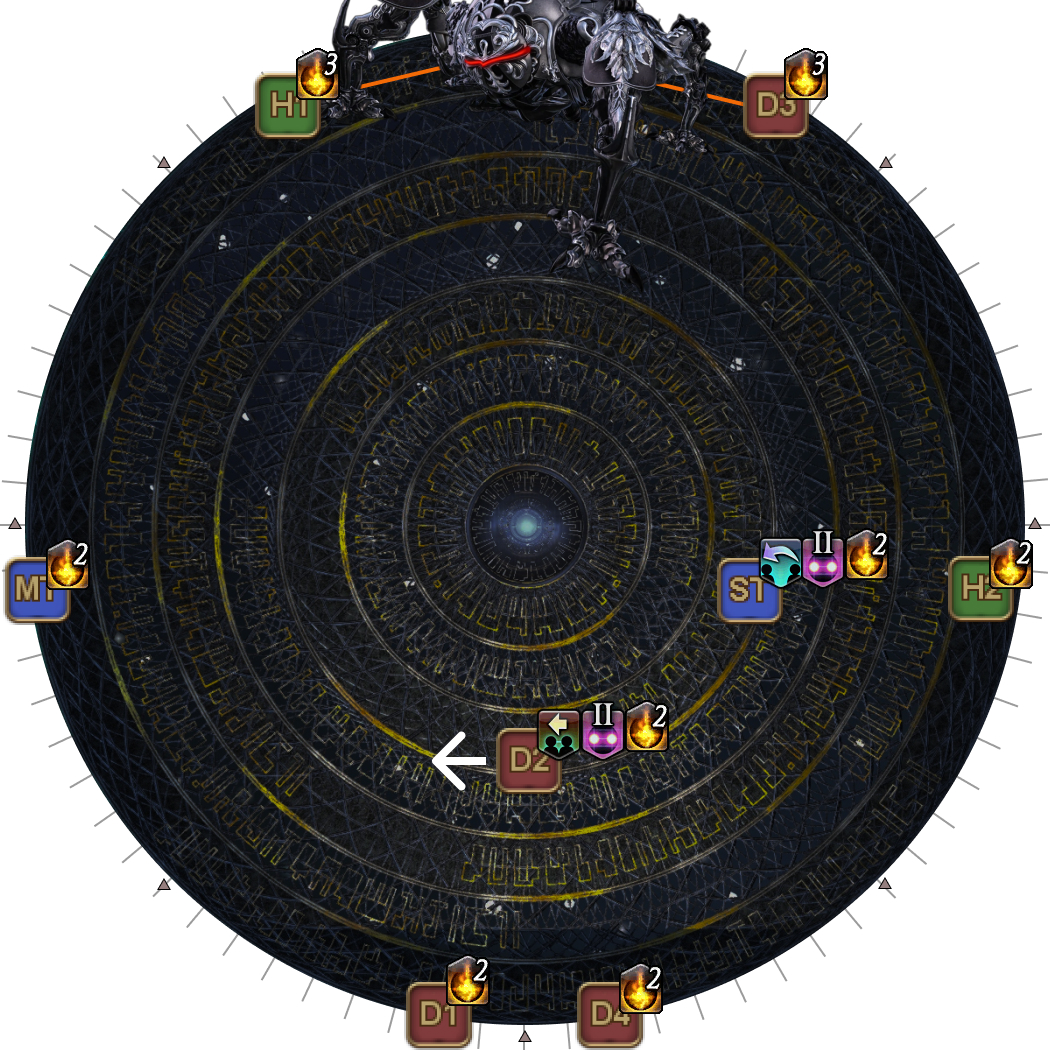 |
| 8. The two tethers resolve. The players that had the tethers and the Hello, Distant World player can adjust a little bit after the tethers resolve just to be sure the Hello, Distant World debuffs resolve correctly. | 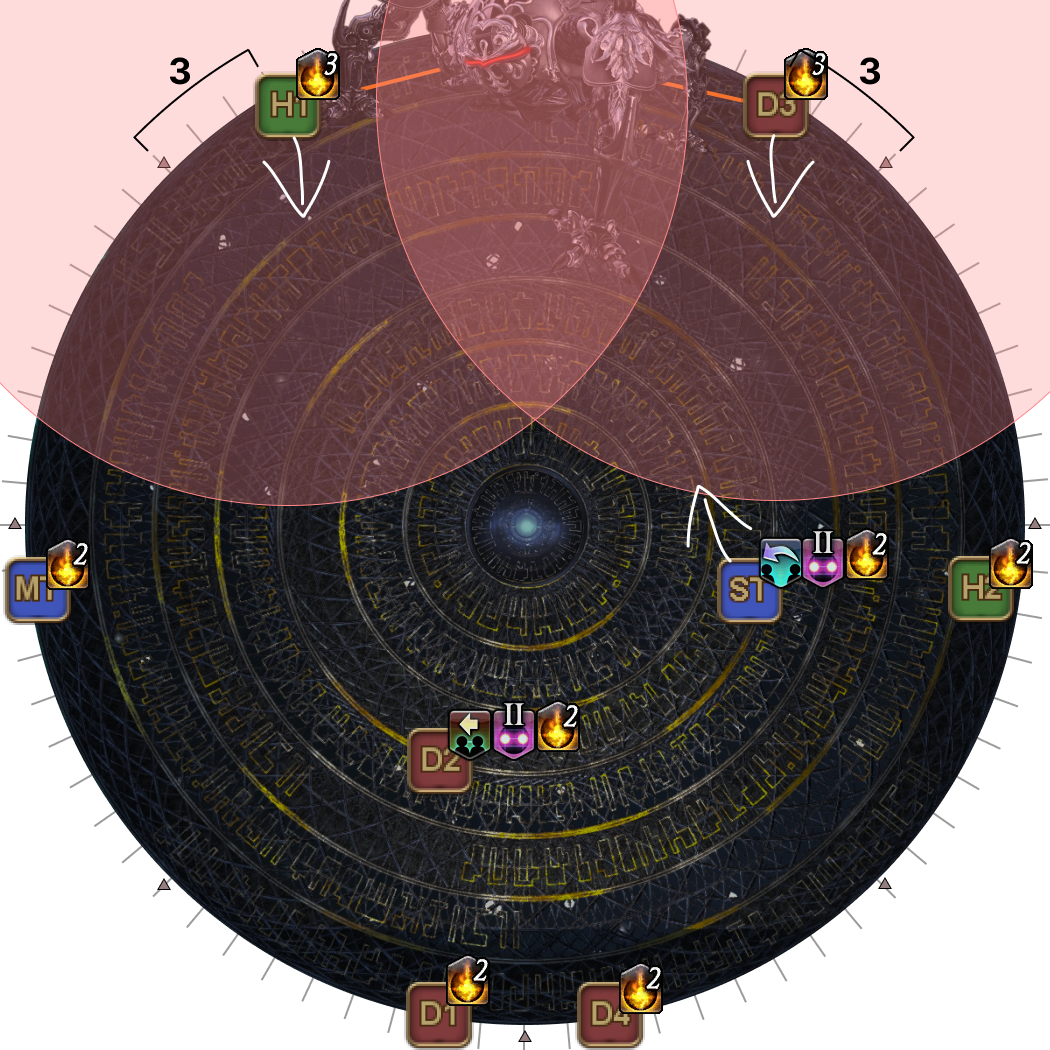 |
| 9. Shortly after, the Hello, World debuffs resolve. All players should now have three Dynamis stacks each. | 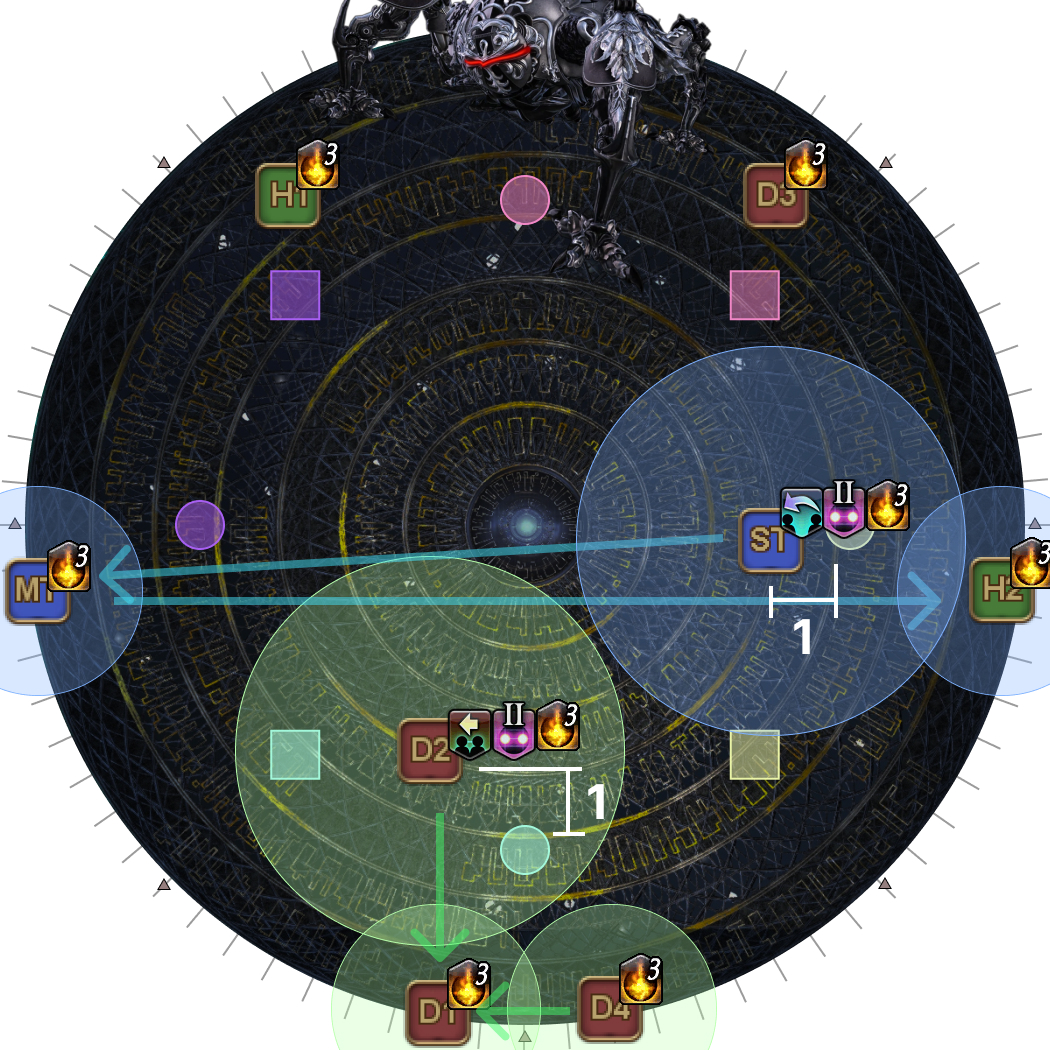 |
Omega-F then does one more set of Solar Ray tankbusters before casting Blind Faith.
Like Blue Screen, Omega-F must be brought to under 20% HP by the end of Blind Faith’s cast to proceed onto the final phase of the fight.