The Minstrel’s Ballad: Hydaelyn’s Call
PF uses Hamkatsu’s strat (yes, this is the downtime Chakrams strat)
English
【Spread/Crystallize (Ice)】
  D3 MT D4
  H1 ▲ H2
  D1 ST D2
【Crystallize (Water)】
 West:MTD1D3H1 East:STD2D4H2
【Crystallize (Earth)/Shining Saber】
  Stack under boss
【Adds phase】
Start west, destroy glowing crystals cw/ccw
Adds: MT:W→NE ST:E→SE
【Infralateral Arc】
 From safe side: Healers → DPS → Tanks
【Chakrams】
 Inner: MTH1D1D2 Outer: STH2D3D4
Japanese
【基本散開/クリスタライズ氷】
  D3 MT D4
  H1 ▲ H2
  D1 ST D2
【クリスタライズ水】
 西:MTD1D3H1 東:STD2D4H2
【クリスタライズ土/シャイニングセイバー】
  ボス下
【雑魚フェーズ】
西から光ってる方を時計or反時計
誘導 MT:西→北東 ST:東→南東
【ラテラルアーク】
T:安置の対角 DPS:北 H:安置
【パルヘリオン3本目内外処理】
ボス付近:MTH1D1D2 外周:STH2D3D4
Markers
ACare for orientation.Ais important because the boss will teleport a little north of the center during the fight.12are for water stacks - have the MT bring the boss center and faceAright after the final Lightwaves to avoid confusion during the party stack→light party stack sequence.
BD34 are often omitted, but they demarcate the safe spots behind the crystals during Lightwaves. 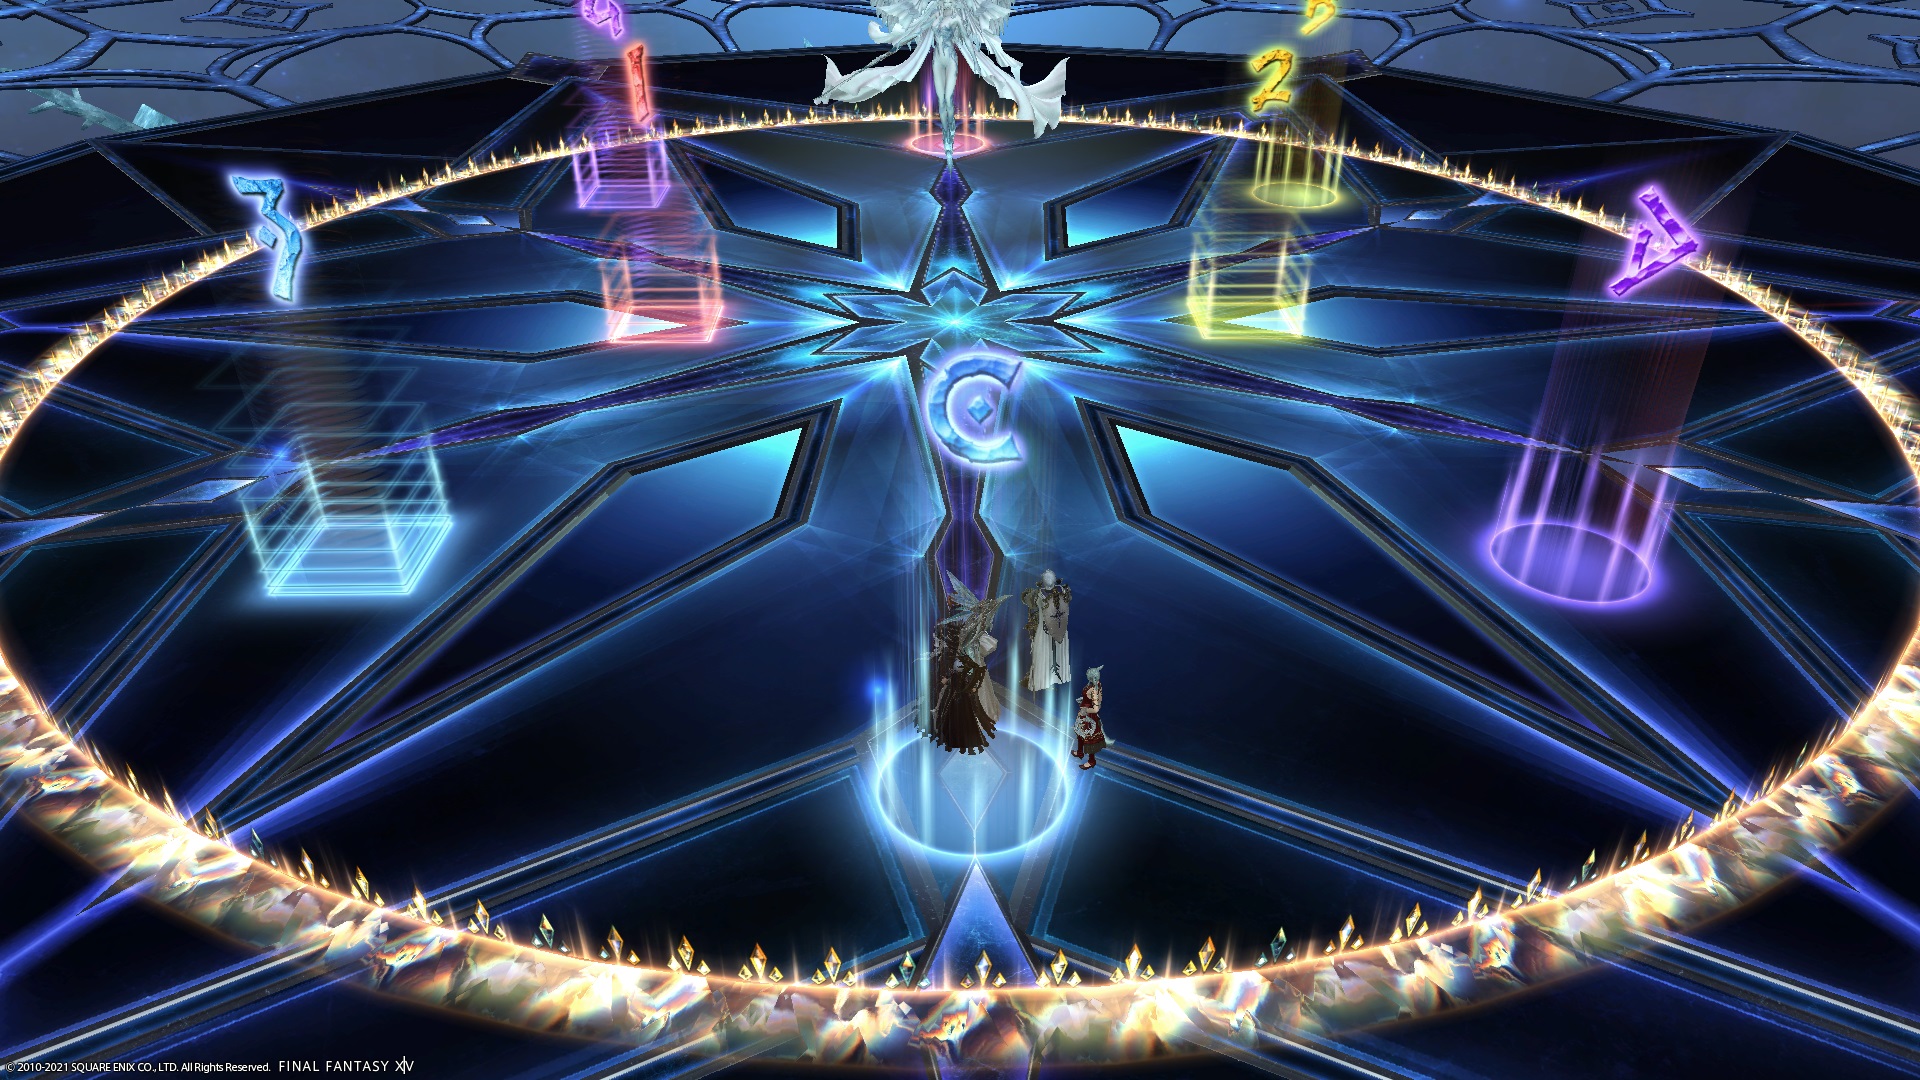
XIVLauncher WaymarkPresetPlugin positions
{
  "Name":"Hydaelyn EX",
  "MapID":791,
  "A":{"X":100.0,"Y":0.0,"Z":82.0,"ID":0,"Active":true},
  "B":{"X":112.728,"Y":0.0,"Z":87.272,"ID":1,"Active":true},
  "C":{"X":100.0,"Y":0.0,"Z":118.0,"ID":2,"Active":true},
  "D":{"X":87.272,"Y":0.0,"Z":87.272,"ID":3,"Active":true},
  "One":{"X":93.5,"Y":0.0,"Z":100.0,"ID":4,"Active":true},
  "Two":{"X":106.5,"Y":0.0,"Z":100.0,"ID":5,"Active":true},
  "Three":{"X":112.728,"Y":0.0,"Z":112.728,"ID":6,"Active":true},
  "Four":{"X":87.272,"Y":0.0,"Z":112.728,"ID":7,"Active":true}
}