Run: Dynamis (Sigma Version)
Run: Dynamis (Sigma Version) can be broken down into three parts:
1. Wave Cannons and Lasers
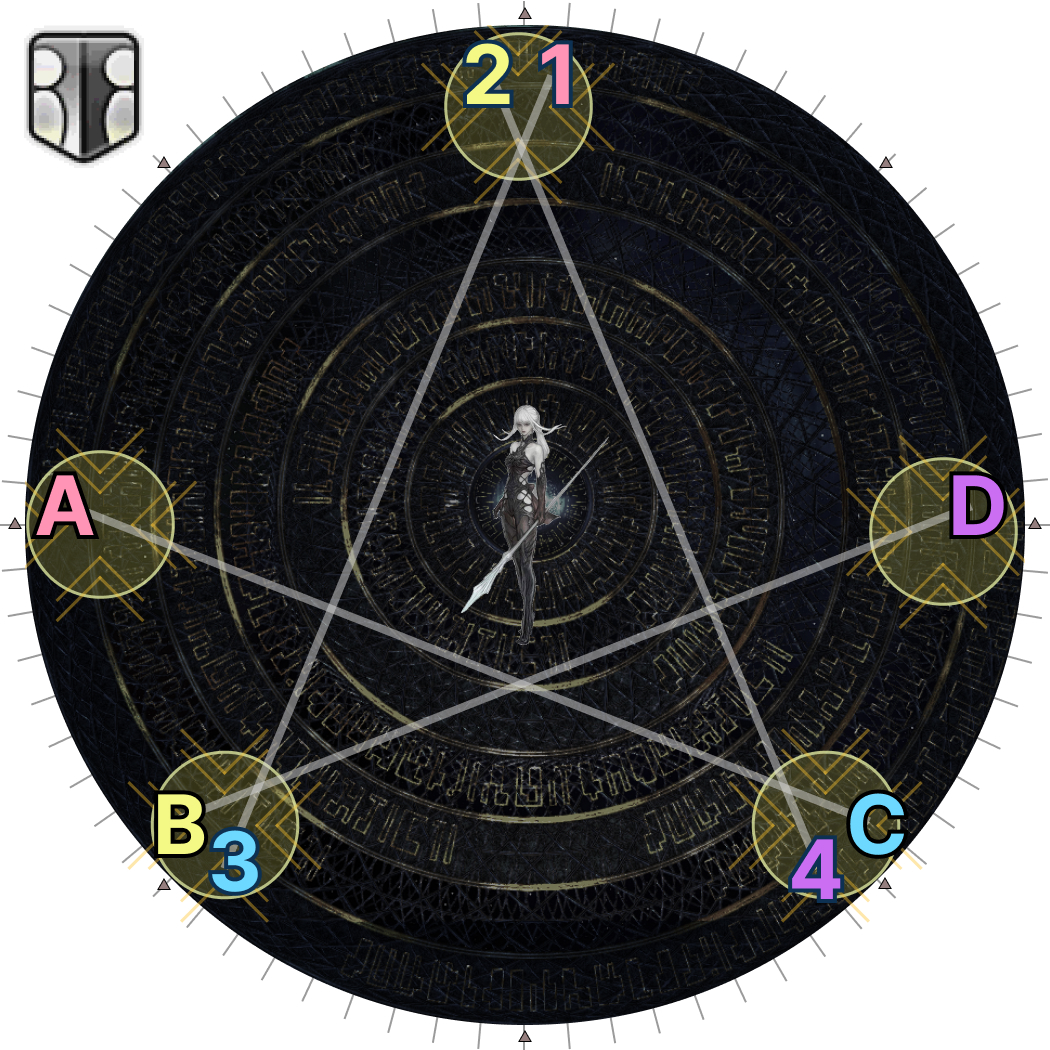
| 1. Two arms will spawn followed by Omega-M. The arms will always spawn SW and SE relative to Omega-M, who will serve as "north" for this part. Line up in two columns of four between the two arms.
(All tethers should be horizontal) This establishes where "North" will be for this first part of the mechanic. | 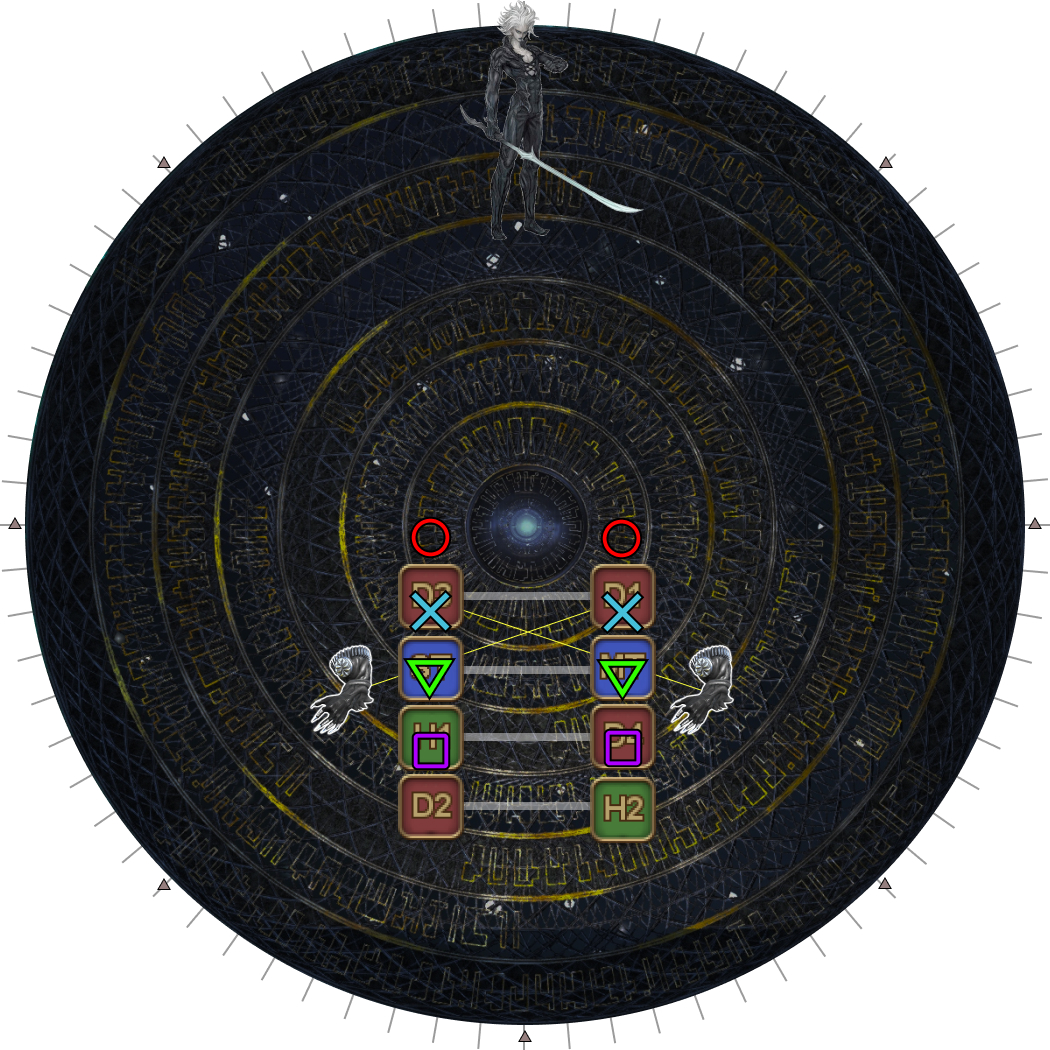 |
| 2. Six random players get marked, with each tether pair getting at least one marker. As a result, two pairs will have two markers, and two pairs will only have one marker. Identify whether your pair has one or two markers, and whether it is the top or bottom pair (compared to the other pair with the same number of markers). In this example:
|  |
3. Spread out based on your positions.
Spread apart as needed to satisfy Mid or Remote Glitch.
|  |
| 4. Lasers and Wave Cannons resolve. Note which waymark you are standing besides for the next section. | 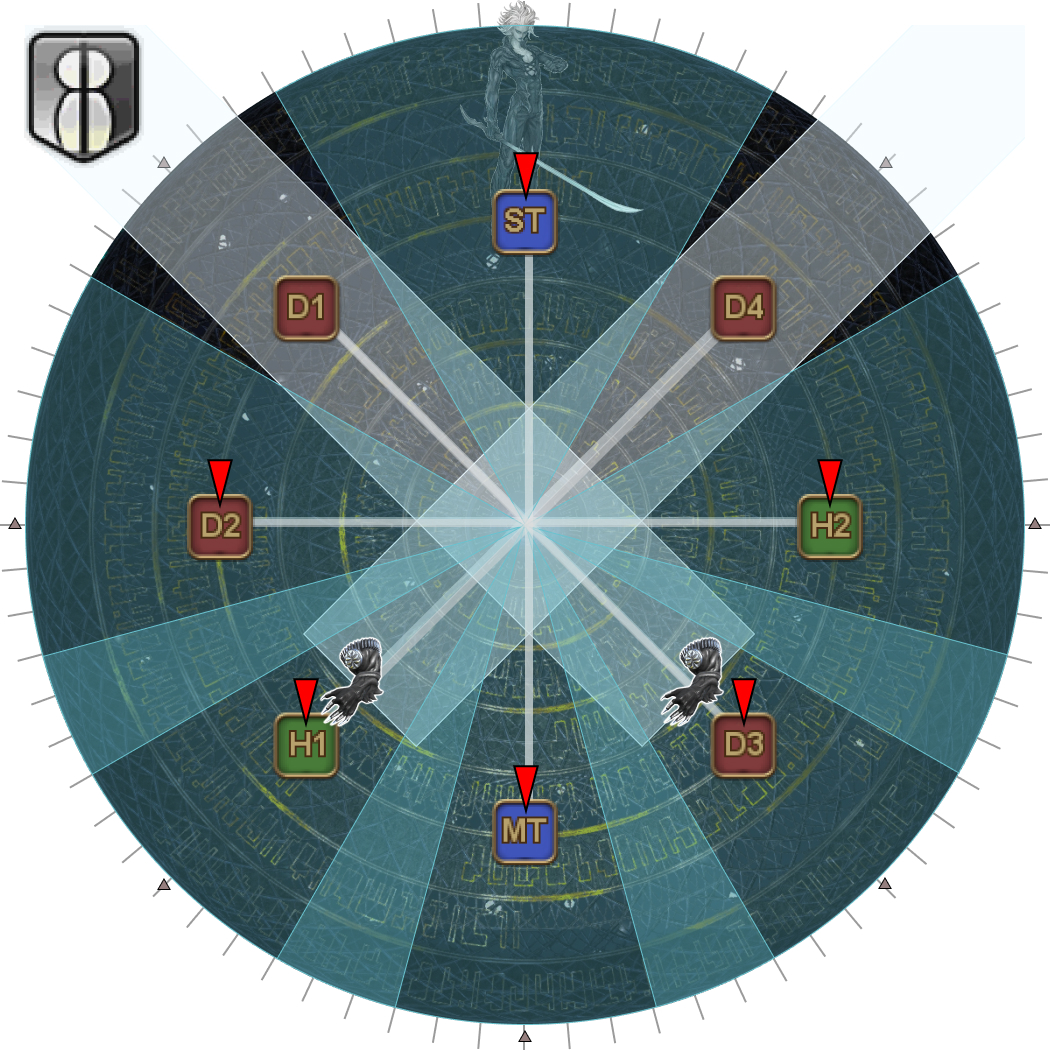 |
2. Knockback Towers
The next step are the towers with Mid/Remote Glitch.
There are several strategies to deal with this, but we have chosen to go with a strategy that assigns players to towers based on the waymarks they were standing at at the end of the previous section.
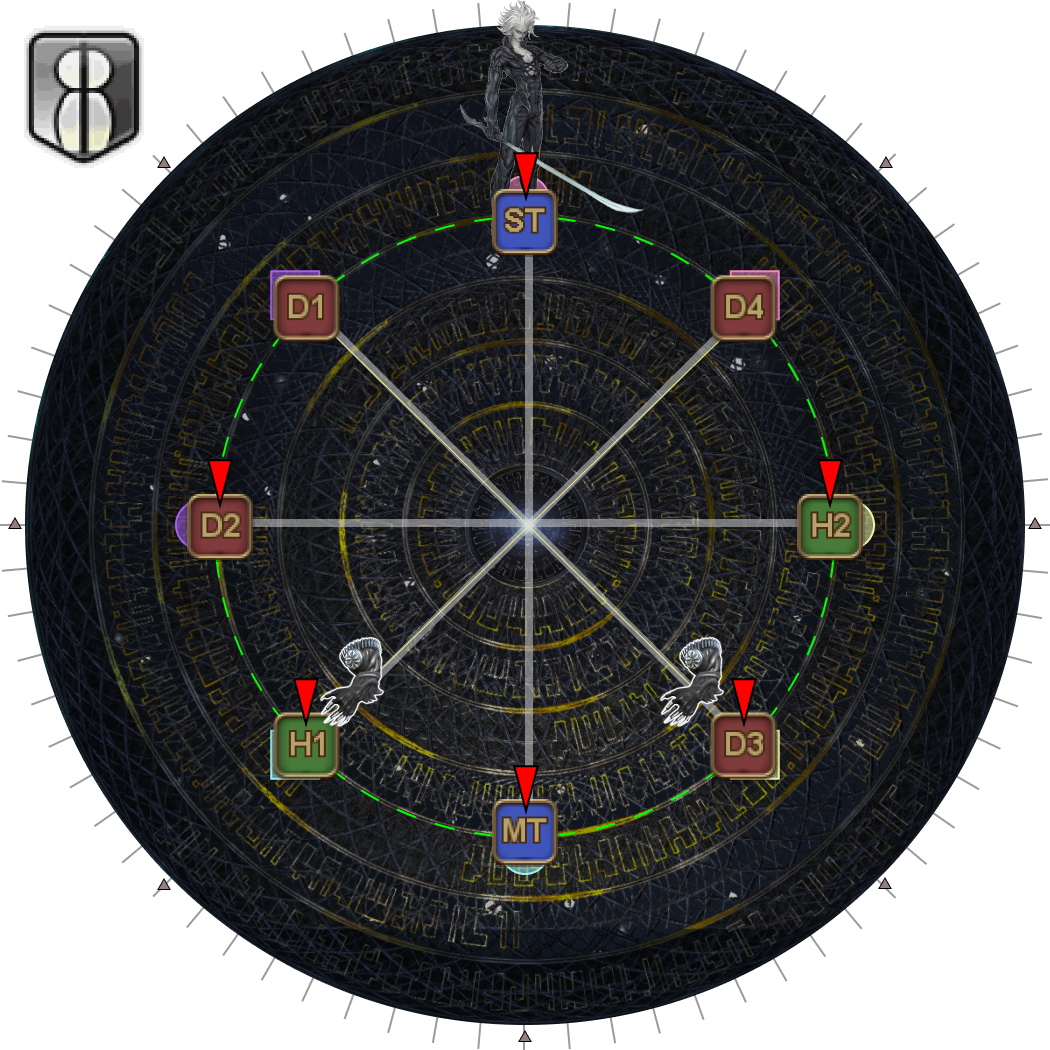
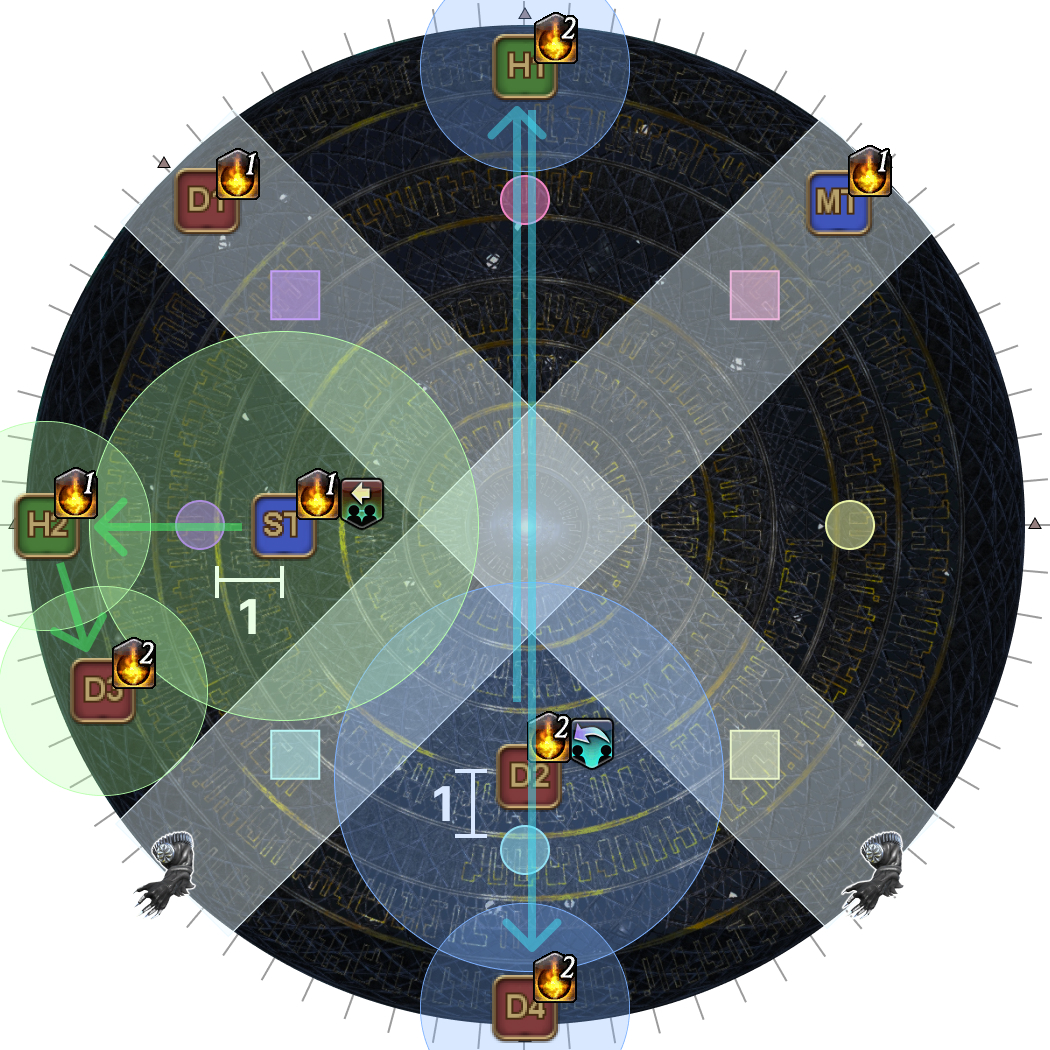
| 5. Towers will spawn along the edge of the arena.
The towers will spawn in a fixed formation, oriented either to where Omega-M was standing before, or directly opposite. Identify your tower. | |
 |  |
| 7. Move towards the center, and position yourself in front of your tower. Omega-F then appears in the center of the arena, and knocks all players back towards the edge.
| |
3. Hello, World (Sigma)
From here, we finally reach the last part of Run, Dynamis: Sigma which is the part where we resolve Hello, World.
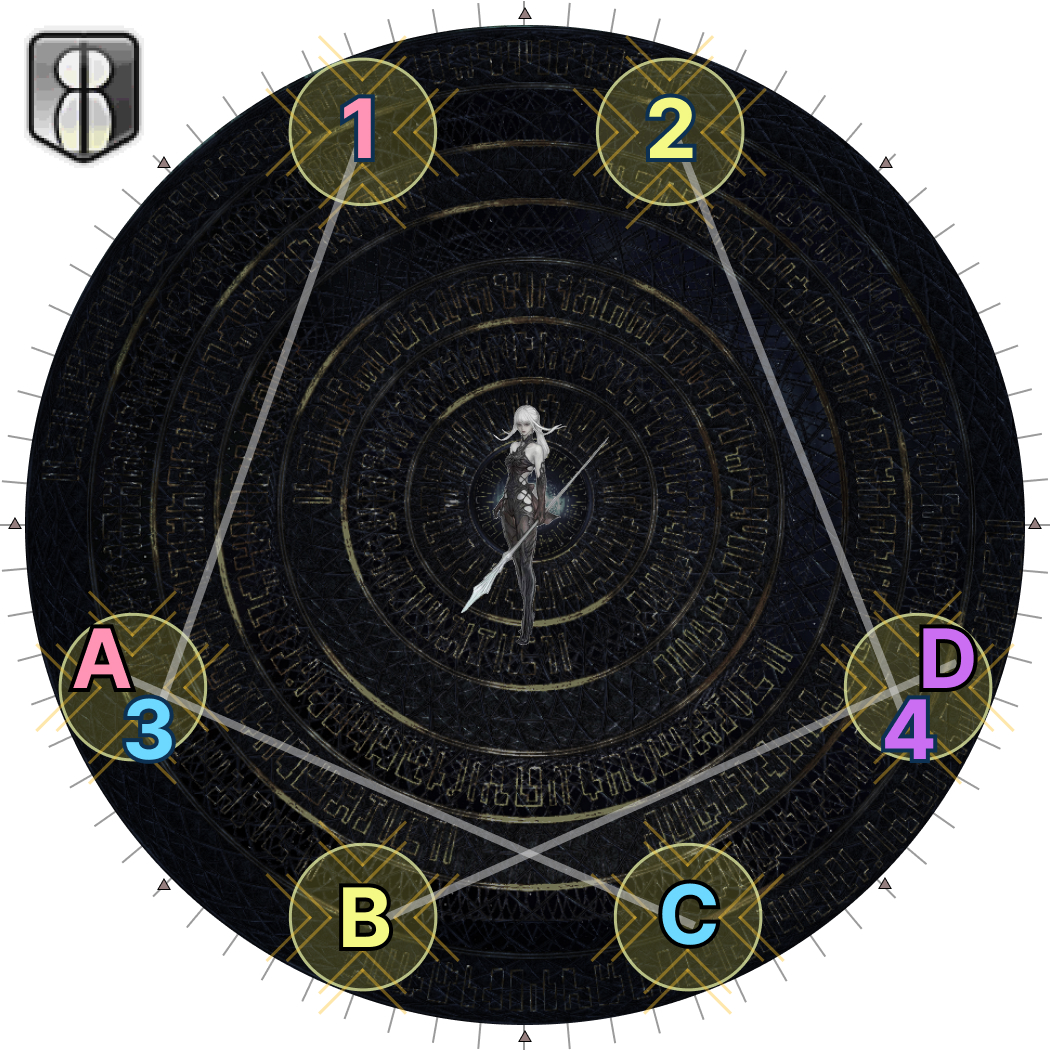
| 7. Omega-F will spawn at any cardinal or intercardinal position, with two Right Arm Units opposite, and Omega's Rear Power Unit in the center. Use Omega-F as North, and note whether Omega-F is in her blade-legs stance or not. Identify three players to go to Omega-F with the following priority: Omega-F: H1 MT ST D1 D2 D3 D4 H2 :Opposite
The remaining five players go opposite Omega-F. | 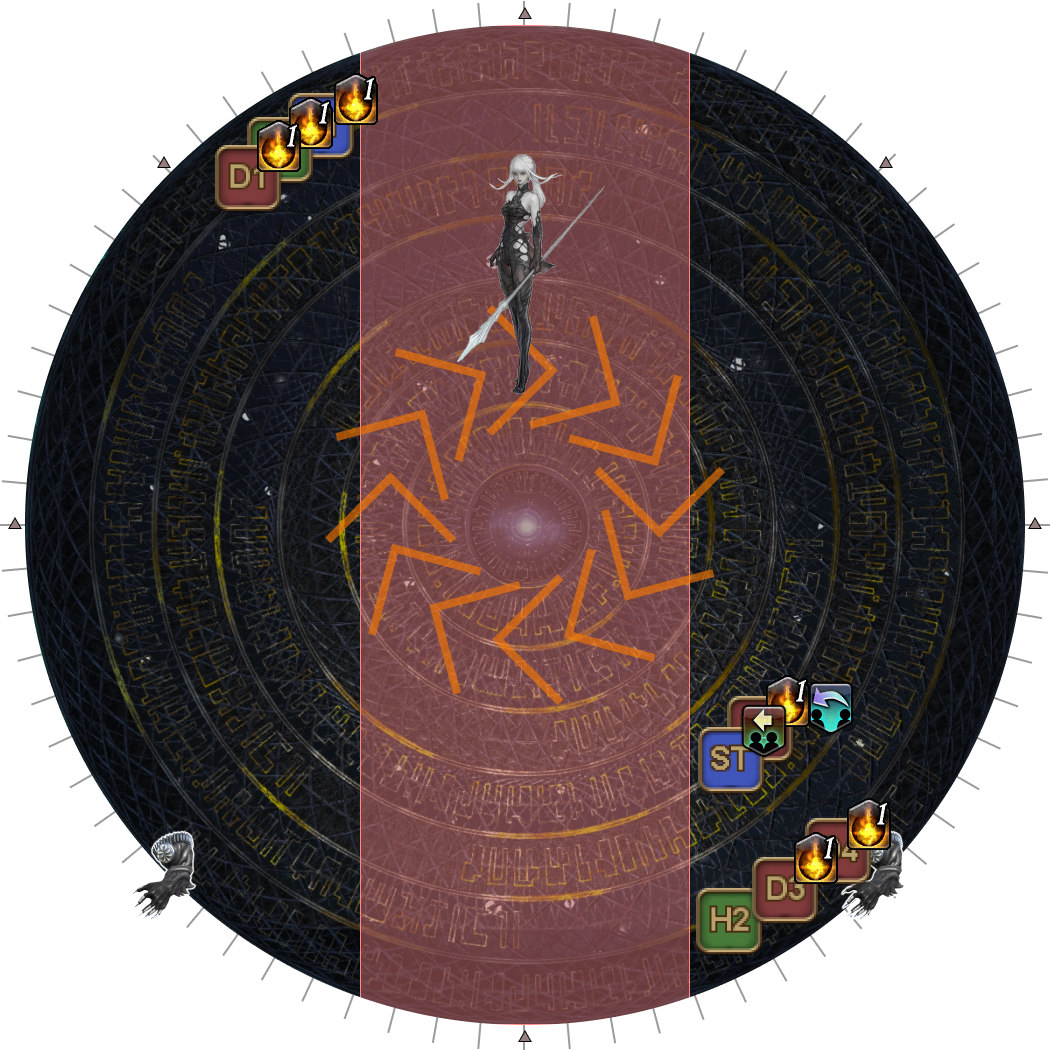 |
| 8. The Rear Power Unit will start firing a straight-line AoE while slowly rotating. Depending on whether Omega-F has her blade-legs or not, either wait and stay outside or follow the Rear Power Unit's AoE. | 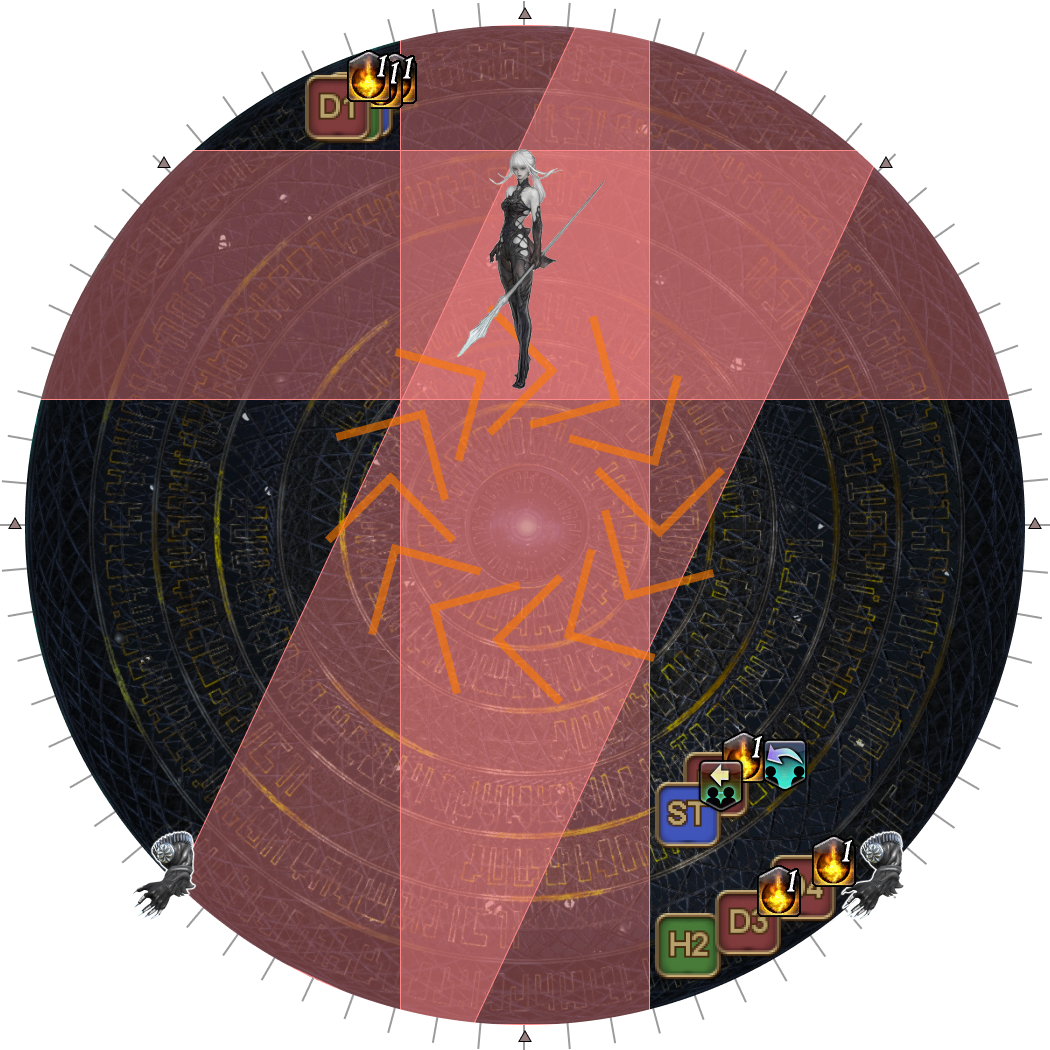 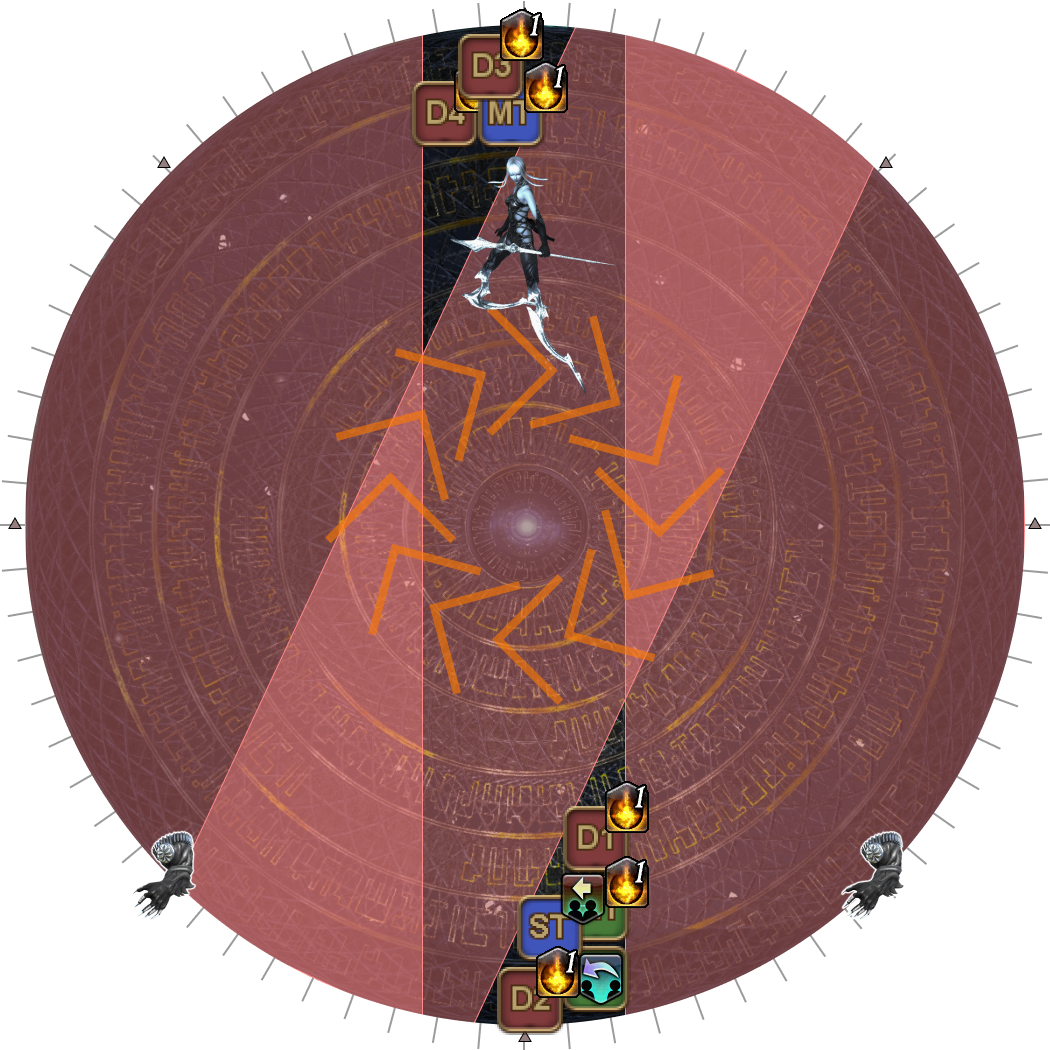 |
| 9. After rotating and firing fourteen times, the Rear Power Unit will fire its last laser in this orientation. Use this time to move into position to resolve Hello, World. | 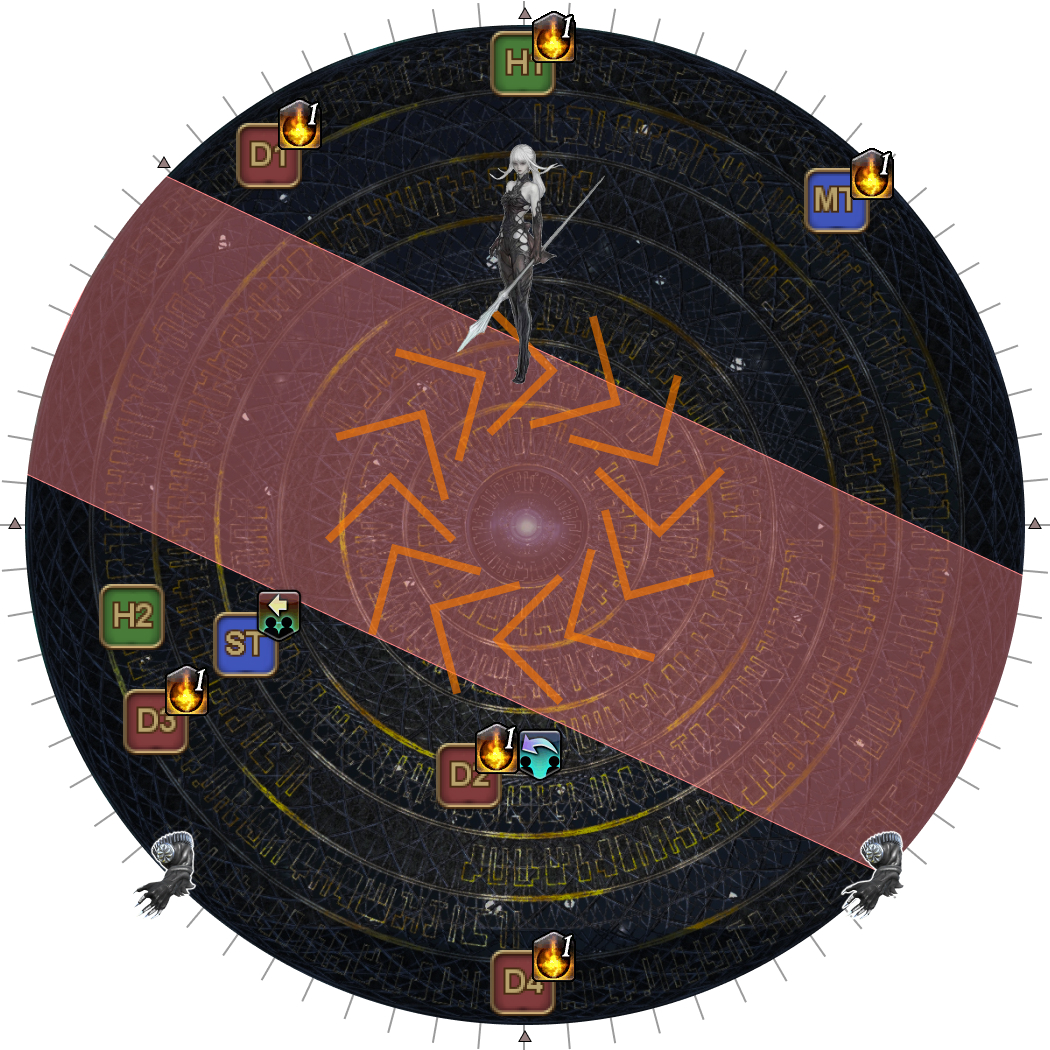 |
| 10. Hello, World debuffs resolve along with the Right Arm Unit's lasers.
|  |
Done correctly, at this point the party should have four players with one stack of Dynamis, and four players with two stacks of Dynamis.
Frequently Asked Questions
[Hello, World (Sigma)] Why the HTDH priority, and why should tanks take the Arm lasers if possible?
| The goal is to avoid a scenario where tanks are the ones taking Beetle Omega's tethers during the last set of Hello, Worlds in Run: Dynamis (Omega Version). This is because if a tank ends up taking a tether, the Max HP debuff will wear off, and the tank will need to be topped up for the last set of Solar Ray tankbusters. While doable, it is rather annoying to deal with. To ensure a tank will not take a tether at the end of Omega, that player must enter Omega with just one stack of Dynamis, which means they must miss either the Dynamis stack from Delta, or the Dynamis stack from Sigma. If a tank is going to Omega-F, that implies that they already have a Dynamis stack from Delta, so we want them to miss getting a Dynamis stack from Sigma (baiting the Arm lasers) to guarantee they will not take the tethers at the end of Omega. While you cannot guarantee that a tank will never take the tethers (since a tank can be extremely unlucky and be assigned three Hello, World debuffs), this at least greatly reduces the chance of that happening. |