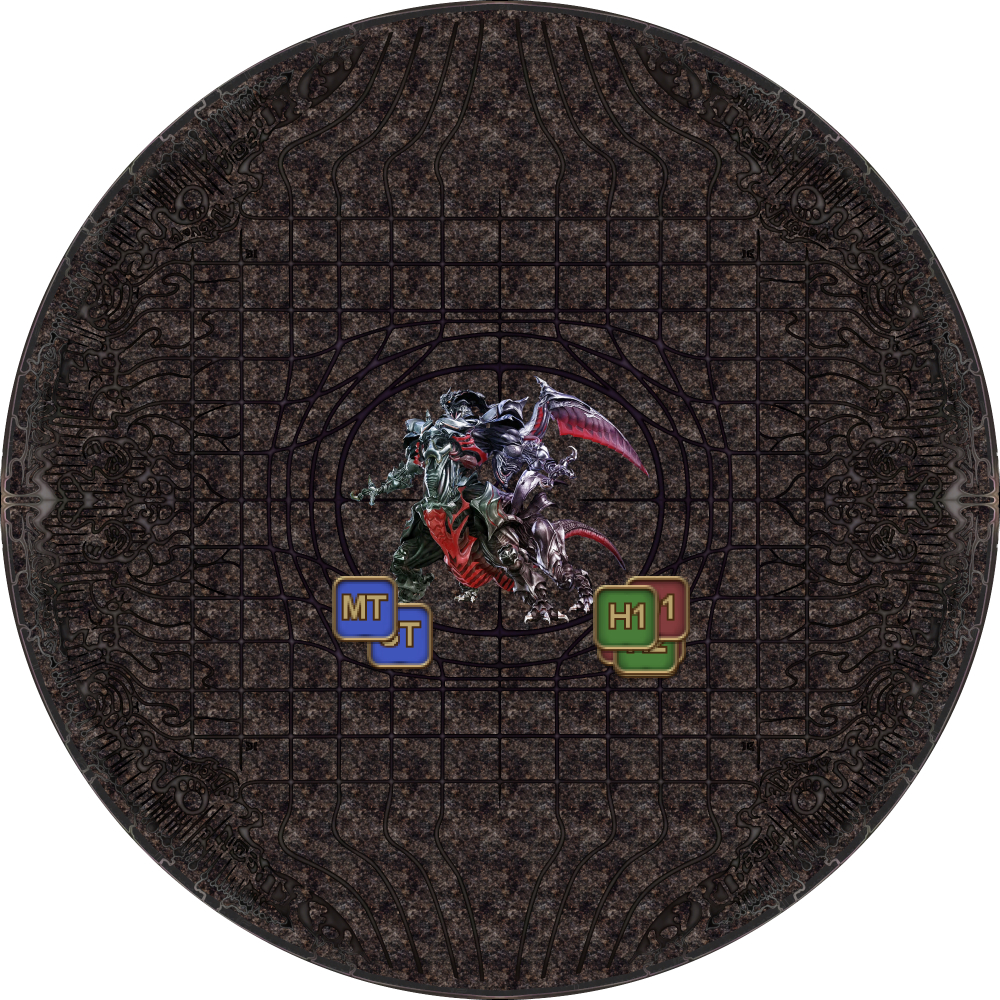
Primal Roulette
This is the final phase of the fight.
Ultima #2
Ultima Weapon reappears in the center of the arena and starts casting another Ultima.
This requires a Tank LB3 to survive, which you should have rebuilt at this stage.
Aetheric Boom
After the Ultima, quickly top up the party and prepare for Aetheric Boom.
Four tethered pairs of orbs will spawn. The tethers will pull the orbs together and will wipe the party if they touch.
The length of the tether is determined by the number of players that took the green Aetheroplasm orbs during Ultimate Annihilation.
- 1st Aetheroplasm Orb → NW tether
- 2nd Aetheroplasm Orb → NE tether
- 3rd Aetheroplasm Orb → SE tether
- 4th Aetheroplasm Orb → SW tether
Since the last two orbs in Ultimate Annihilation were taken solo by the MT, these two pairs will have the shortest tether, so we start from the southern orbs.
1. Ultima casts Aetheric Boom, which also knocks back.
|  |
2. Four tethered pairs of orbs spawn at the intercardinal positions. The tethers will pull the orbs together and will wipe the party if they touch. | 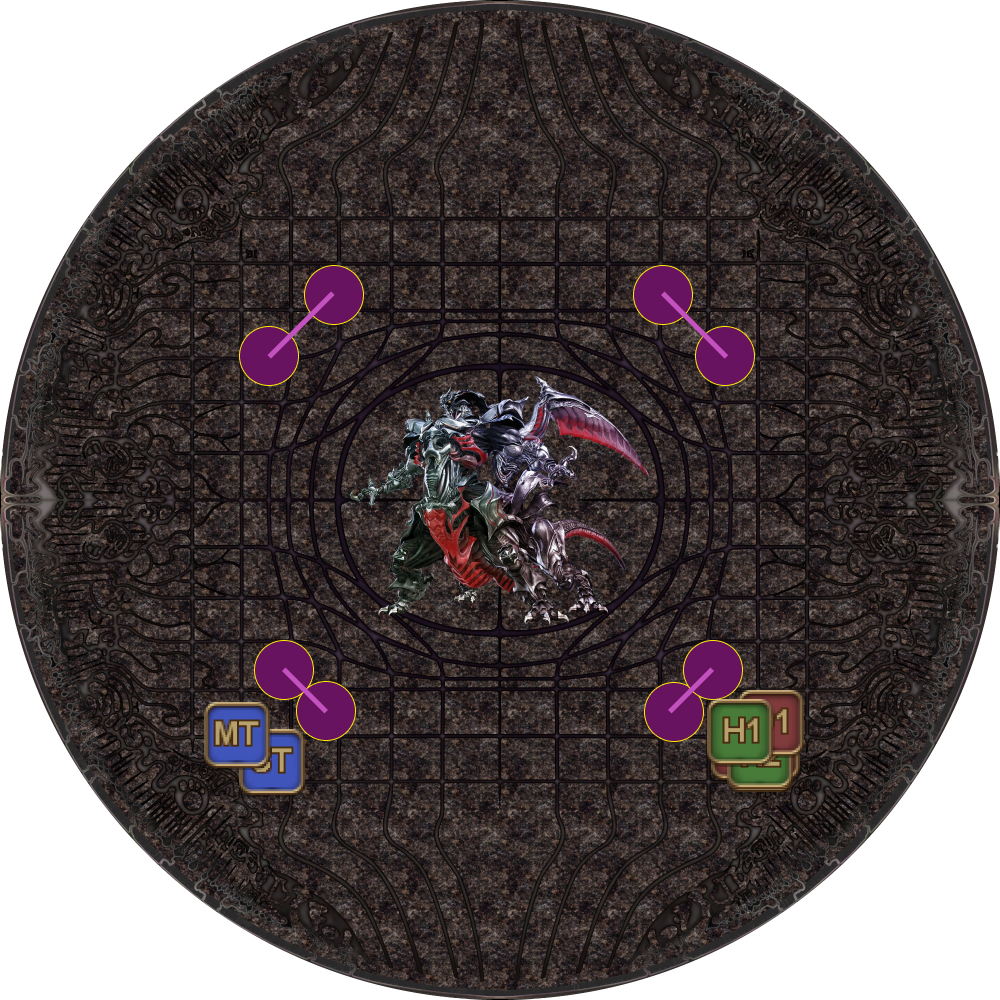 |
3. Take the two southern pairs of orbs. (You cannot invuln this damage.) | 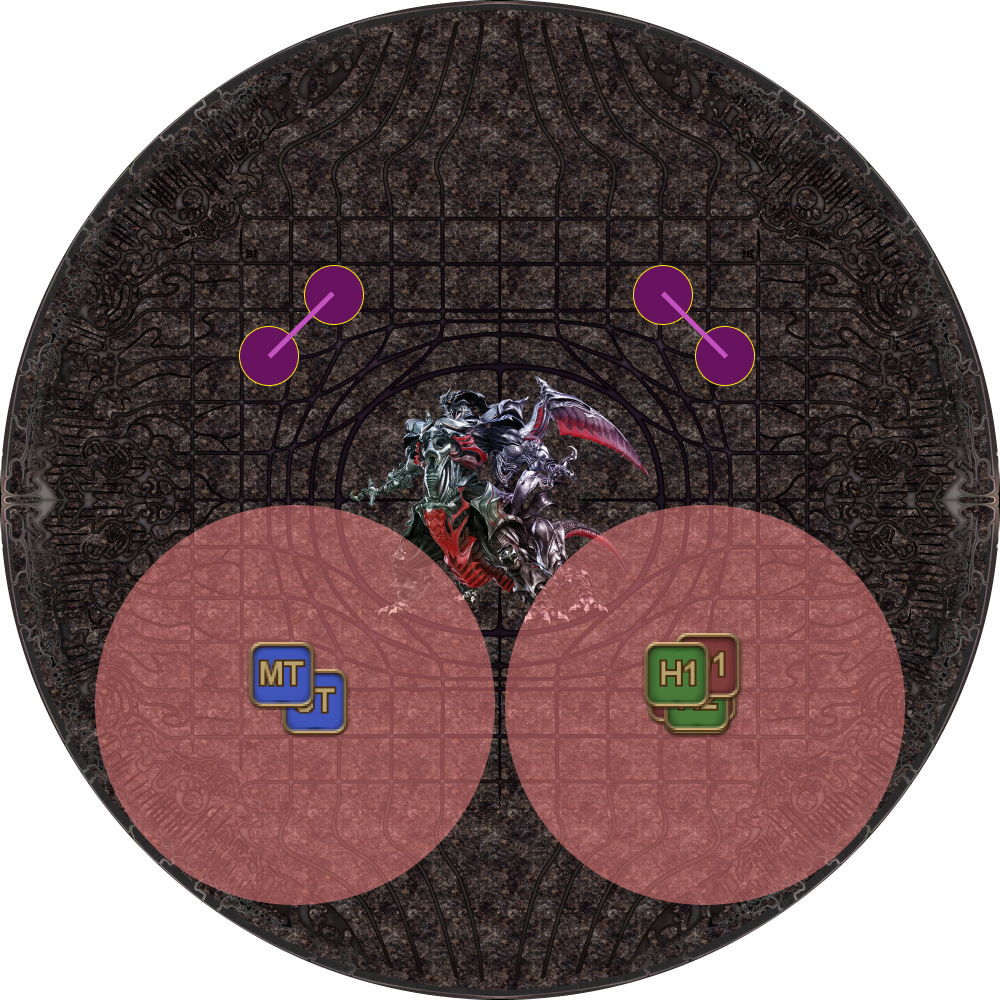 |
4. Quickly heal up and take the two northern pairs of orbs before the orbs touch. | 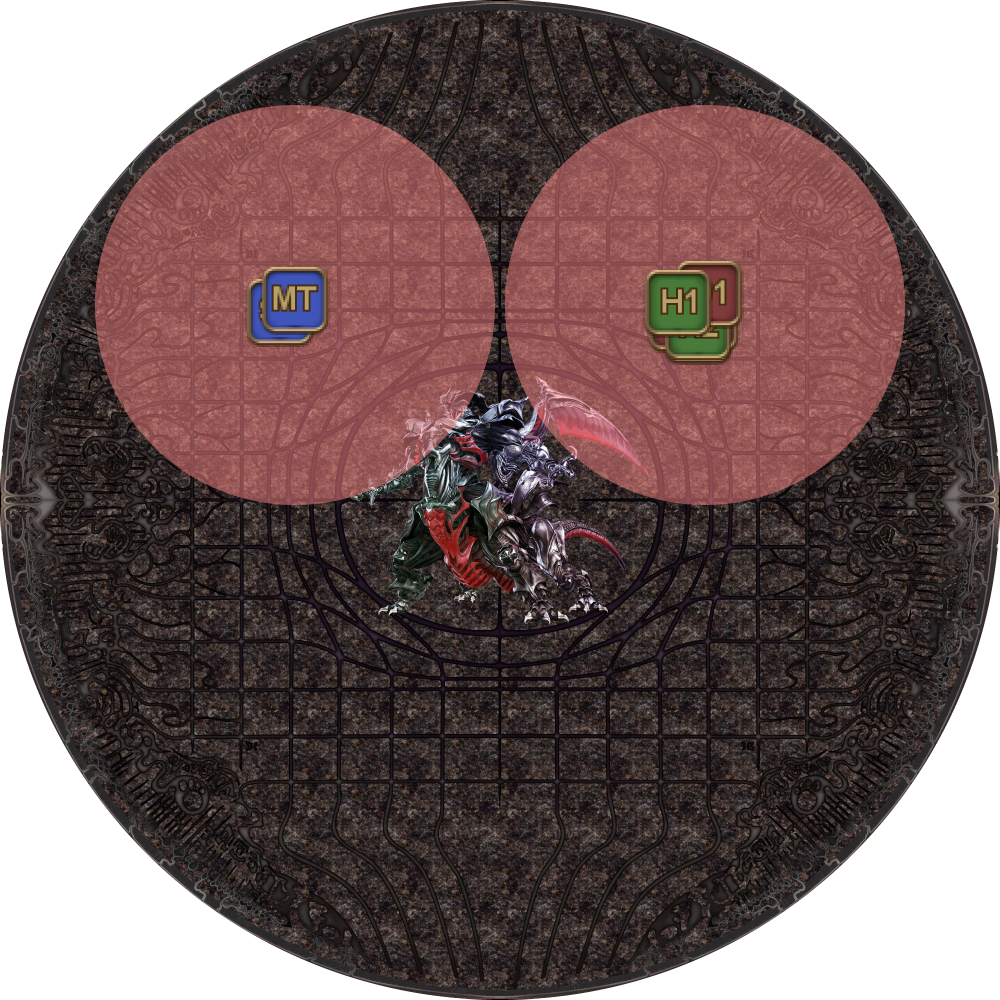 |
5. Gather up north and prepare for the Primal roulette. | 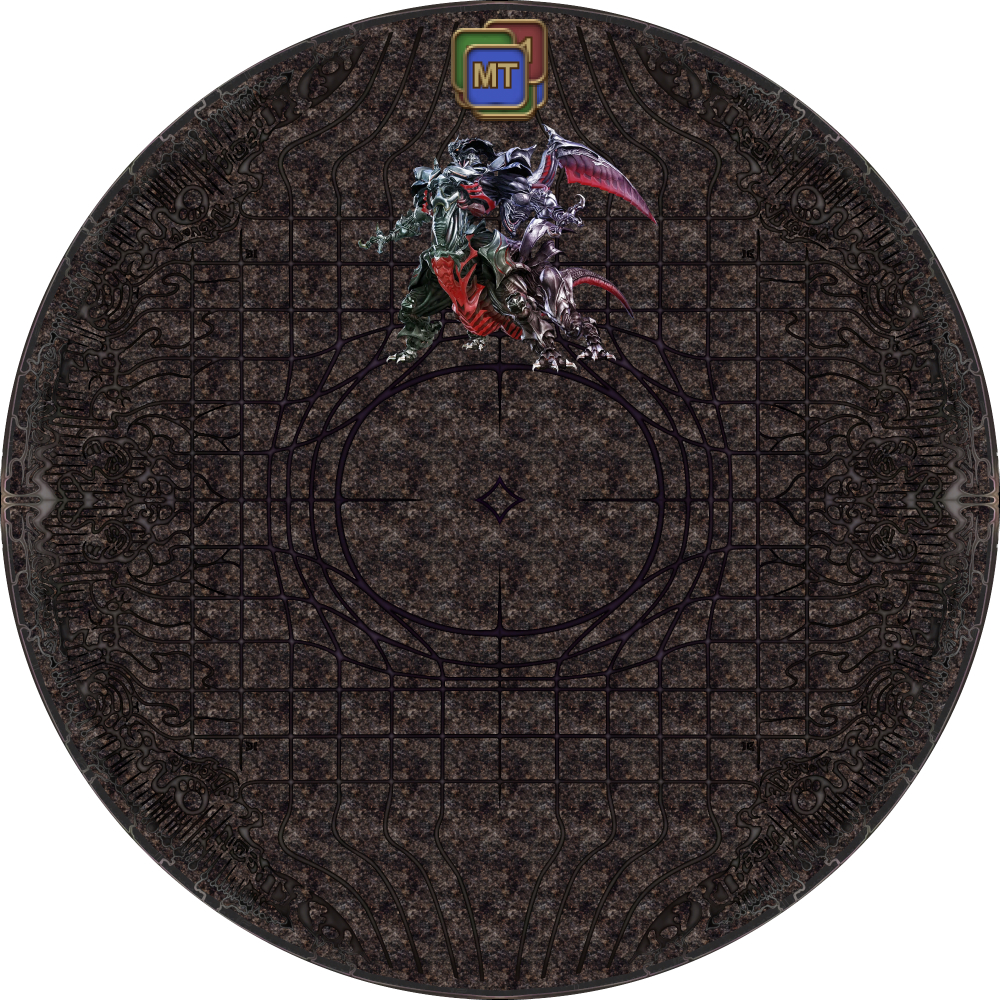 |
Primal Roulette
Ultima Weapon will apply three Viscous Aetheroplasm debuffs on three random players to mark the start of the Primal Roulette.
Some things to take note:
- The Viscous Aetheroplasms will each go off during the upcoming Primal sequences, essentially forcing the party to move together as a group.
- The Primals will then do their signature attack (Aerial Blast, Hellfire, Earthern Fury) to mark the end of their sequence. However, because they are not targetable, you will not be able to use targeted mitigations like Reprisal or Addle to mitigate the damage.
A recommended mitigation plan is as follows:
| First primal | MT 90s, H2 30s, H2 shields |
| Second primal | H2 enhanced shields*, D3 * Deployed Adloquium or Zoe'd Eukrasian Prognosis. |
| Third primal | ST 90s, H2 30s, H2 shields |
While you can simply observe and react to whichever Primal appears, the order is not completely random. Once you see the first Primal, the other two are determined:
- Garuda → Ifrit → Titan or
- Ifrit → Garuda → Titan or
- Titan → Ifrit → Garuda
Garuda
1. Garuda readies a Wicked Wheel from the center of the arena. Stand just outside the Wicked Wheel and prepare to enter. | 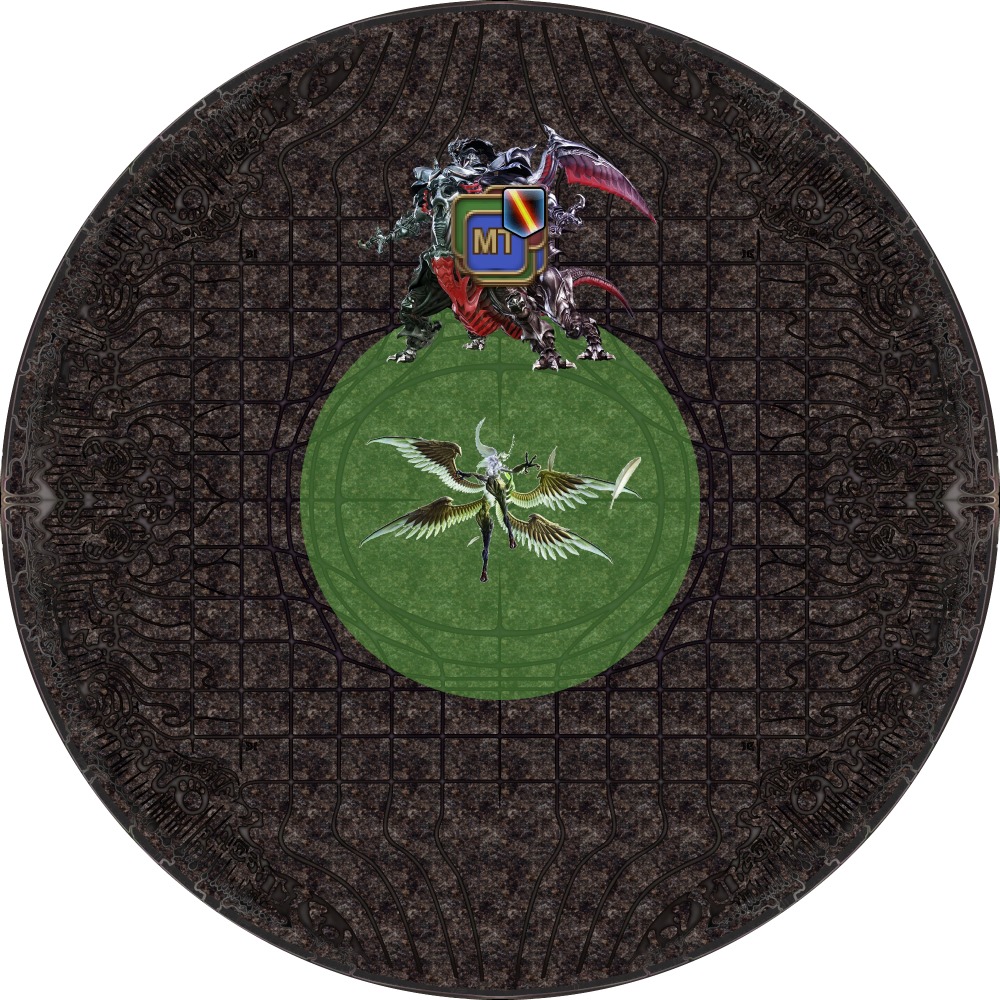 |
2. Quickly dodge into the Wicked Wheel AoE to avoid the follow-up Wicked Tornado. One Viscous Aetheroplasm debuff will go off around this time. | 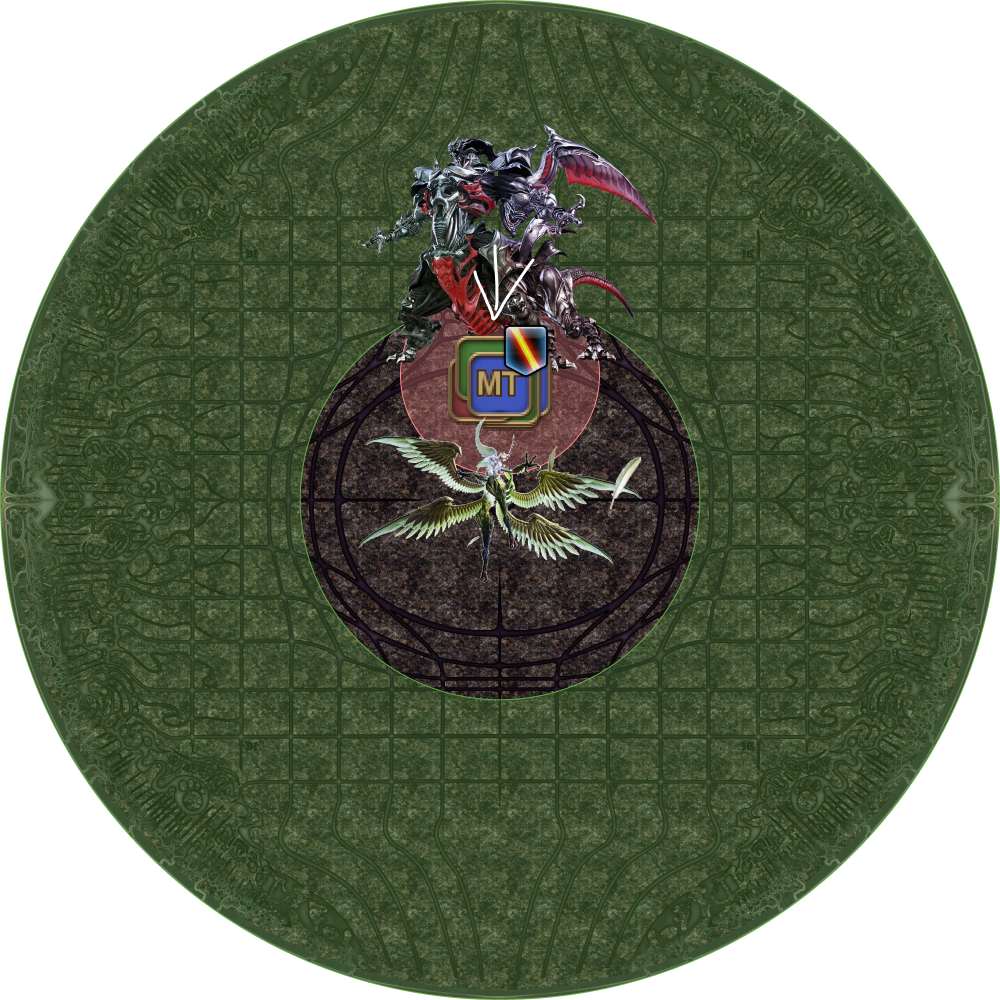 |
3. Garuda then jumps (dodge Feather Rains!) Return North and prepare for the next Primal. | 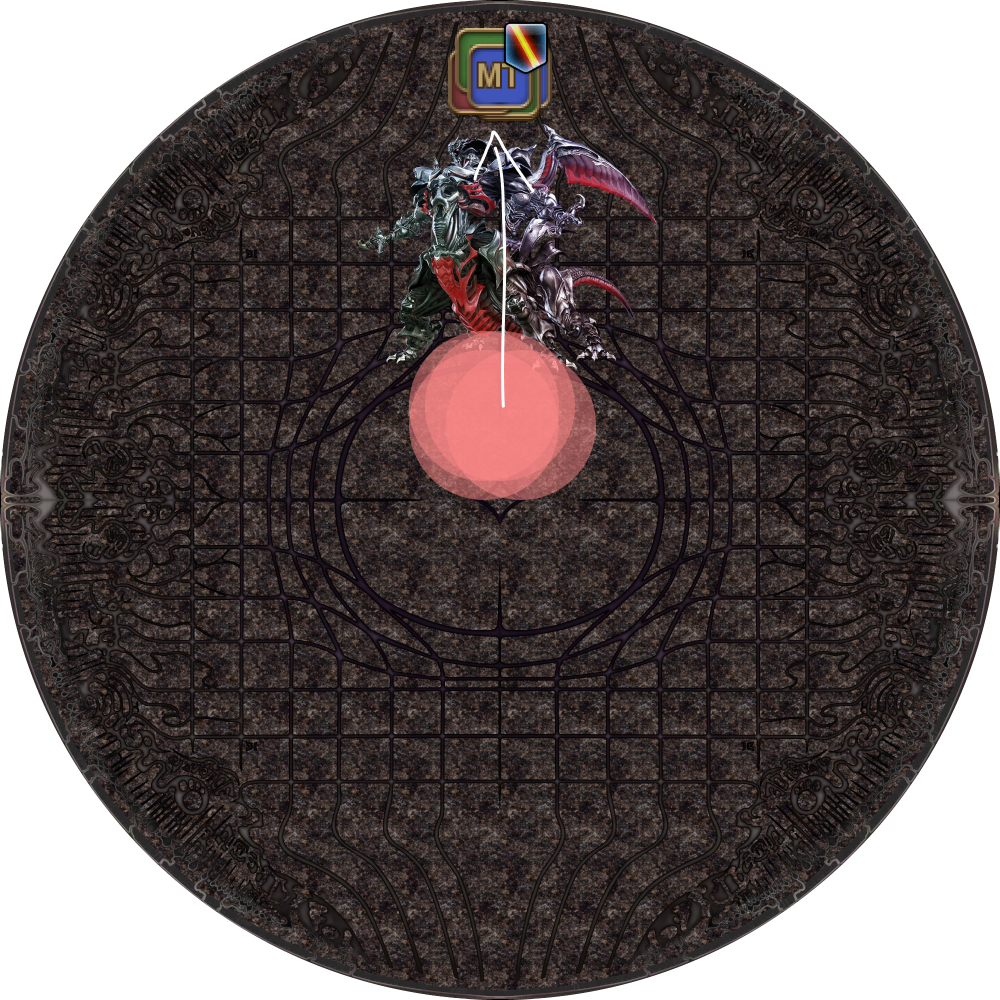 |
Ifrit
1. Woken Ifrit spawns in the middle of the arena, and targets random players for Violent Eruption. Two Ifrit clones spawn at cardinal positions. |  |
2. Quickly run to the NW corner to dodge the Crimson Cyclones. (Sprint is highly recommended.) One Viscous Aetheroplasm debuff will also go off around this time. | 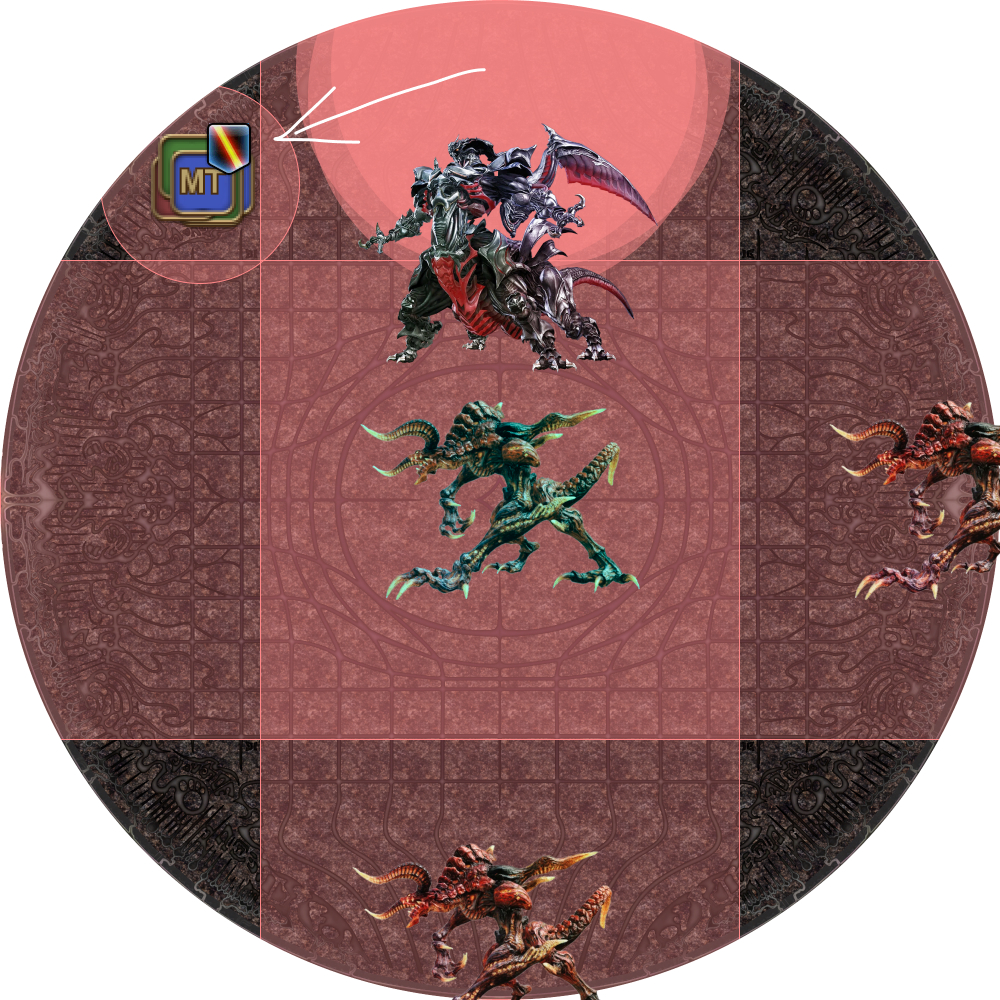 |
3. Ifrit then casts Hellfire before jumping. Return North and prepare for the next Primal. |  |
Titan
1. Titan begins with three Weight of the Lands. |  |
2. Second set of Weight of the Land. One Viscous Aetheroplasm debuff will go off around this time. |  |
3. Third set of Weight of the Land. | 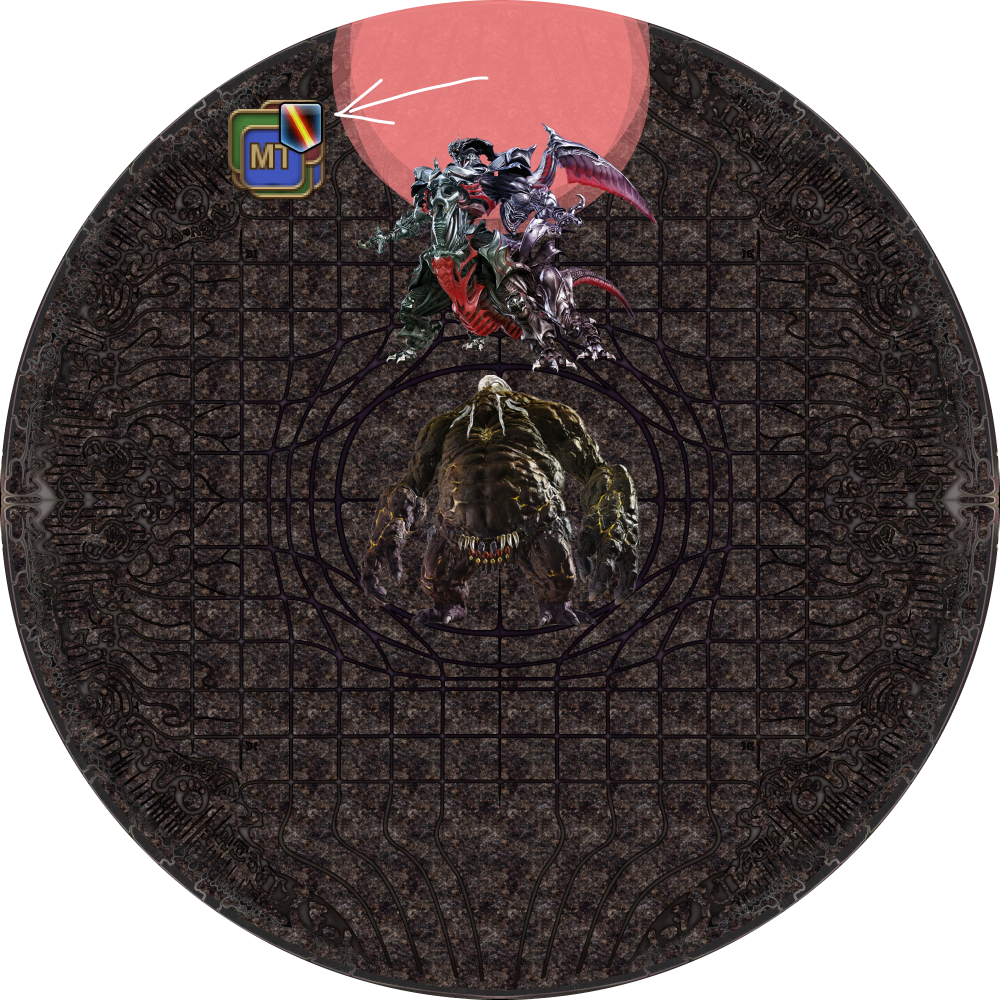 |
4. Titan then casts Earthern Fury, before jumping. Return North and prepare for the next Primal. | 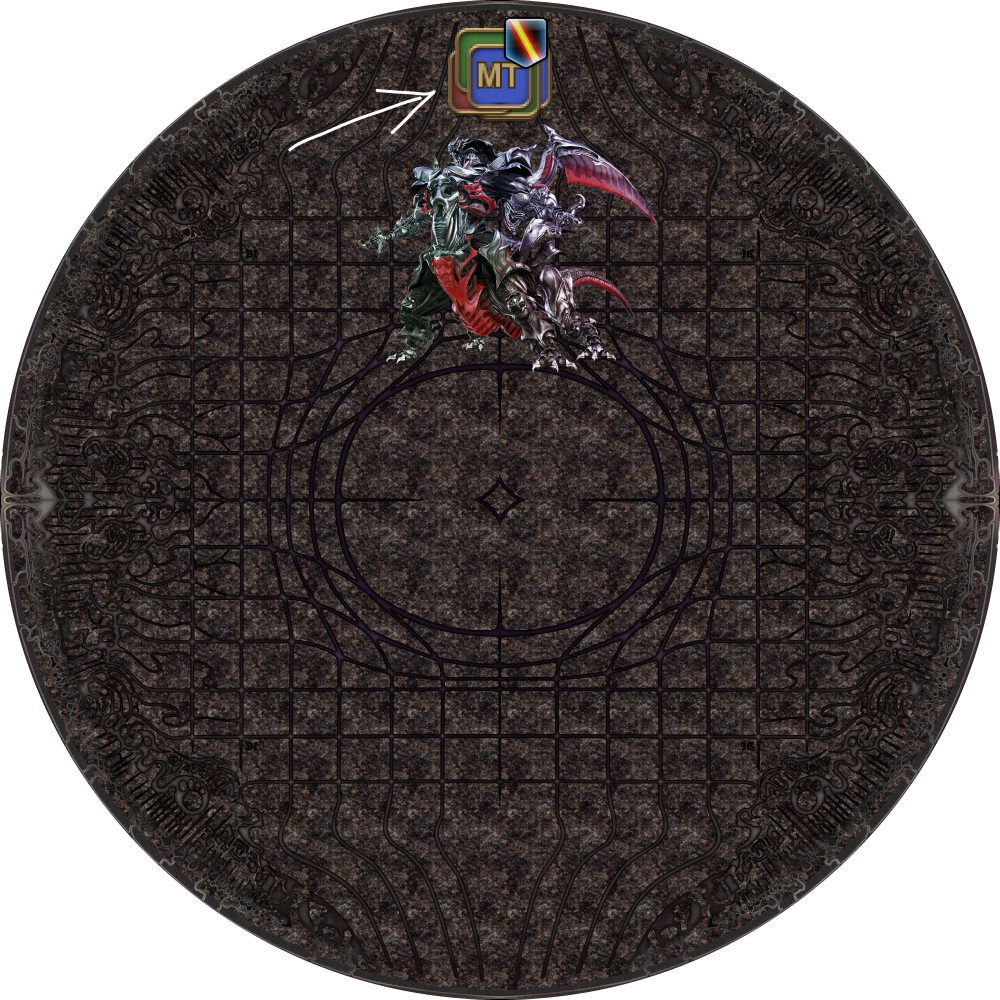 |
Once all three Primal sequences are complete, Ultima Weapon will teleport to the North of the arena and begin rapidly charging up his Ultima Aether.
When the Ultima Aether gauge reaches 100, party members will be incapacitated one-by-one, starting from the player that did the least damage to the player that did the most.
This serves as Ultima Weapon’s enrage, although note that there are still a few seconds for DoTs to tick even after the last player has been defeated.