Eden’s Verse: Refulgence (Savage)
By the end of the tier, the most common strategies were “DD out”, “Ayatori Light Rampant” and either the “Fixed at red” or “Arthars’ strat” (a.k.a. “KB uptime) for Hallowed Wings.
English
(DD out, Ayatori Light Rampant, “Fixed at red Hallowed Wings)
■ Diamond Frost
 AoEs: Tank NW Healer:NE
      DPS: South (West: D1>2>3>4: East)
 Flares: Tank:N or W Healer:S or E
 DPS:Bait AoEs south
■ Light Rampant: Ayatori's Strat
 Square: Tank + SW DPS swap
 Hourglass: Healer + SW DPS swap
■ Mirrors
   MTD3   H1D1 MTD3
 H1D1 H2D2
   STD4     STD4 H2D2
※ If spread, tanks/melee by the boss.
■ Adds: West: MT,H1,D1,D3 East: ST,H2,D2,D4
 Tether:H > T > D3/4 > D1/2
 Silence:(West) D3>MT (East) OT、Stun
■ Akh Morn
 (West)MT,H1,D1,D3 (East)ST,H2,D2,D4
■ Wyrm's Lament #1
 N: TH14s > DPS20s > TH22s > DPS28s
 S: TH30s > DPS36s > TH38s > DPS44s
■ Hallowed Wings: Fixed at red
     ※Use knockbacks
 Red: MT (H1,D1,D3) Mid: ST (H2,D2,D4)
■ Icelit Dragonsong
 D1 MT D2
 H1     H2
 D3 ST  D4
■ Wyrm's Lament #2
 West: MT→H1 East: ST→H2
 West: D1>2>3>4
 ※Invuln 1st and 2nd Morn Afahs
Japanese
(DD out, Ayatori Light Rampant, “Fixed at red Hallowed Wings)
■ダイアモンドダスト
 AoE:北西タンク 北東ヒラ
    南DPS(西D1>2>3>4)
 無職T:北or西 H:南or東 D:3連AoE南捨て
■光の暴走:あやとり式
 四角:タンクと南西DPS交換
 砂時計:ヒラと南西DPS交換
■鏡(十字)    (X字)
   MTD3   H1D1 MTD3
 H1D1 H2D2
   STD4     STD4 H2D2
※散開の場合はタンクと近接は敵側、ヒラ遠隔キャスは鏡側に散開
■雑魚:西MTH1D1D3 東STH2D2D4
 線:H>T>D34>D12
 沈黙(西)D3>MT (東)ST、スタン
■アクモーン
 西MTH1D1D3 東STH2D2D4
■生首
 北TH14s>DPS20s>TH22s>DPS28s
 南TH30s>DPS36s>TH38s>DPS44s
■ぼよん赤固定 ※ノックバック無効技使用
 赤MT(H1D1D3) 黄ST(H2D2D4)
■竜詩
 D1 MT D2
 H1     H2
 D3 ST  D4
■聖竜の咆哮
 西MTH1 東STH2
 西D1>2>3>4
 ※アファー1・2回目無敵受け。
Markers
Inside DD/DD内捨て 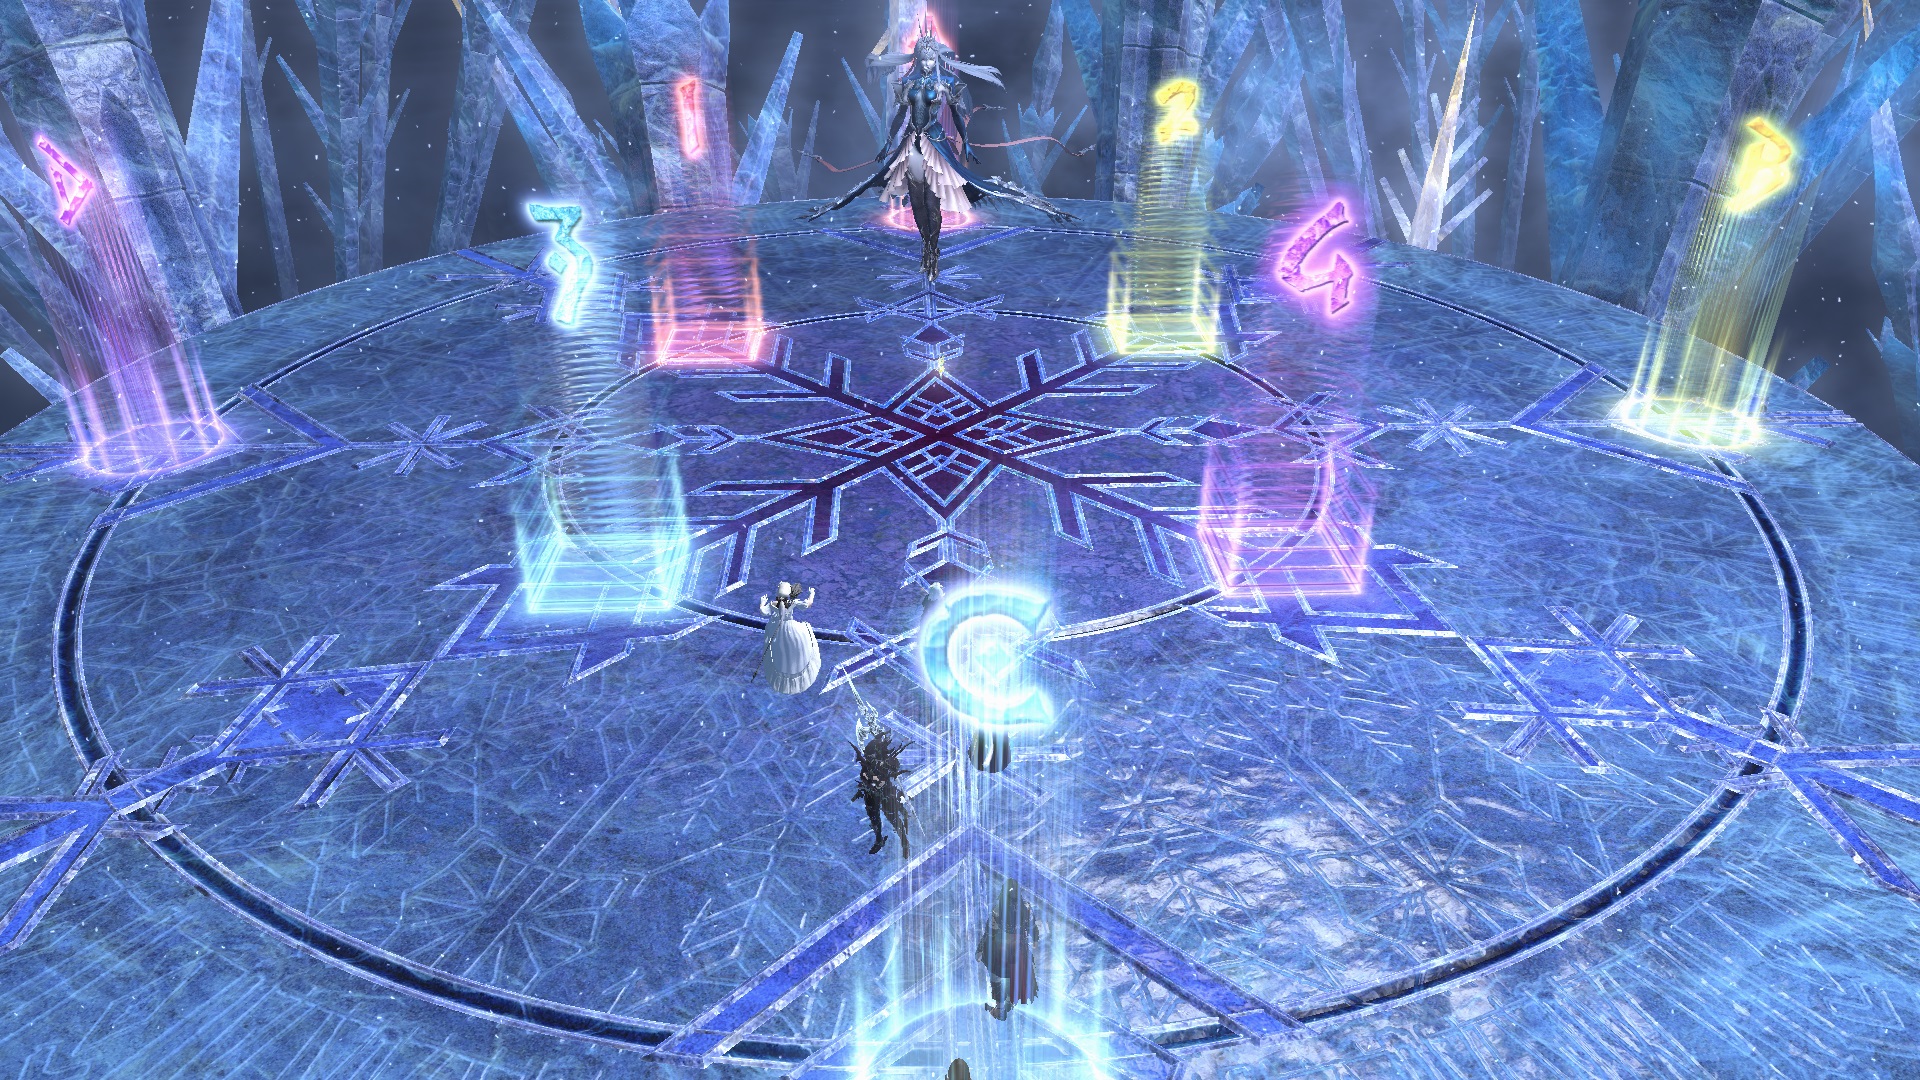
XIVLauncher WaymarkPresetPlugin positions
{
  "Name":"E8S (Inside DD)",
  "MapID":729,
  "A":{"X":100.0,"Y":0.0,"Z":84.0,"ID":0,"Active":true},
  "B":{"X":116.0,"Y":0.0,"Z":100.0,"ID":1,"Active":true},
  "C":{"X":100.0,"Y":0.0,"Z":116.0,"ID":2,"Active":true},
  "D":{"X":84.0,"Y":0.0,"Z":100.0,"ID":3,"Active":true},
  "One":{"X":94.5,"Y":0.0,"Z":94.5,"ID":4,"Active":true},
  "Two":{"X":105.5,"Y":0.0,"Z":94.5,"ID":5,"Active":true},
  "Three":{"X":105.5,"Y":0.0,"Z":105.5,"ID":6,"Active":true},
  "Four":{"X":94.5,"Y":0.0,"Z":105.5,"ID":7,"Active":true}
}
Outside DD/DD外捨て 
XIVLauncher WaymarkPresetPlugin positions
{
  "Name":"E8S (Outside DD)",
  "MapID":729,
  "A":{"X":100.0,"Y":0.0,"Z":84.0,"ID":0,"Active":true},
  "B":{"X":116.0,"Y":0.0,"Z":100.0,"ID":1,"Active":true},
  "C":{"X":100.0,"Y":0.0,"Z":116.0,"ID":2,"Active":true},
  "D":{"X":84.0,"Y":0.0,"Z":100.0,"ID":3,"Active":true},
  "One":{"X":88.686,"Y":0.0,"Z":88.686,"ID":4,"Active":true},
  "Two":{"X":111.314,"Y":0.0,"Z":88.686,"ID":5,"Active":true},
  "Three":{"X":111.314,"Y":0.0,"Z":111.314,"ID":6,"Active":true},
  "Four":{"X":88.686,"Y":0.0,"Z":111.314,"ID":7,"Active":true}
}
Diamond Frost/ダイモンド・ダスト(DD)
(Yes, it’s called “Diamond Frost”, not “Diamond Dust” in English…)
- DD in/内捨て: Everyone gets knocked back to the edges.
- DD out/外捨て: Only Flare’d healer gets knocked back. Everyone else uses Arm’s Length/Surecast. DPS baiting AoEs start in the south sector.
Driving/Biting Frost:
- Japanese parties will always face the boss outside the arena, and it is the party’s responsibility to move to the safe side.
- English parties will have the MT turn the boss so the safe side faces the party (i.e: if the boss did Biting Frost first)
Light Rampant/光の暴走
The standard is Ayatori’s strat/あやとり式:
Hallowed Wings/ぼよんぼよん
(In particular, the Hallowed Wings to the front) There are three main ways of doing this-
-
アーサー/”Arthars’ strat”/”KB Uptime strat”: Arm’s Length/Surecast both knockbacks. Surecast timing is tight; screwing it up will get you tossed off the arena.
-
赤固定:/”Fixed at red”: Party moves towards the red mirror and uses Arm’s Length/Surecast. Party will get knocked back on the third Wings. Safest, but less uptime compared to Arthas’.
-
色固定/”Fixed at colours”: Party moves towards the green mirror. No Arm’s Length/Surecast. Party will get knocked twice, on the second and third Wings. This strat is the least common.
Final Akh Morns/最終のアク・モーン
D2 and D3 will need to swap Akh Morn stacks if both reds or both blues are on the same side. Oftentimes, this is done after the first (5-hit) Akh Morn, but it is sometimes done before.
Timeline
 (Credit: u/Syldris)