Eden’s Promise: Anamorphosis (Savage)
The two are effectively identical if doing the Hobolala strat for Sundered Sky. The only difference to check is the second Turn of the Heavens.
Things to check on Party Finder
Where all the tethers/prey markers go. Most of the time, Fire goes behind, while Lightning and Holy are resolved in front.
Approximate milestones
- 45% HP when the boss disappears for Sundered Sky.
- 24% HP when the boss disappears for Prismatic Deception.
English
   【Spread】    【Pairs】
  D3 MT D4 ┃    MTD3
   H1 ▲ H2  ┃ H1D1 ▲ H2D4
   D1 ST D2  ┃     STD2
【Bound of Faith】:
Thunder, Light → Boss's Front
Fire → Boss's Back
【Shifting Sky】
Thunder + tanks → North(A)
Fire + everyone else → South(C)
【Elemental Break (Light)】
     MTST
H1D1D3   ▲  H2D2D4
【Sundered Sky】: Hobo Lala strat
 【Turn of the Heavens + Elemental Break】
  D3 MT
 H1   D4
 D1   H2
  ST D2
【Prismatic Deception】
Arm goes up: Move to mid
Does nothing: Move to mid IF person opposite
    moves to mid
Japanese
【基本散開】     【ペア】
  D3 MT D4  ┃    MTD3
   H1 ▲   H2 ┃ H1D1 ▲ H2D4
   D1 ST  D2  ┃     STD2
【シンソイルスラスト】
雷対象、 光対象 → ボス正面
炎対象 → ボス背面
【至天絶技】
雷対象+タンク→北(A)側安置
炎対象+残り→南(C)側安置
【光エレメンタルブレイク】
     MTST
H1D1D3   ▲  H2D2D4
 【墜獄絶技】: ほぼララ式
 【転輪召+エレメンタルブレイク】
  D3 MT
 H1   D4
 D1   H2
  ST D2
【プリズマチックインビジブル】《基本散会》
腕を上げた場合:ジャンプしながら中央へ移動
何もしない場合:不動 or 対面の人が動いたら
        中央へ移動
Markers
The markers are used for orientation, and for “Hobo Lala” Sundered Sky. 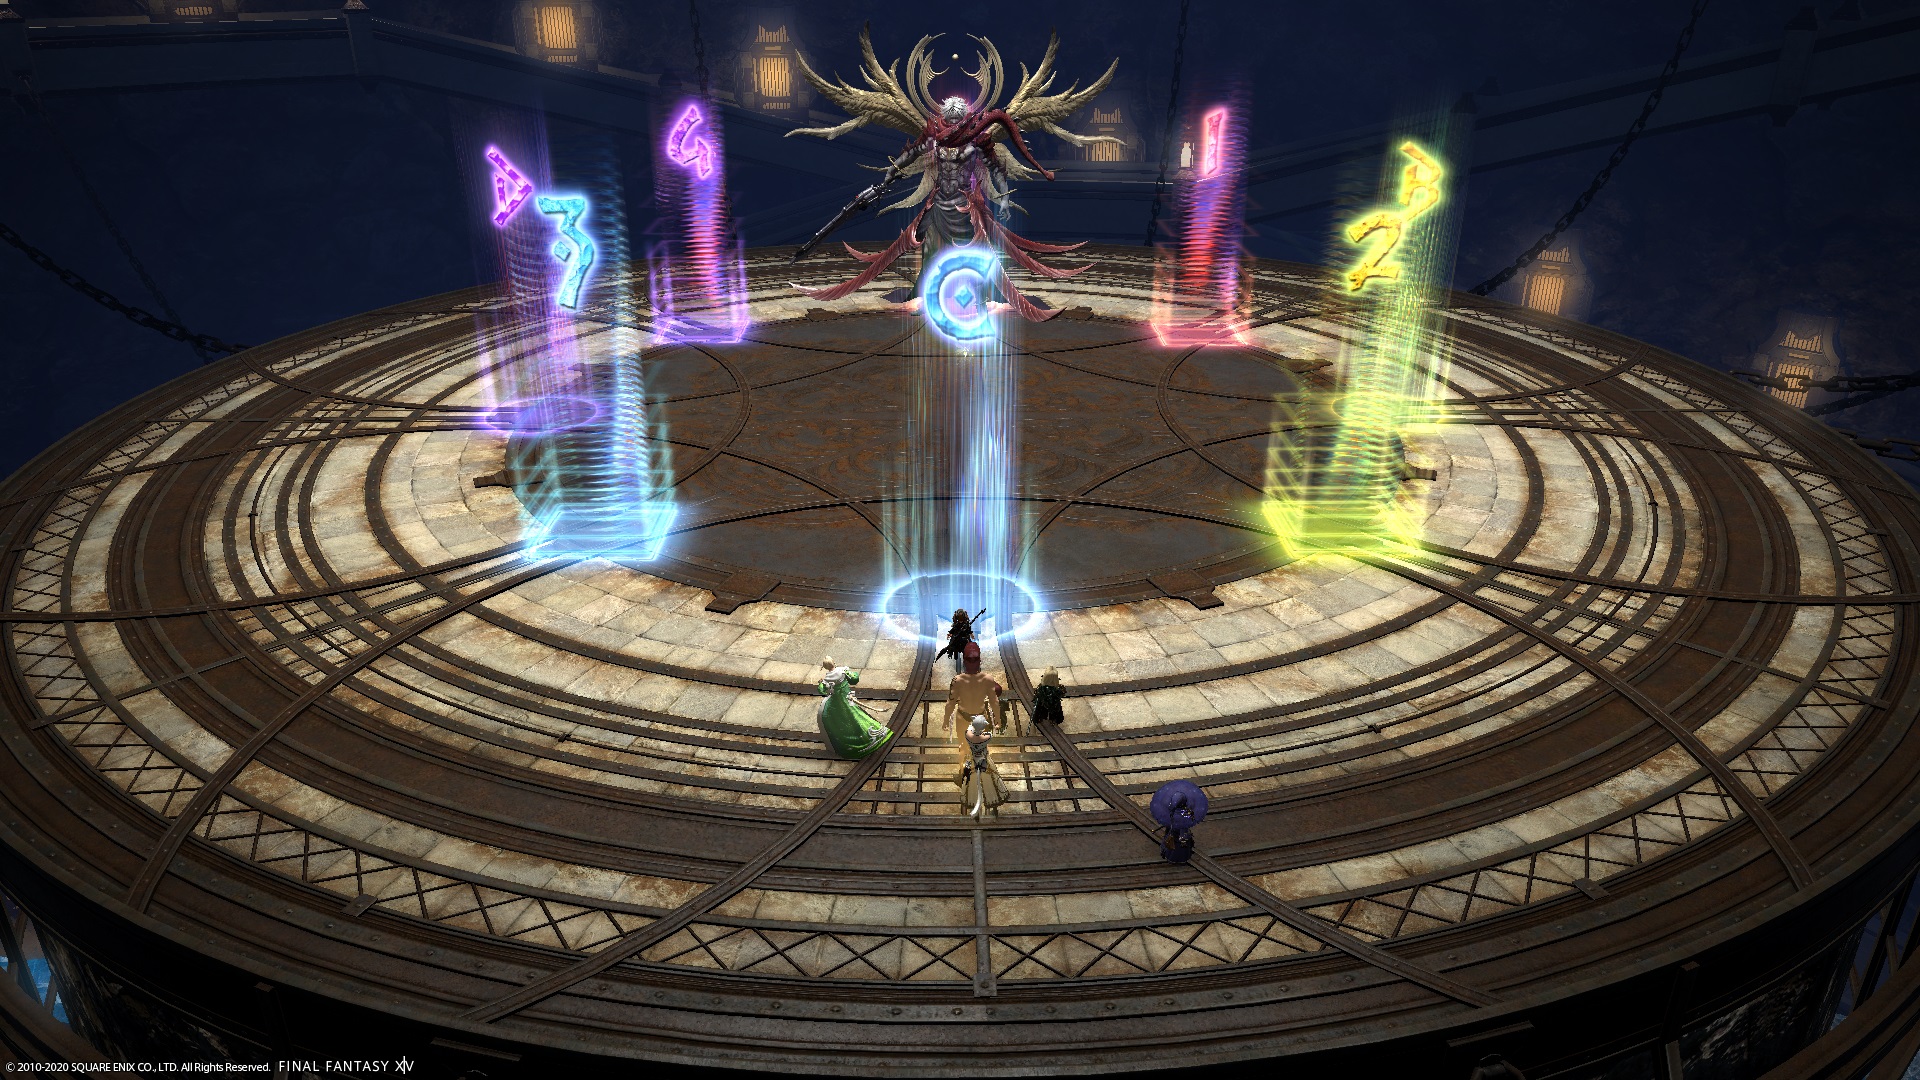
XIVLauncher WaymarkPresetPlugin positions
{
  "Name":"E11S",
  "MapID":752,
  "A":{"X":100.0,"Y":0.0,"Z":90.0,"ID":0,"Active":true},
  "B":{"X":110.0,"Y":0.0,"Z":100.0,"ID":1,"Active":true},
  "C":{"X":100.0,"Y":0.0,"Z":110.0,"ID":2,"Active":true},
  "D":{"X":90.0,"Y":0.0,"Z":100.0,"ID":3,"Active":true},
  "One":{"X":107.071,"Y":0.0,"Z":92.929,"ID":4,"Active":true},
  "Two":{"X":107.071,"Y":0.0,"Z":107.071,"ID":5,"Active":true},
  "Three":{"X":92.929,"Y":0.0,"Z":107.071,"ID":6,"Active":true},
  "Four":{"X":92.929,"Y":0.0,"Z":92.929,"ID":7,"Active":true}
}
Damage sources
As there are a number of attacks in this fight that do not have a clearly associated mechanic, the following may help groups figure out what went wrong:
Ageless Serpent - Knockback damage when the dragon lands (Shifting Sky, Sundered Sky) Burn Mark - AoE damage when the Powder Mark debuff expires Blastburn - Burnt Strike (Fire) : Knockback from the line’s center Blasting Zone - Prismatic Invisibility line AoEs Brightfire - Red/blue circle AoE damage (Turn of the Heavens, Shifting Sky) Bright Pulse - Panel “laser” beams (Right of the Heavens) Bow Shock - Bound of Faith (Lightning) : Conal cleaves originating from the target Burnout - Burnt Strike (Lightning) : Second (wider) line AoE Mortal Burn Mark - Bound of Faith (Holy) : Raid-wide damage when the debuff expires Resonant Winds - Donut AoE (on the light part of the floor) in Shifting Sky Resounding Crack - Dragon 270-degree cleave in Sundered Sky Shining Blade - Burnt Strike (Holy) : Baited Light AoE puddles Sinsight - Elemental Break (Holy) : Tank/healer shared cleaves Sinsmite - Elemental Break (Lightning) : AoE damage on each player Sinsmoke - Elemental Break (Fire) + Bound of Faith (Fire) : Shared AoE damage
Sundered Sky “Hobo Lala” strat (堕獄絶技 ほぼララ式)
This is the de-facto way to resolve Sundered Sky in PF.
- Knockback → run anti-clockwise around
- Fire out, Light in
2nd Turn of the Heavens
The standard way to resolve the second Turn of the Heavens (the one with alternating blue/red circles) is to fix player positions 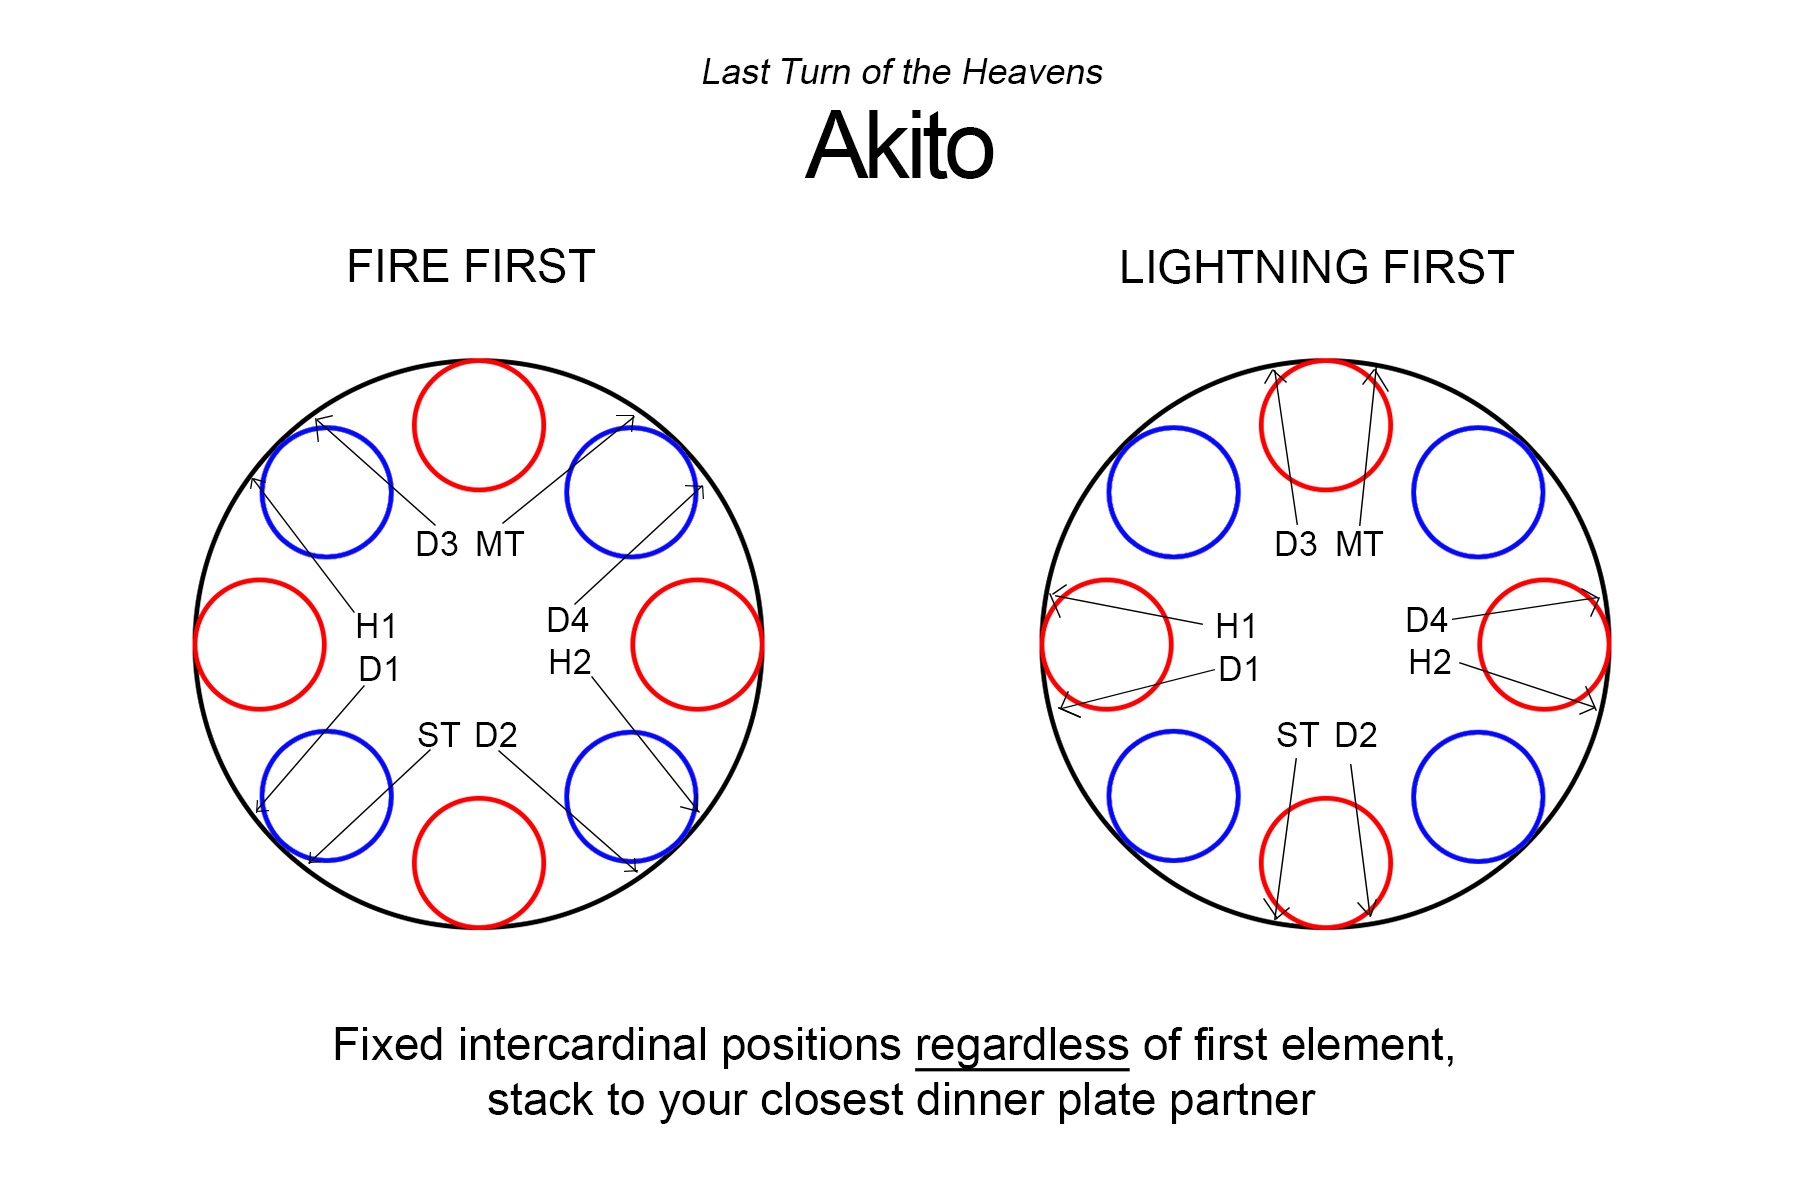
Timeline
 (Credit: u/Syldris)