Omega Reconfigured
This is the only phase in the fight with a transitional mechanic.
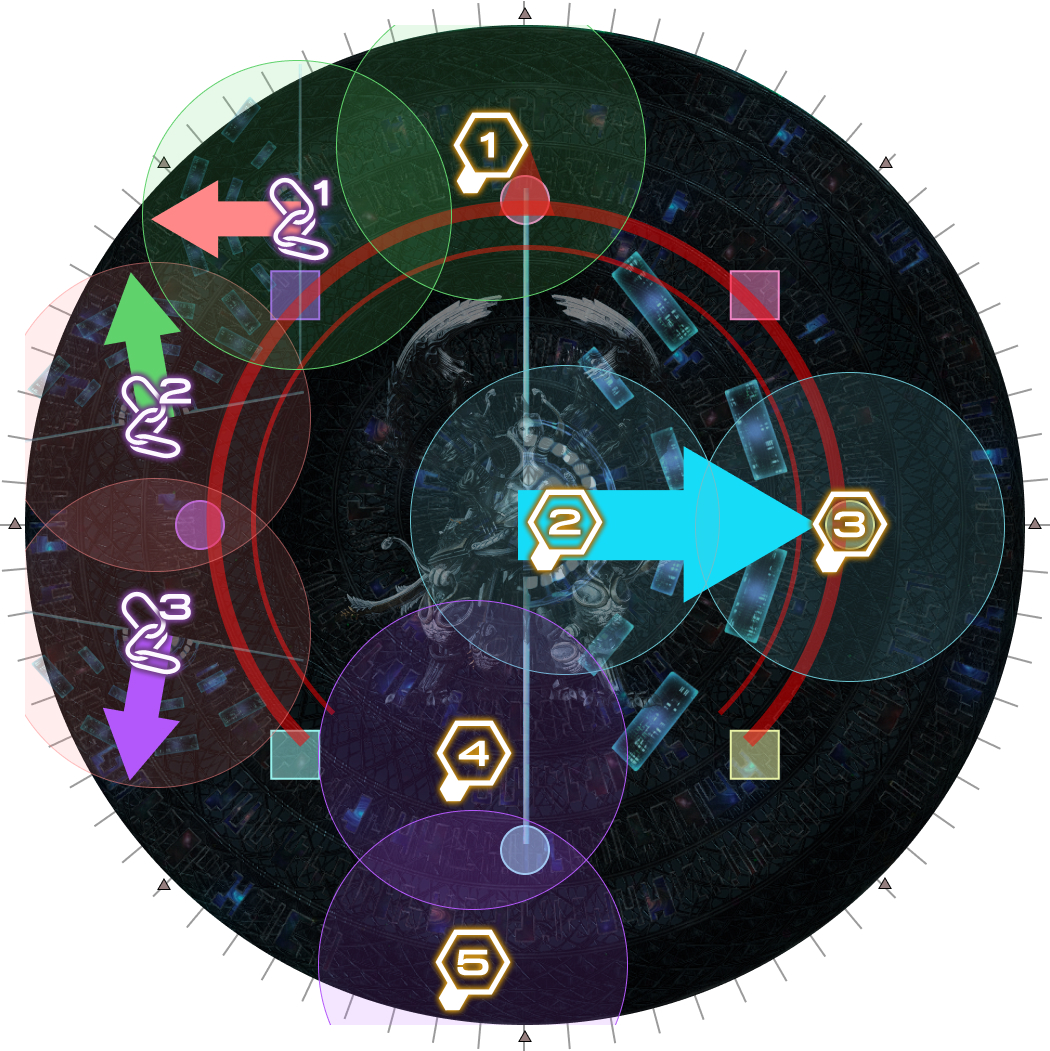
Transition
[Click to Expand] Transition debuffs
 | Sniper Cannon Fodder Four players will be targeted with this debuff.
|
 | High-powered Sniper Cannon Fodder Two players will be targeted with this debuff (which leaves two players without any debuffs).
|
| 1. Debuffs appear.
| |
| 2. First pulse of an expanding Wave Repeater AoE goes off. Three arms will appear around the arena, 120 degrees from one another. Note where these first set of arms are. | |
| 3. Second pulse goes off. The second set of arms will appear around the arena. | |
| 4. Third pulse goes off. Note: The Wave Repeater AoE boundaries do not follow the rings on the floor. | |
| 5. Fourth pulse goes off. At this point, all players should be in position for the second wave of mechanics. | |
| 6. First pulse of the second wave goes off. | |
| 7. Second pulse of the second wave goes off. The first set of arms will telegraph an AoE around them. | |
| 8. Third pulse of the second wave goes off. The first set of arms explode, while the second set of arms telegraph their explosion. Move into the intersection of the expanding pulse and the first set of AoE so you do not get hit by the second set of arms. | |
| 9. Player debuffs resolve along with the second set of arm's AoE. | |
Hello, World
Omega begins the phase with its signature Hello, World mechanic.
Hello, World concludes with Omega casting Critical Error. This gives the entire party Critical Overflow Bugs, which will lead to a wipe. However, this is blocked by an Overflow Debugger buff, which is gained when a player resolves Critical Overflow.
Thus, the goal is to resolve all the debuffs, and get everybody the Overflow Debugger buff  before Critical Error is cast.
[Click to Expand] Hello, World debuffs
 | Latent Synchronization Bug
|
  | Local Code Smell
Local Regression
|
  | Remote Code Smell
Remote Regression
|
  | Cascading Latent Defect
Latent Performance Defect
|
  | Overflow Code Smell
Critical Overflow Bug
Overflow Debugger
This last detail is important, because Omega will cast Critical Error at the end of all four iterations, which will apply a Critical Overflow Bug on the entire party (which will then be blocked by everybody's Critical Overflow Debuggers). |
   | Synchronization Code Smell
Critical Synchronization Bug
Synchronization Debugger
|
   | Underflow Code Smell
Critical Underflow Bug
Underflow Debugger
|
   | Performance Code Smell
Critical Performance Bug
Performance Debugger
|
Although Hello, World may look overwhelming at first, there are really just two variations, determined by which colour debuff (Critical Performance and Critical Underflow) get paired with Critical Overflow and Critical Synchronization.
 |  |
| "Blue is Defamation" Critical Overflow | "Red is Defamation" Critical Overflow |
After that, Hello, World is simply a cycle of debuffs to resolve. Players will be paired together based on their debuffs- at any one point, two players will be at each stage in the cycle, alternating between towers and tethers.
- The pairing between Critical Overflow Bugs/Critical Synchronization Bugs with Critical Underflow Bugs/Critical Performance Bugs (red/blue Nisis) is randomly determined when Hello, World is cast. Once determined, it will not change between tower sets.
- Similarly, players are randomly paired together based on their debuffs when Hello, World is cast. Once assigned, the pairs will not change between tower sets.
| The basic loop consists of:
| 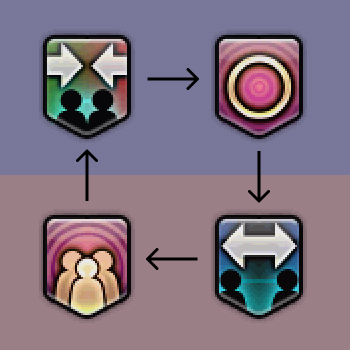 |
This loop is repeated four times (all players will have their go at each debuff). However, the final iteration has one small difference where the Local Regression players stand away from the Critical Overflow Bugs instead.
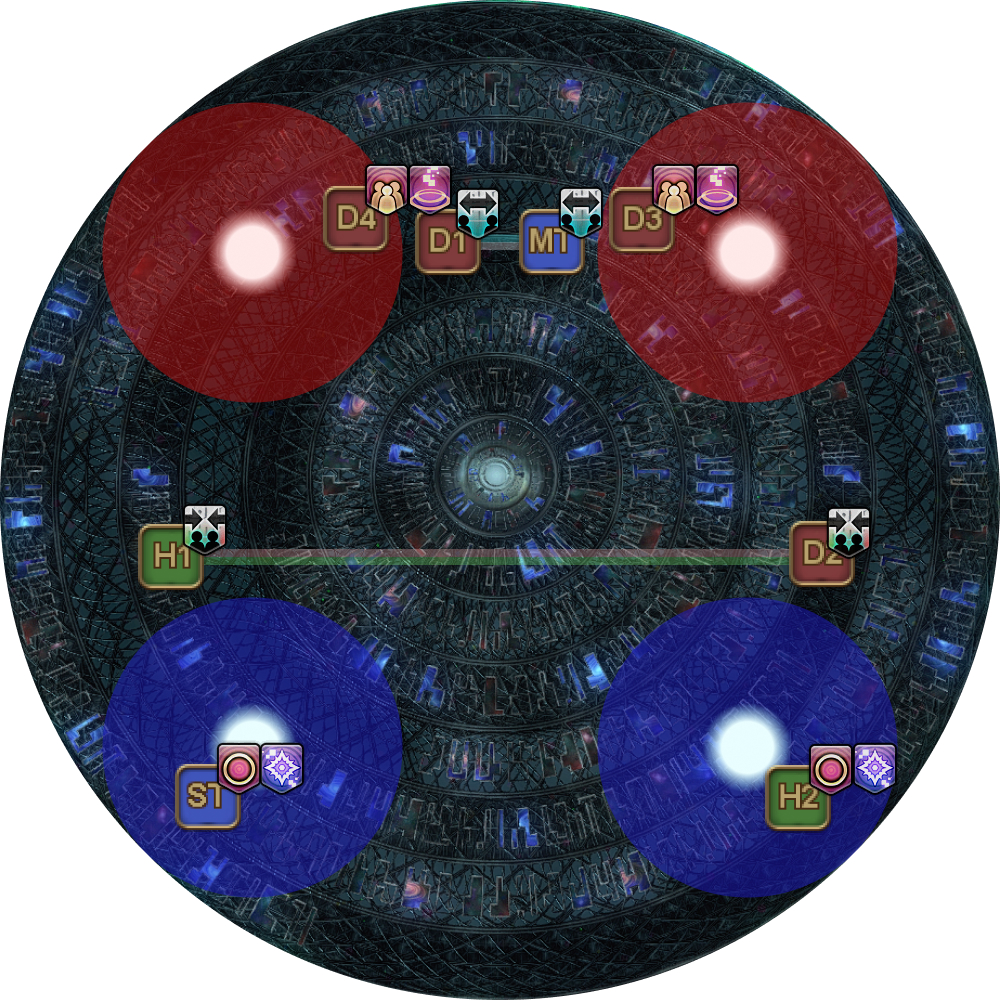
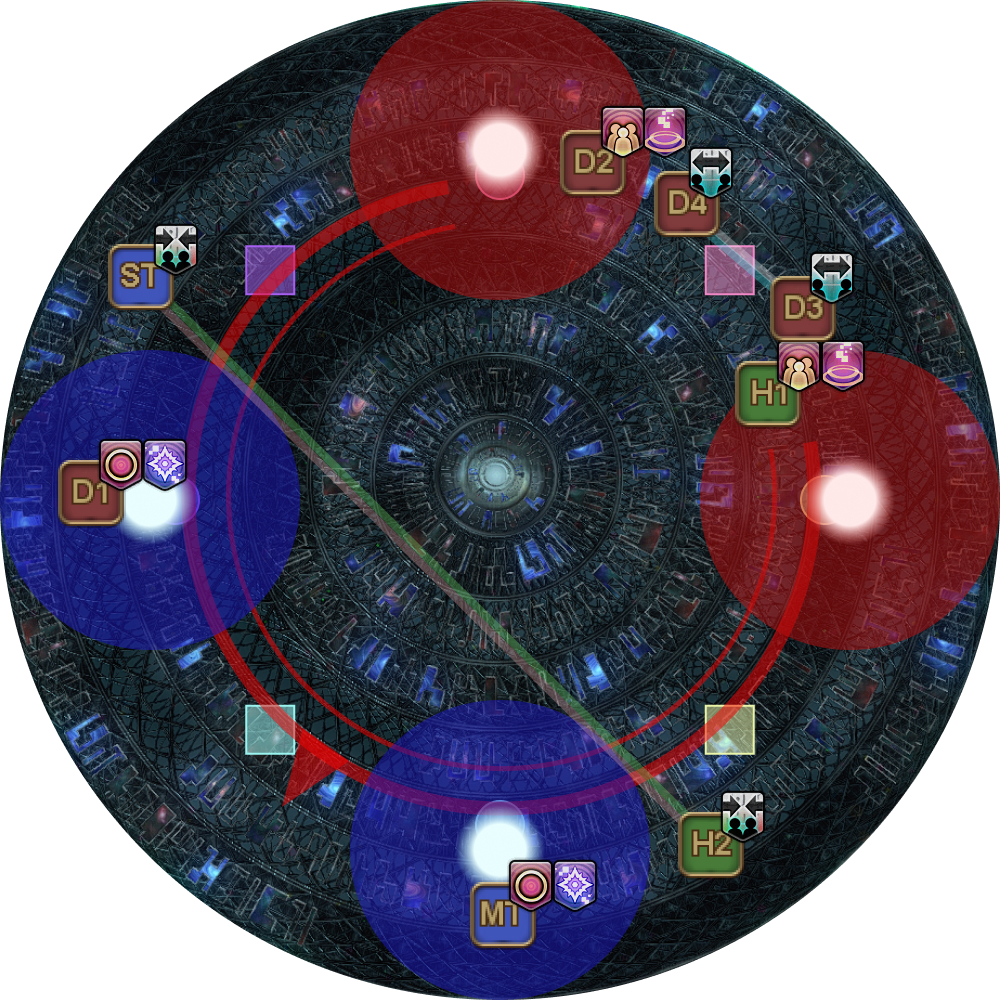
Setup
| 1. Spread out while Omega casts Hello, World, giving players their debuffs.
In this example:
|  |
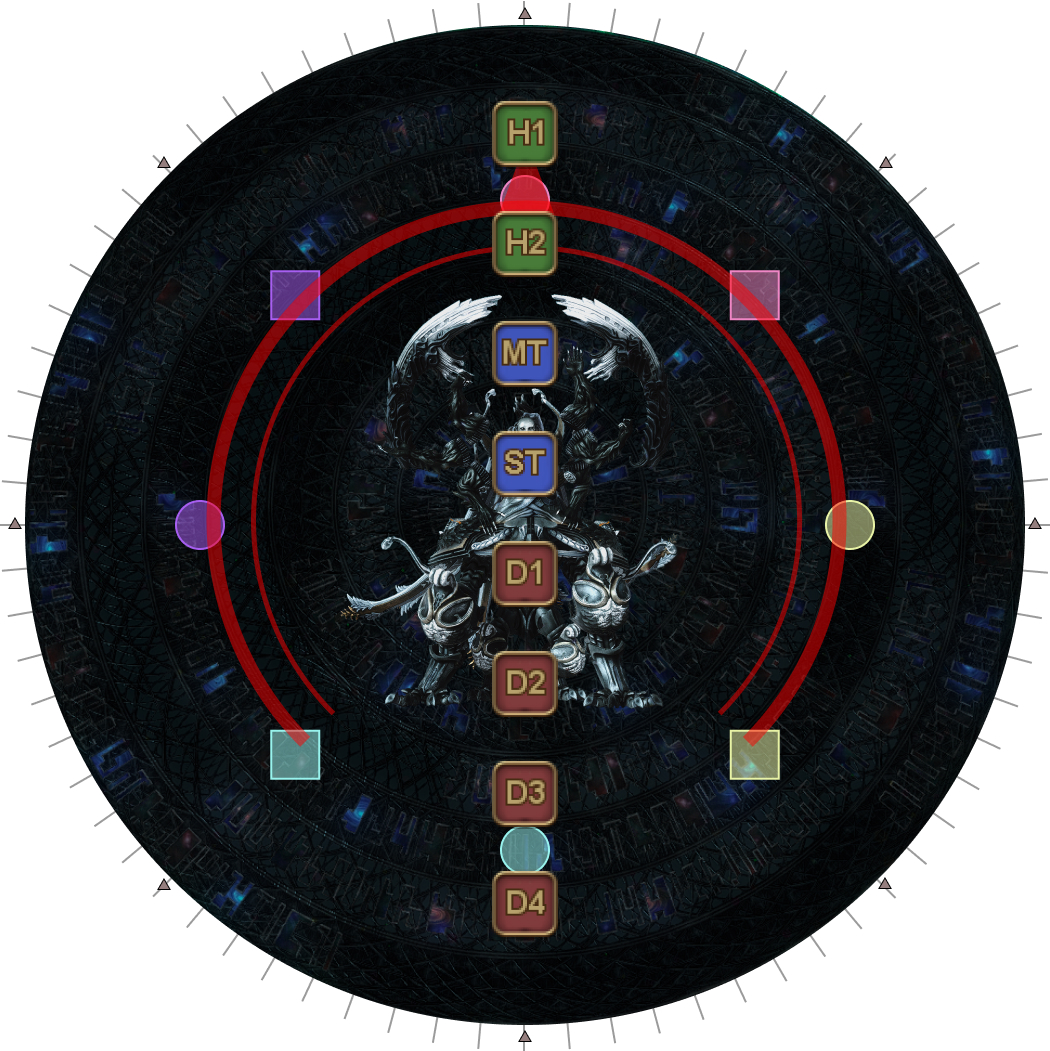
| 2. Preposition to prepare for the first set of towers.
| 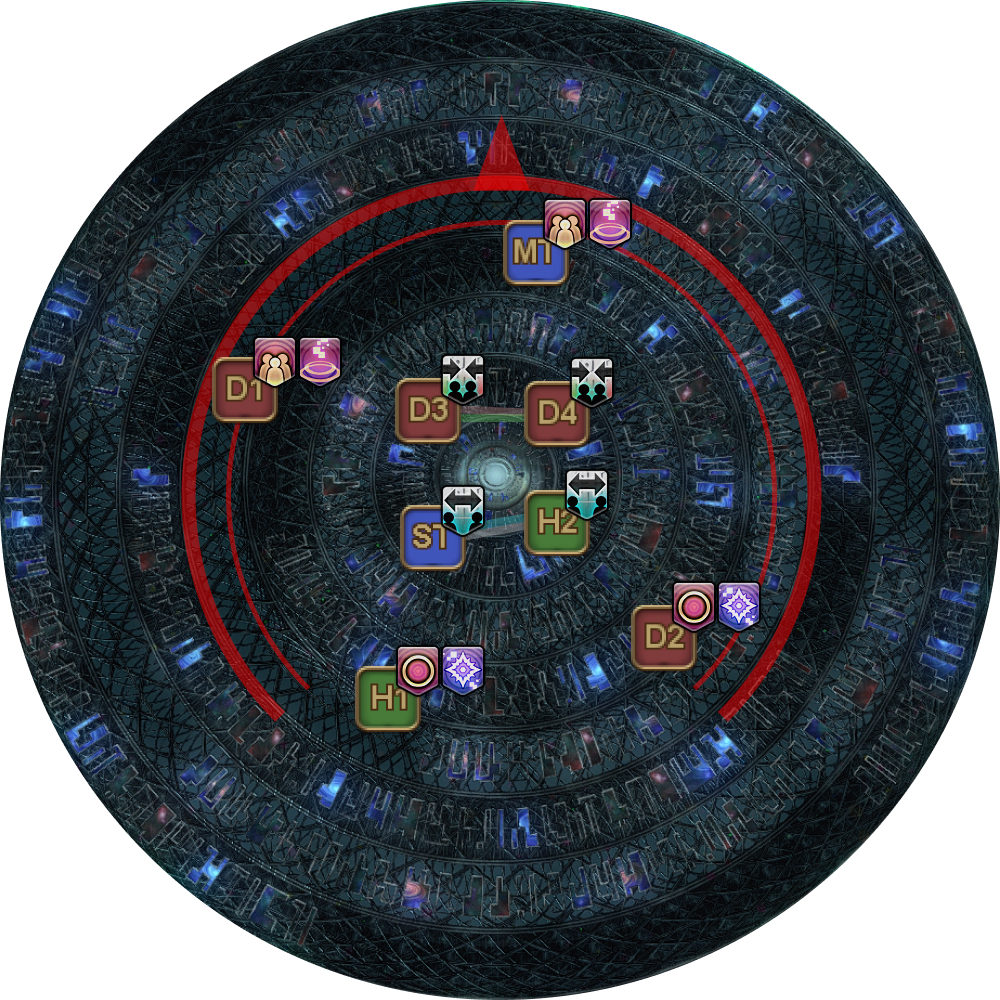 |
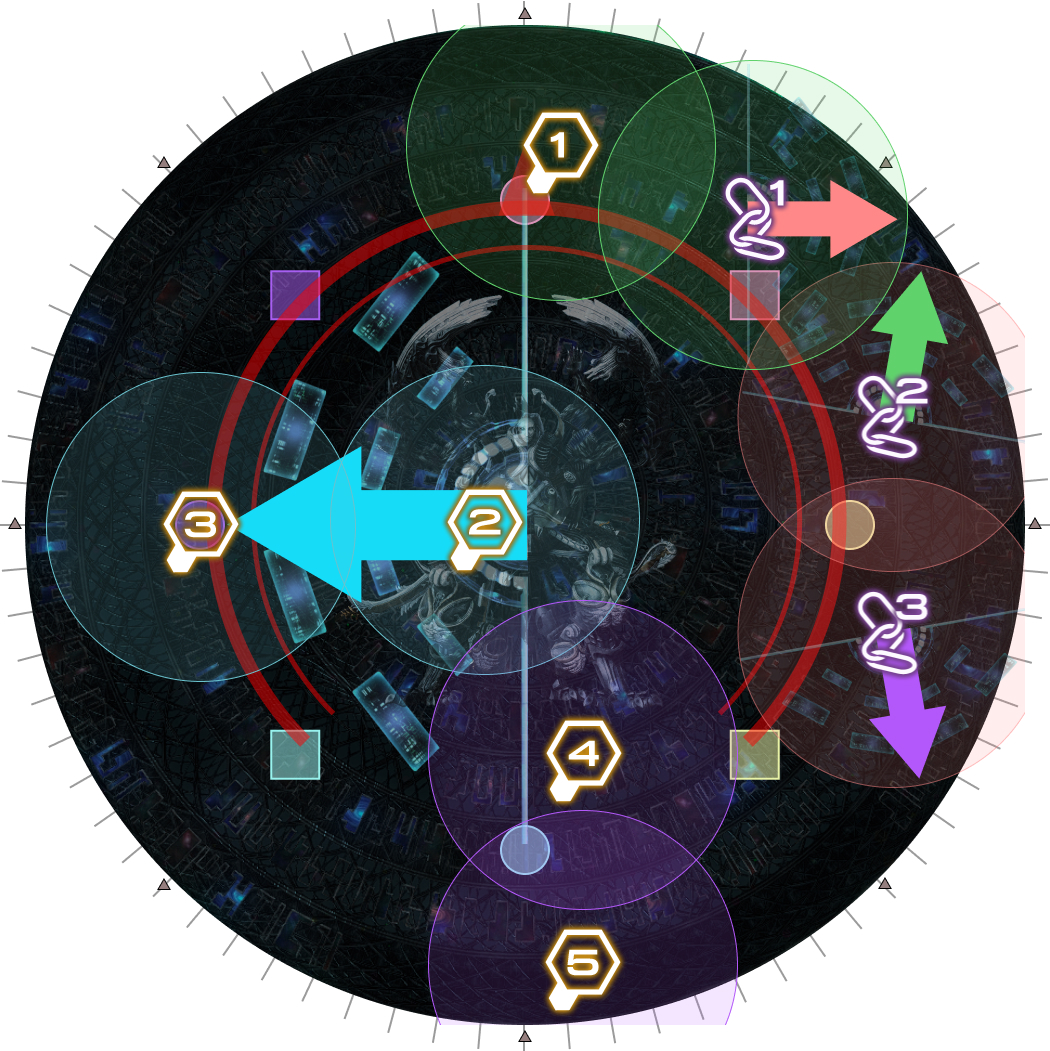
| 3. When the towers appear, the players with Critical Overflow The players with the tethers stay inside the Omega's target circle, and orient themselves to prepare to move. The tether players wait for the the Nisis to be in position before moving out. | 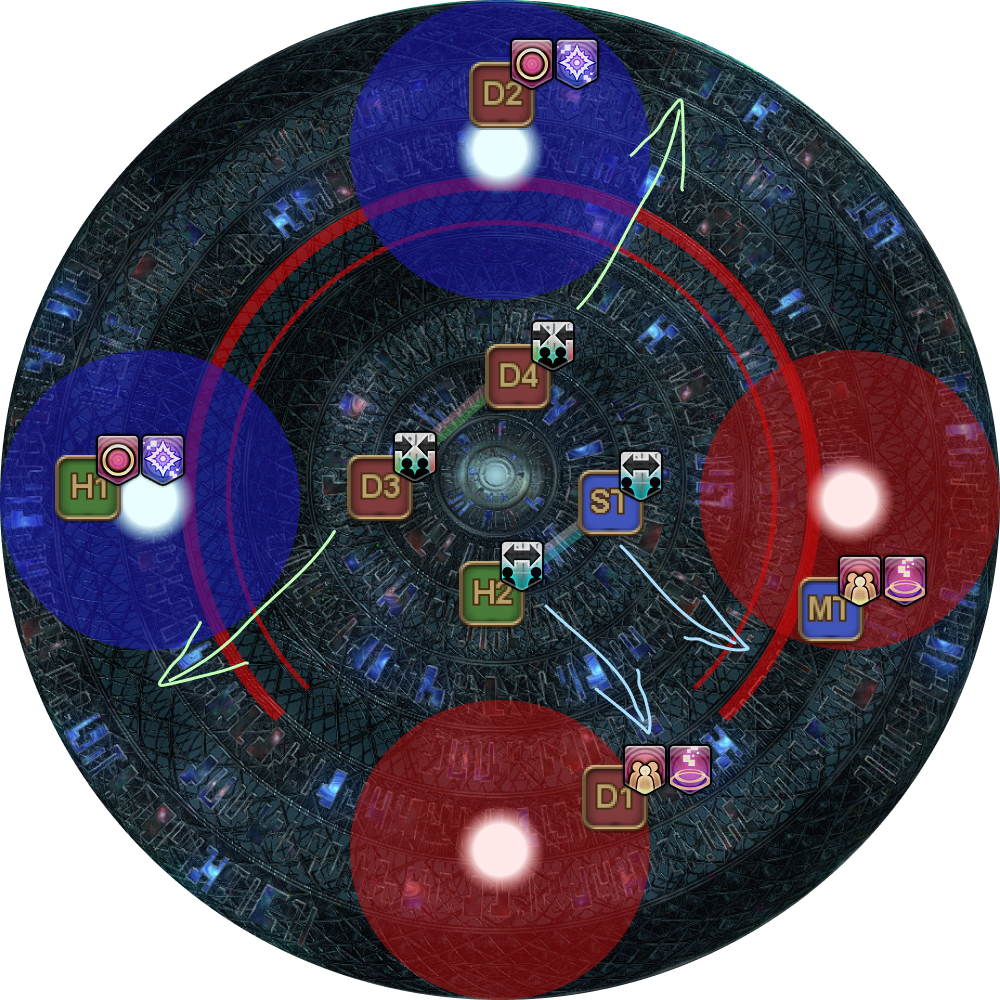 |
Tip: The boss will be auto-attacking the tanks in between towers.
This should be mitigated by cycling through your cooldowns to reduce strain on the healers.
Consider tank swapping after the second set of towers to cycle through the ST's mitigations.
Tip: The party will be taking raid-wide damage from Critical Overflow, Critical Synchronization, and the two tethers when they resolve.
The party needs three pieces of mitigation (shields count) to survive all the damage without any healing in between.
First iteration
For brevity’s sake, we will only display the relevant debuffs from here onwards.
| 3. Pair up and move to your towers.
Note the following:
|  |
| 4. The first set of tethers manifest. Towers, Critical Overflow Bugs
|  |
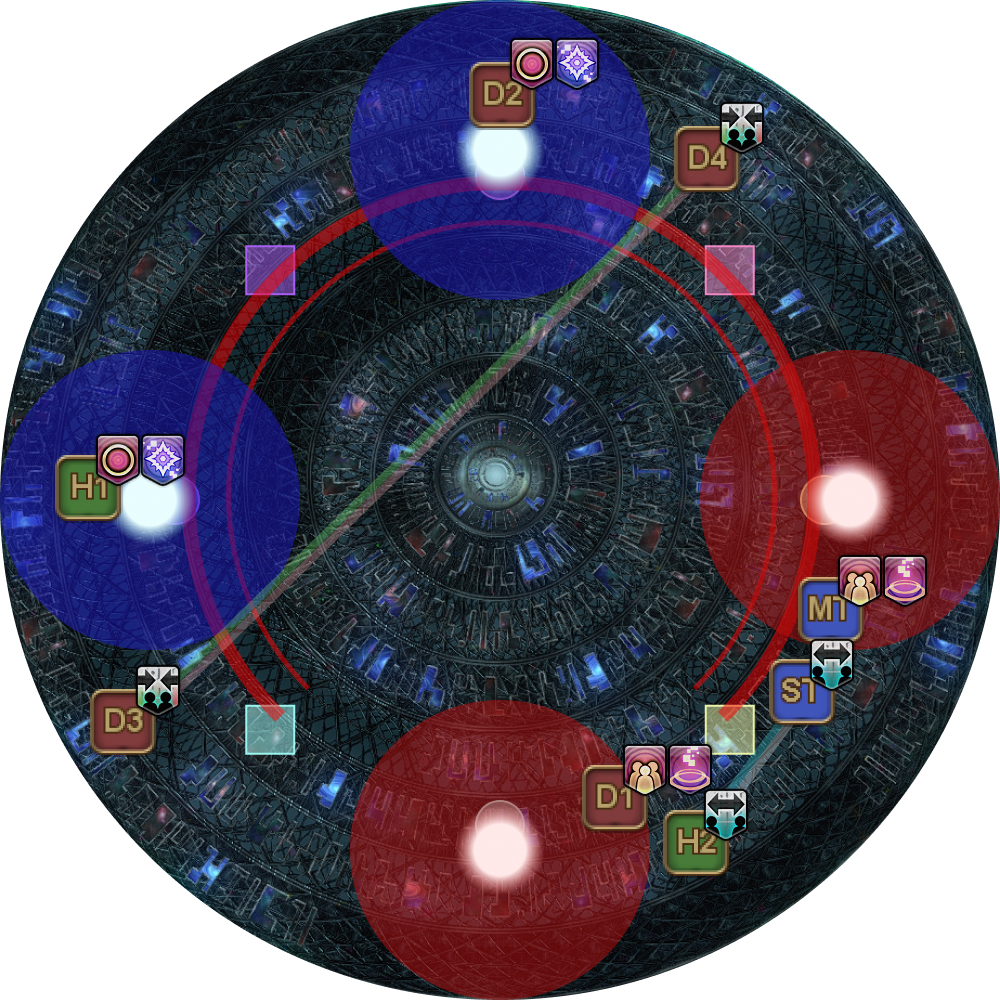
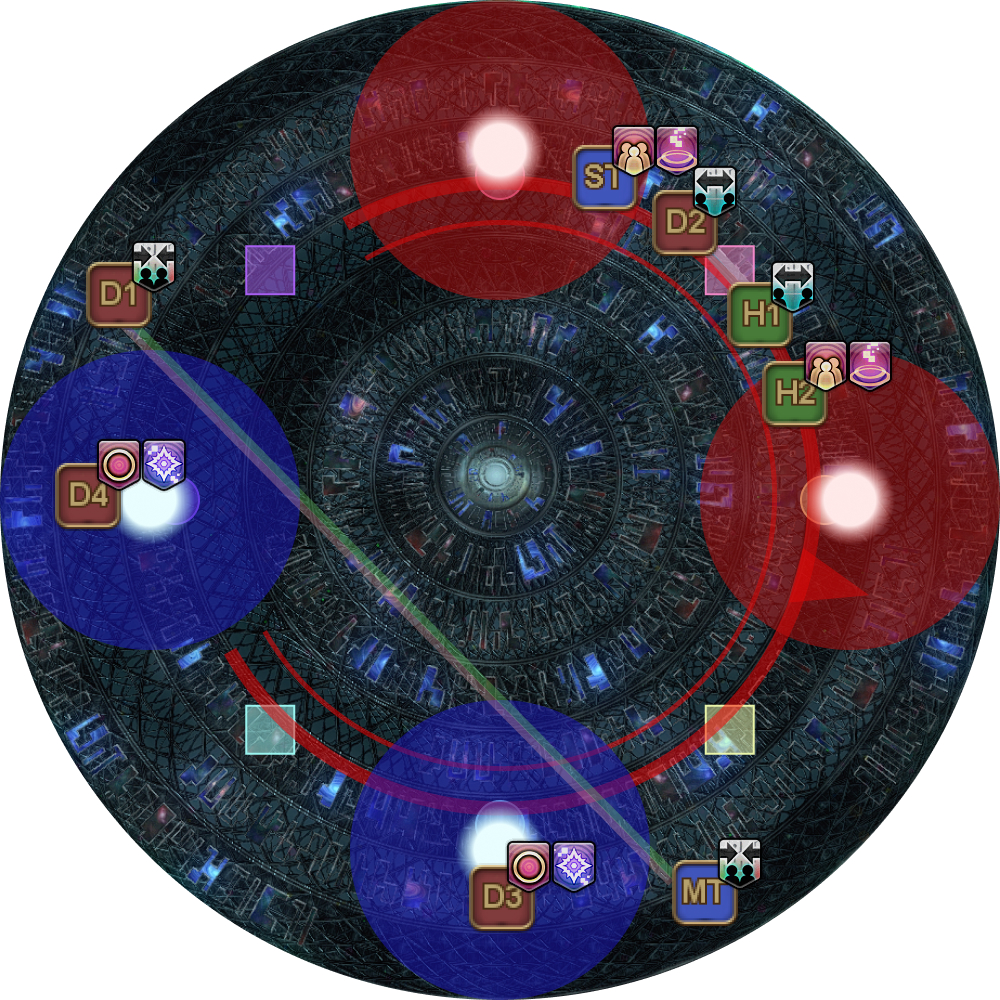
| 5. Wait a split second before passing Critical Underflow The players who were at the Critical Overflow Blue-tethered players also break their tether in the process. | 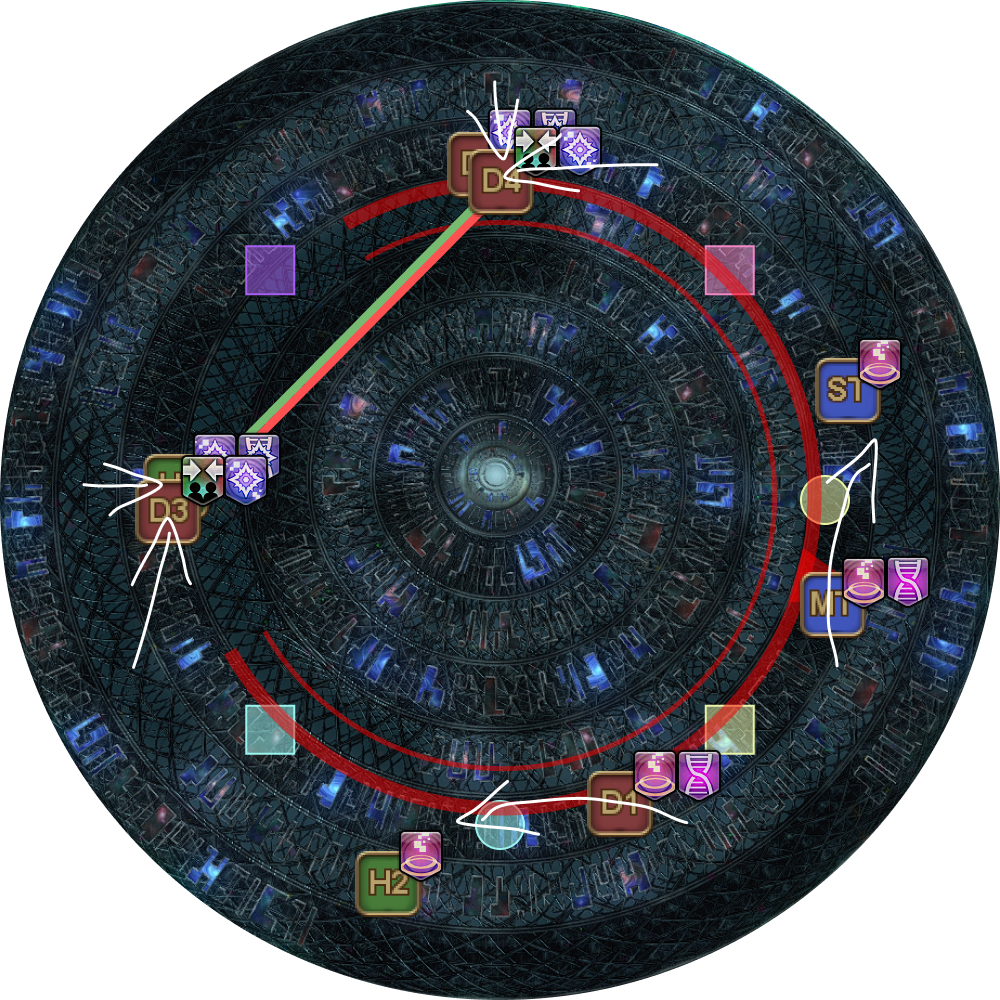 |
| 4. Red/green tethered players move together to break their tether. Avoid the explosions from Critical Underflow | 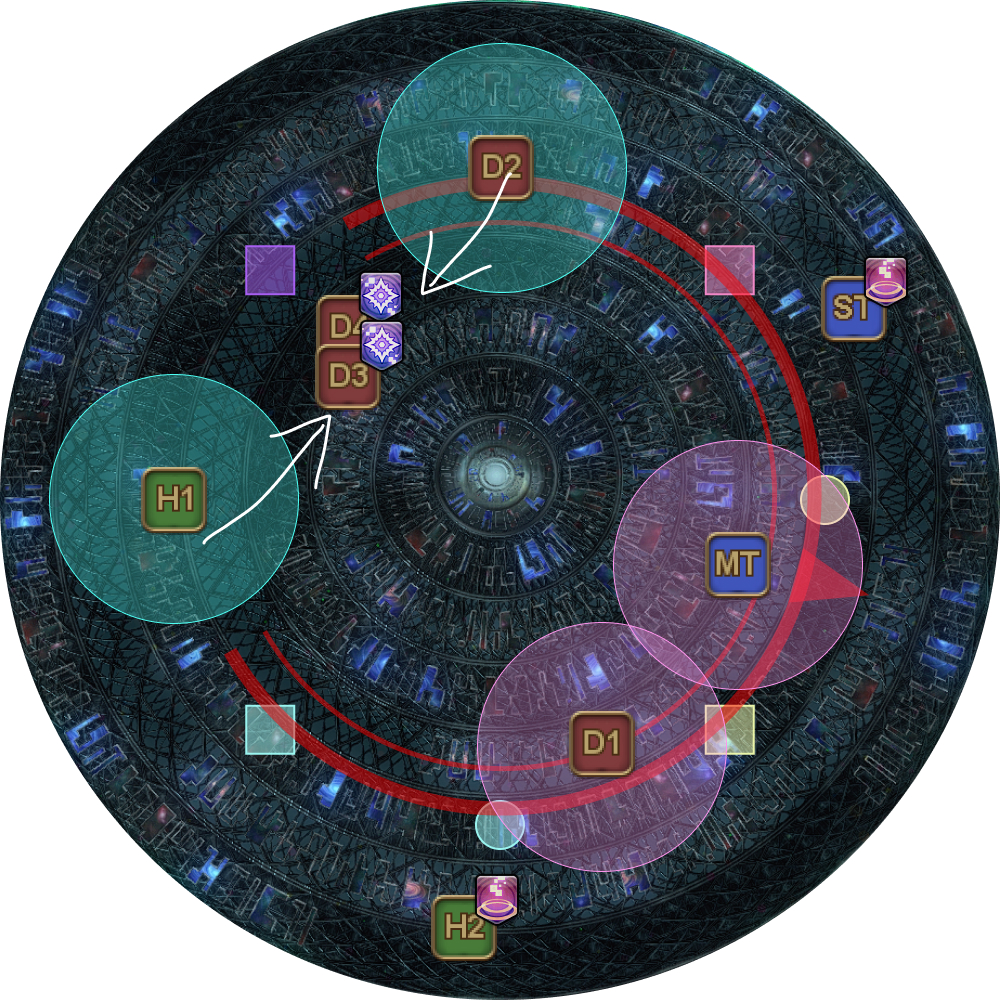 |
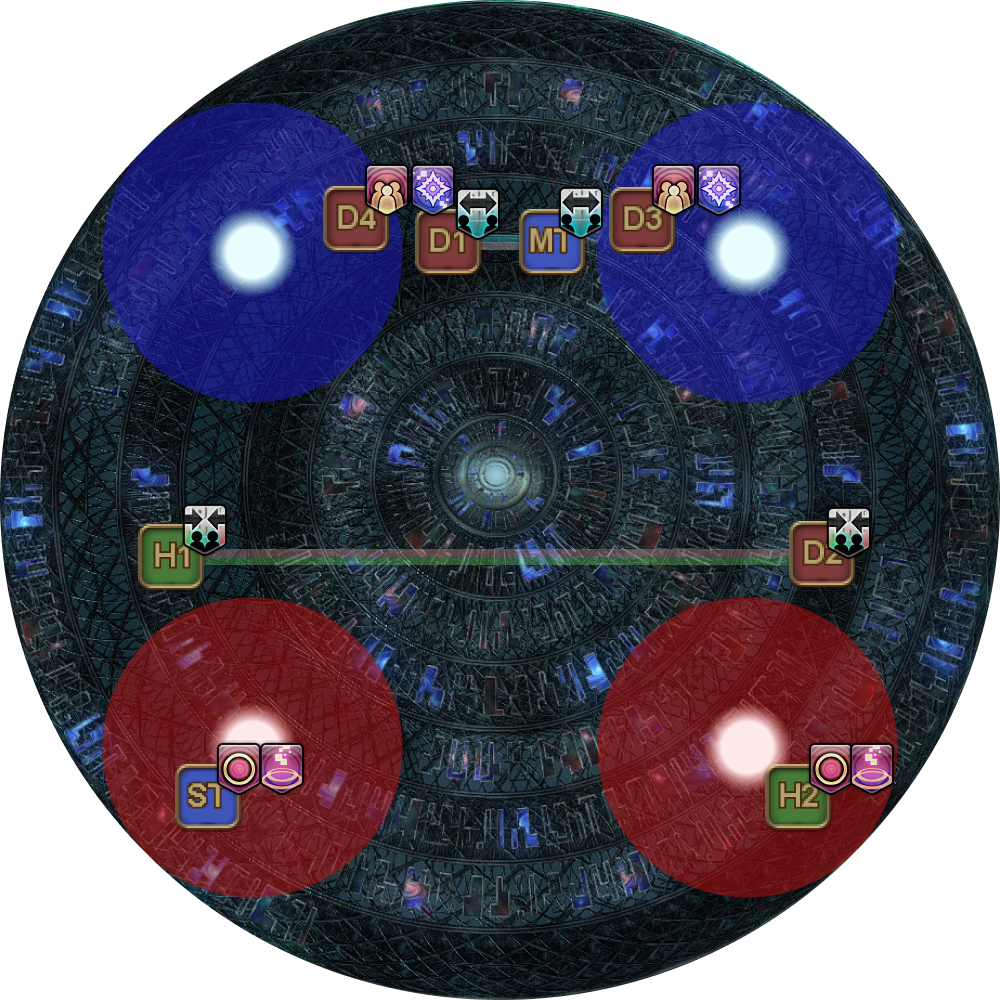
Second iteration
All players rotate their roles for the second iteration.
- Players who were Critical Overflow become Remote Regression (blue tethers)
- Players who were Remote Regression become Critical Synchronization
- Players who were Critical Synchronization become Local Regression (red/green tethers)
- Players who were Local Regression become Critical Overflow .
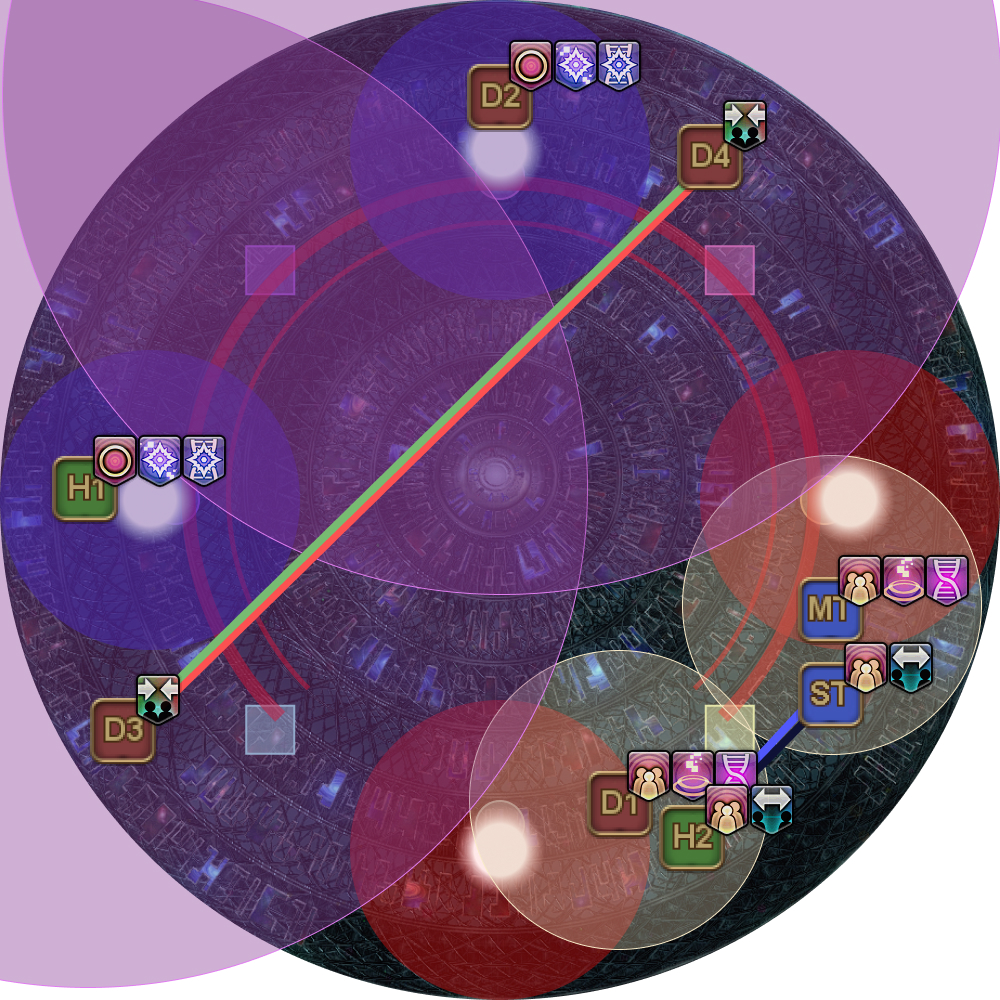
| 6. Pair up and move to your towers.
|  |
| 7. The next set of tethers manifest. Towers, Critical Overflow Bugs | 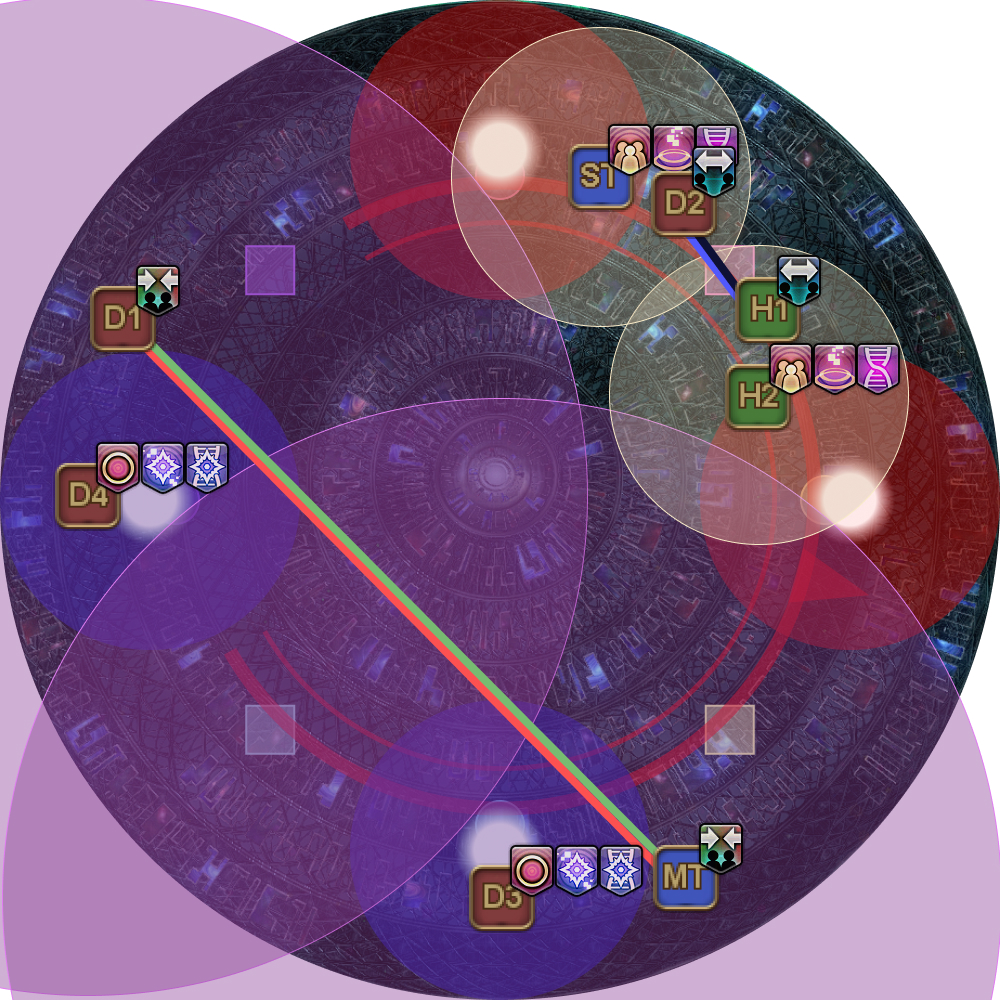 |
| 8. Wait a split second before passing Critical Underflow The players who were at the Critical Overflow Blue-tethered players also break their tether in the process. |  |
| 9. Red/green tethered players move together to break their tether. Avoid the explosions from Critical Underflow | 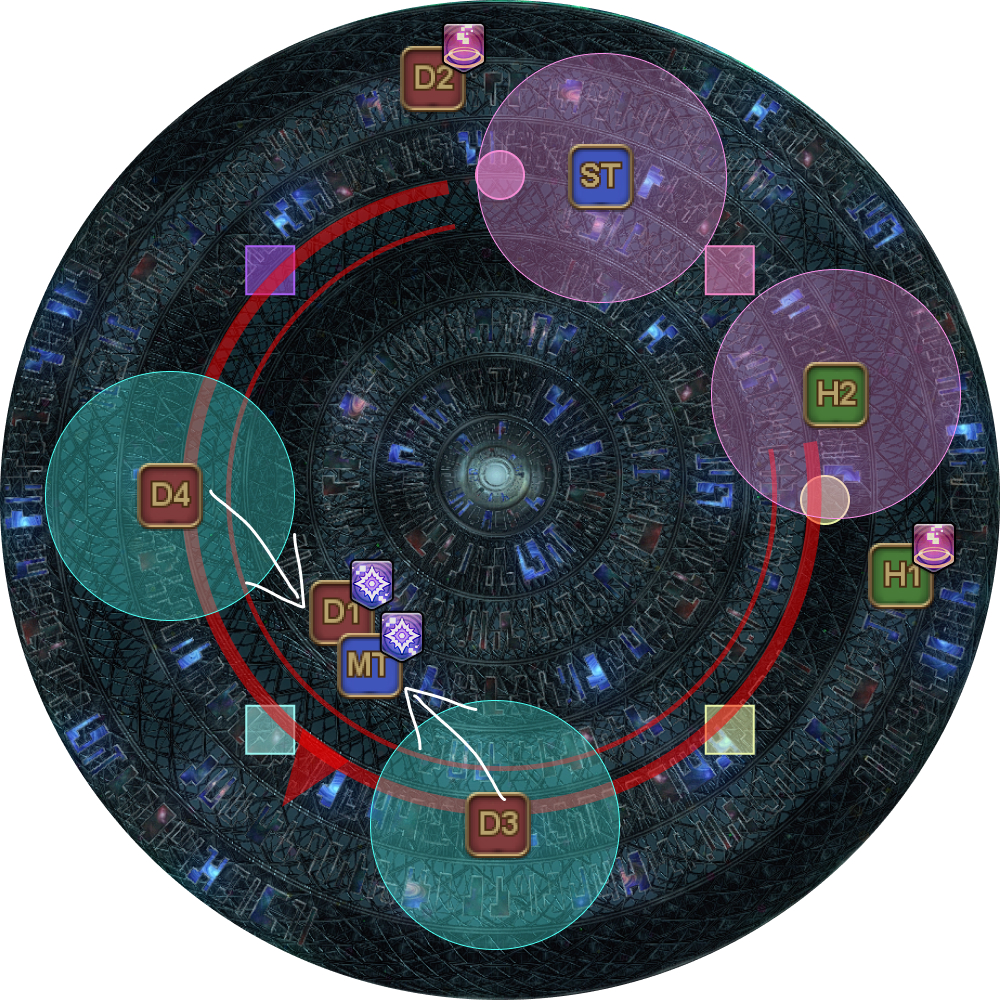 |
Third iteration
All players rotate their roles again for the third iteration.
- Players who were Critical Overflow become Remote Regression (blue tethers)
- Players who were Remote Regression become Critical Synchronization
- Players who were Critical Synchronization become Local Regression (red/green tethers)
- Players who were Local Regression become Critical Overflow .
| 10. Pair up and move to your towers.
|  |
| 11. The third set of tethers manifest. Latent Defect, Towers, Critical Overflow Bugs | 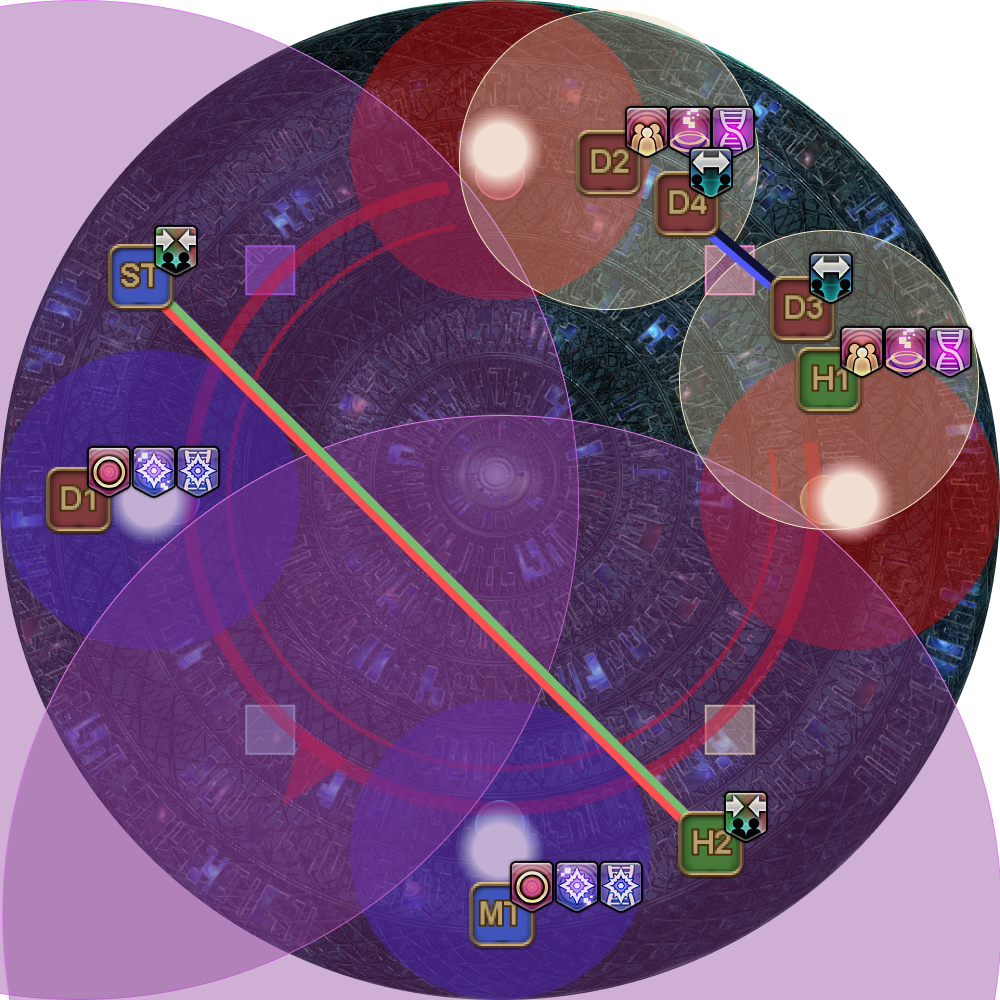 |
| 12. Wait a split second before passing Critical Underflow The players who were at the Critical Overflow Blue-tethered players also break their tether in the process. | 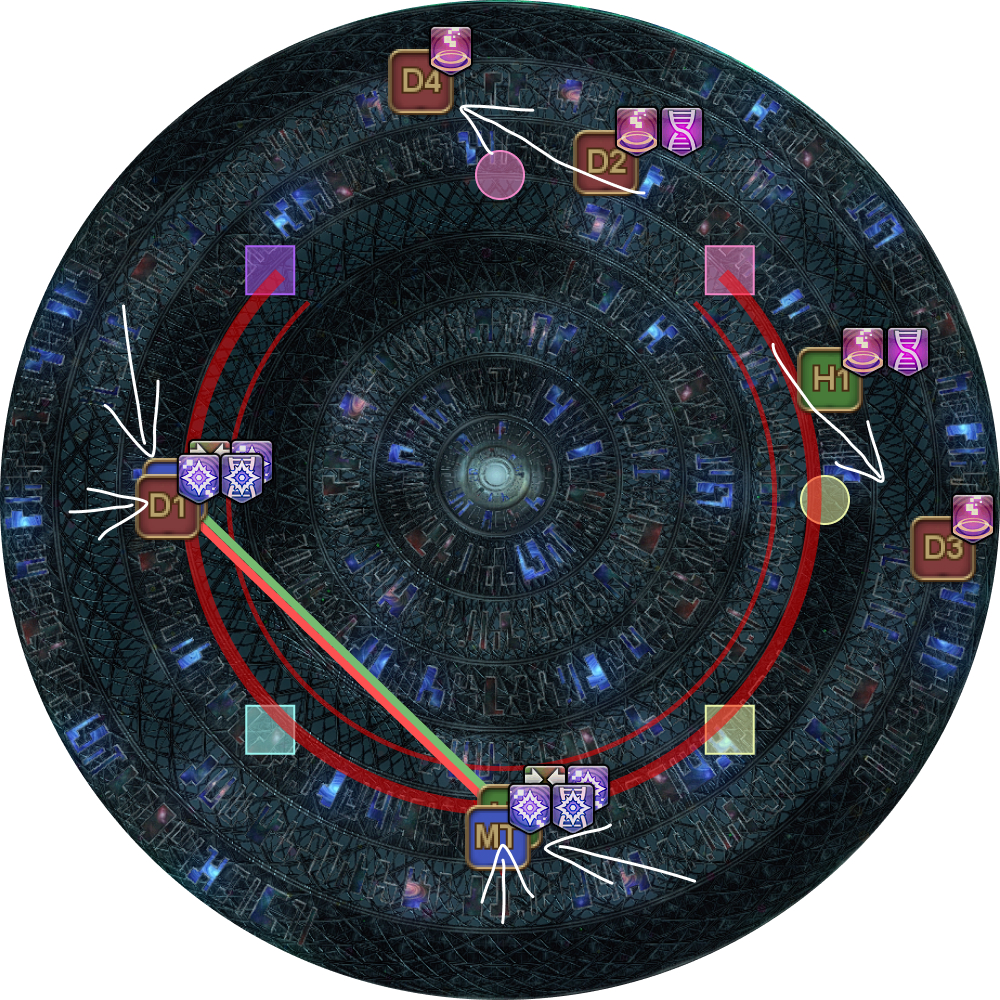 |
| 13. Red/green tethered players move together to break their tether. Avoid the explosions from Critical Underflow |  |
Fourth (final) iteration
All players rotate their roles again for the fourth (and final) iteration.
- Players who were Critical Overflow become Remote Regression (blue tethers)
- Players who were Remote Regression become Critical Synchronization
- Players who were Critical Synchronization become Local Regression (red/green tethers)
- Players who were Local Regression become Critical Overflow .
This time around, there are two differences:
- Red/green tethers will join the blue tethers at Critical Synchronizations instead of getting hit by Critical Overflow and break first.
- Players will not pass Critical Underflow and Critical Performance .
Also note that because all players have gone through all the previous roles, they have the Underflow Debugger and Performance Debugger buffs that prevent them from receiving Critical Underflow Bug and Critical Performance Bug again (the Nisis).
Thus, this final set of towers is free movement, as the Nisis will not be passed, even if players bump into one another.
| 14. Pair up and move to your towers.
|  |
| 15. The last set of tethers manifest. Latent Defect, Towers, Critical Overflow Bugs This should immediately break the red/green tethers- break them if they have not. |  |
| 16. Do not pass Critical Underflow Blue-tethered players break their tether. |  |
| 17. Avoid the explosions from Critical Underflow | 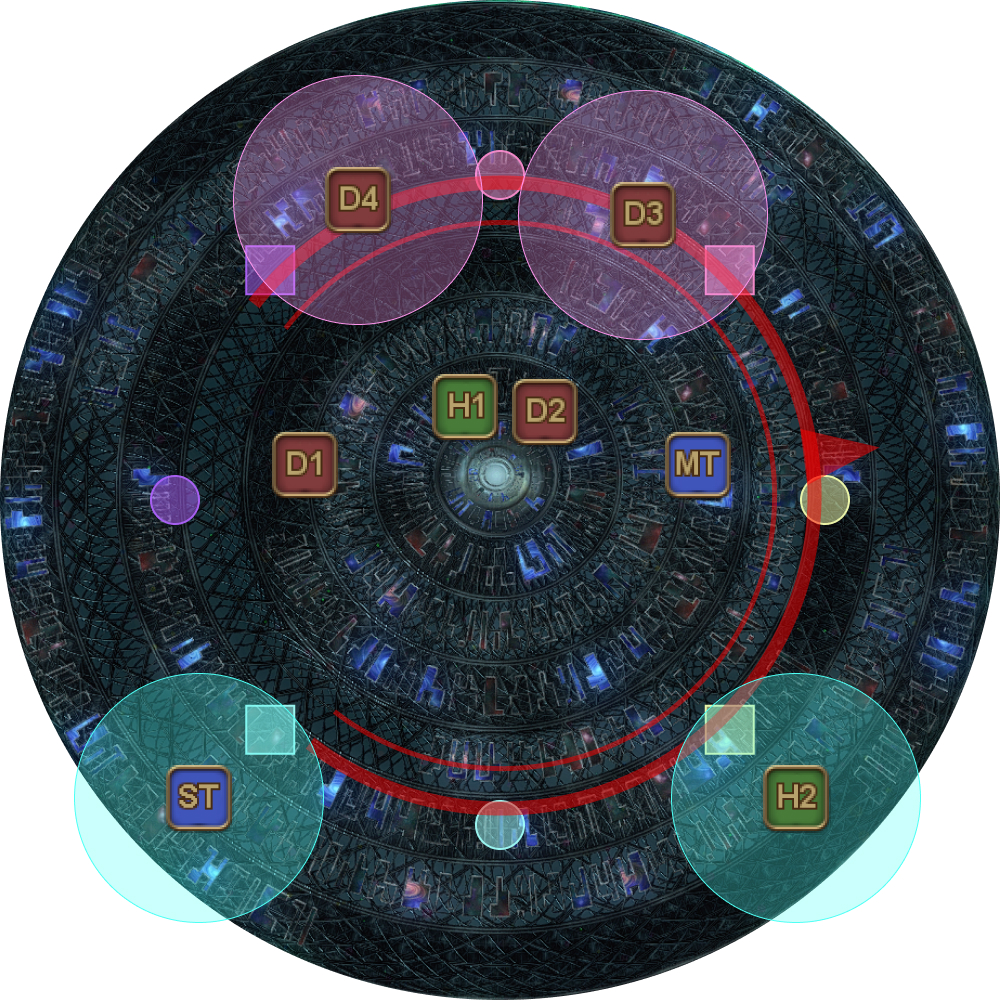 |
| 18. All players have resolved their debuffs, and there are no more bugs remaining. Omega will cast Critical Error, which deals heavy raid-wide damage, and applies a fresh Critical Overflow Bug on all players, which will get blocked by everybody's Overflow Debugger buff. | 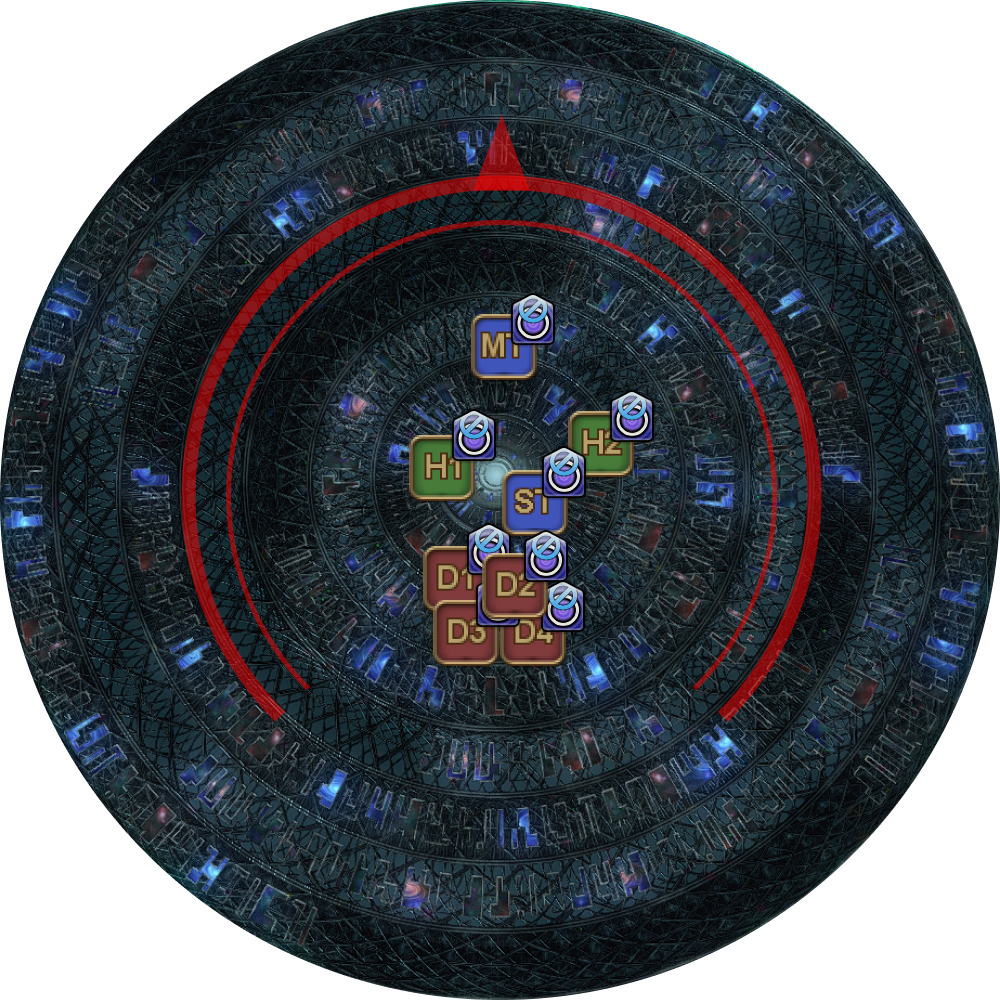 |
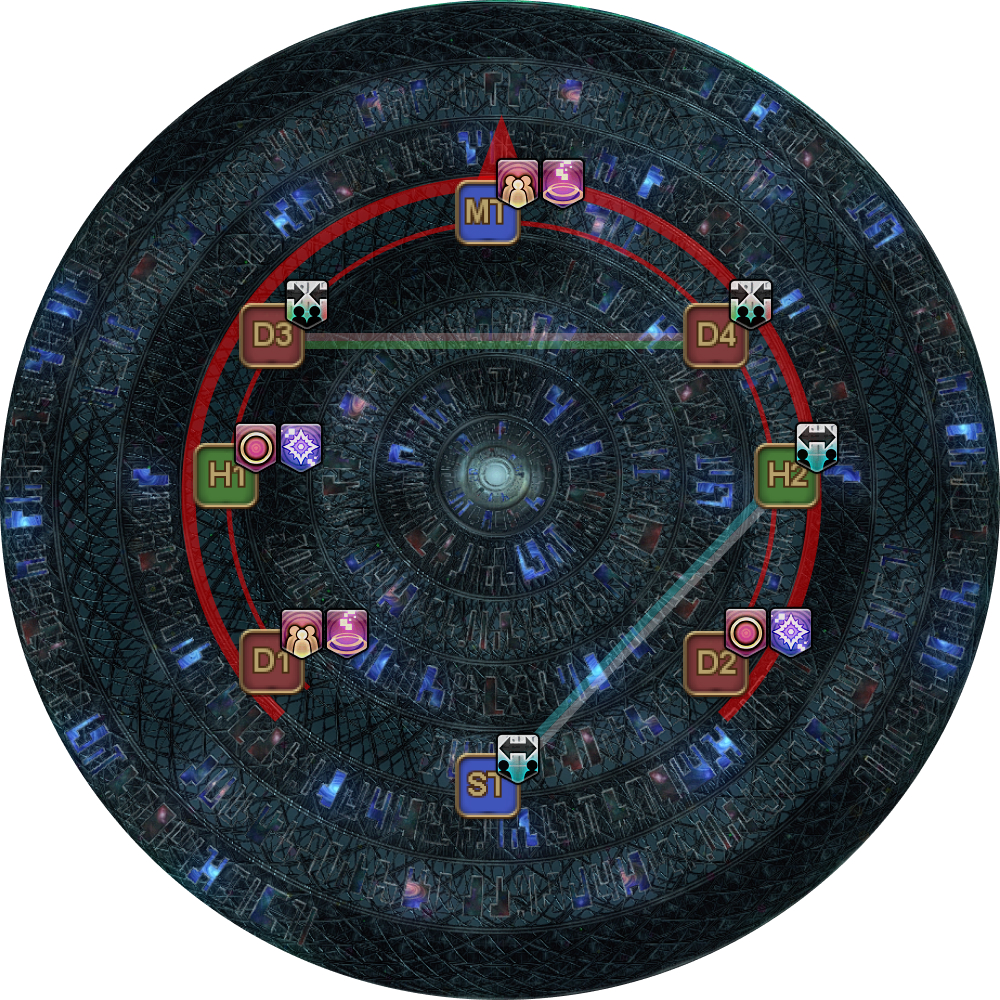
Oversampled Wave Cannon
Omega will teleport to the middle and face north.
Monitors will appear on Omega’s, and on three random player’s left-hand or right-hand side. For each of the four monitors (Omega and the three players), two random players on the monitor’s side will be hit with an AoE.
The party needs to arrange themselves such that all monitors hit exactly one player each.
[Click to Expand] Oversampled Wave Cannon Loading
 | Preparing oversampled wave cannon, which will fire in the direction of designated player when this effect expires. Monitors will appear on the player's left-hand or right-hand side (never the front or back). When the mechanic resolves, two random players on the side with the monitors will be hit with an AoE. If there are fewer than two players, then a random player (from anywhere) is selected for each player missing instead. |
PF currently resolves this using Astoh’s strat (アスト式), but with a different lineup order.
| 1. Line up, north-to-south:
|  |
| 2. Omega will ready Oversampled Wave Cannon (monitors), facing directly east or west. Three random players will also get their own set of monitors. Resolve them as follows, with all three monitor players on the other side of Omega's monitors. The player positions are not particularly strict, so long as:
| |
| Omega's monitors face west | Omega's monitors face east |
 |  |
| A common error is accidentally clipping the non-monitor 3 player. To help prevent this:
Note that it is far easier for non-monitor players to adjust to the monitor players as needed. | |
Frequently Asked Questions
[Local Regression] Why do the Local Regression players not stand with the Critical Overflows in the final iteration?
| Omega casts Critical Error at the end of Hello, World. This will apply a new Critical Overflow Bug onto all players. However, because all players have the Critical Overflow Debugger buff, this additional Critical Overflow Bug is blocked. If the Local Regression players stayed with the Critical Overflow Bug players in the final iteration, their Critical Overflow Debugger buffs would get consumed there instead. As as result, they won't have the Critical Overflow Debugger buff when Omega casts Critical Error, and will get another round of Critical Overflow Bugs that will last into Oversampled Wave Cannon. |
[Oversampled Wave Cannon] Why are the healers north-most? Doesn't putting healers south-most guarantee the southern spot goes to a ranged?
Putting all four ranged players south guarantees that the southern player is a ranged, thus providing full melee uptime even in the scenario where all three monitor players are ranged, but the chances of this happening are 1/14. Putting healers at the north side means that both extremeties will have ranged players in the average case, which allows them to go all the way to the edge of the arena to give the other players more room for error, the north-most monitor player in particular. That being said, doing so means that a melee may have to disconnect from the boss in the worst case scenario, but this is an acceptable scenario given its likelihood. |
[Oversampled Wave Cannon] Are two of the monitor players supposed to be angled slightly up and down as shown in the diagram?
| Astoh's original diagram had those players look exactly East/West horizontally, and that's still fine and a workable strat. However, the problem with going horizontally is that if you're off by a little bit, there's a chance you accidentally clip the player on the far East/West (marked "3"). It doesn't help that Omega in the center is blocking your view of that player. One of the advantages of Astoh's strat is that each monitor player can clearly see the two other players they are supposed to hit with their monitors (without Omega in the way). Tilting up/down a little gives you additional margin of error to not hit the player at "3"- you can tilt as much as you want, so long as you still hit the two people you're supposed to (who aren't blocked by Omega). |
Troubleshooting
[Cascading Latent Defect/Latent Performance Defect] Why did we wipe to this even though we took the towers correctly?
| This is the result of Cascading Latent Defect or Latent Performance Defect expiring without getting cleansed. This means that either:
Taking the towers gives players a 10-second Cascading Latent Defect or Latent Performance Defect debuffs, which need to be cleaned by the appropriate Bug (the Nisis) debuffs by having them expire before the Defects. The timeline for each loop looks like this:
Since the Nisi debuffs last 27 seconds and must expire before the Defects do, this means you have a 3-4 second window after towers resolve to pass Nisis (Note: not necessarily break tethers!) for the Nisis to expire in time to cleanse the next tower's Defects. If you miss this window, your Nisi will not expire in time to cleanse the Defects before they explode and wipe the raid. |
[Oversampled Wave Cannon] A Critical Overflow AoE went off during monitors! What happened?
| Critical Error has an additional effect besides just raid-wide damage- it gives all party members a Critical Overflow Bug debuff. However, in normal cases, all party members would have the Overflow Debugger buff on them from resolving Critical Error previously. This buff is lost if the player dies. Thus, if a player that has already resolved their Critical Overflow Bug dies and is raised, Critical Error will give them a fresh copy of Critical Overflow Bug, which just so happens to resolve in 21 seconds, which is also when Oversampled Wave Cannon resolves. |