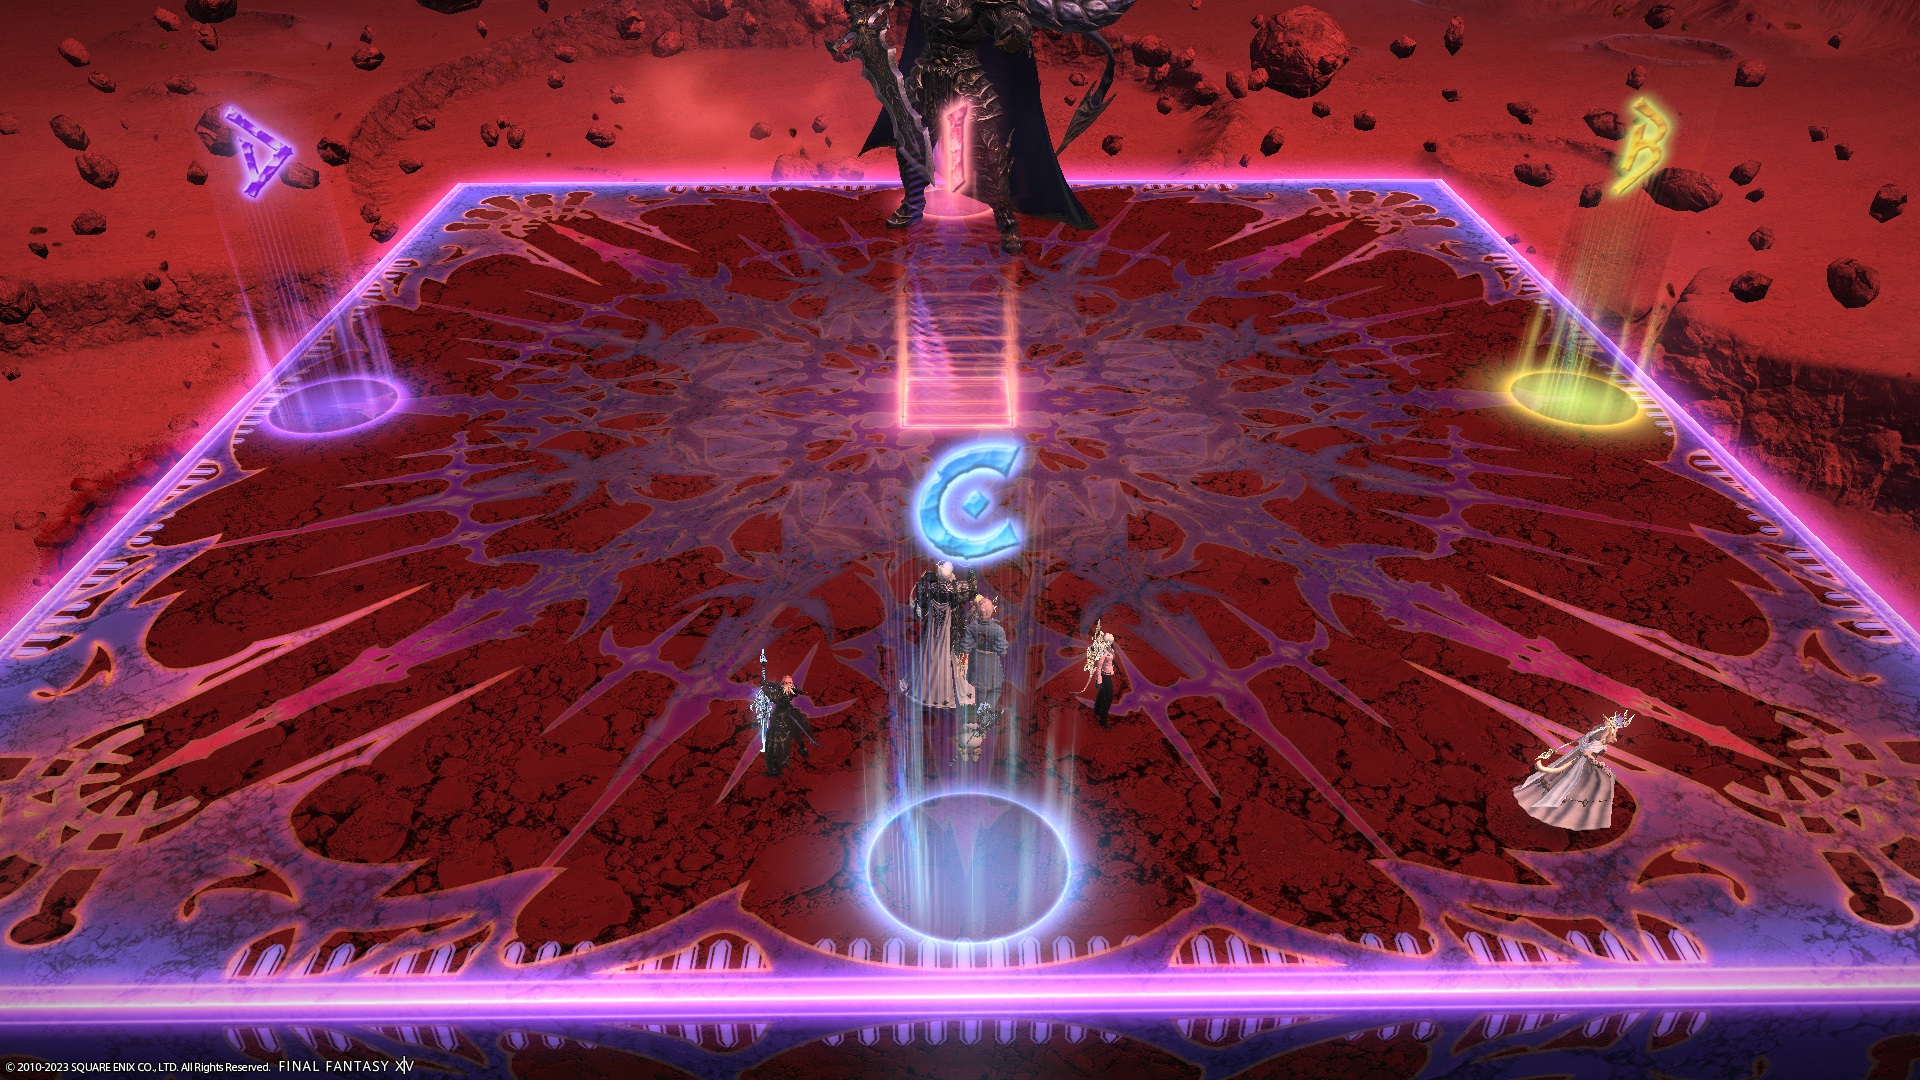
The Voidcast Dais (Extreme)
Game8 has gone ahead with a modified version of Hamkatsu’s strat for Golbez EX.
*N.B: Hamkatsu has released a follow-up video where he updated the Gale Sphere positions to melee-in, ranged-out.
The key points to note are:
- Void Stardust splits are North/South.
- The MT group is outside for Terrastorm + Arctic Assault + stacks.
English
■ Spread (True North)ーーー《Game8》ーーーー
  D3 MT D4    ■ 4:4 stacks
  H1 ★ H2    West/Out: MT H1 D1 D3
  D1 ST D2      East/In: ST H2 D2 D4
■ Lingering Spark ーーーーーーーーーーーーーーー
 Move when cast finishes
■ Double Meteor ーーーーーーーーーーーーーーー
 DPS: 3-man tower Flare: North
 T/H: 2-man tower Flare: South KB: Mid
■ Void Stardust ーーーーーーーーーーーーーーーー
 North: MTD1/H1D3  South: STD2/H2D4
■ Gale Sphere #2, #3 (Stacks + Pairs) ーーーーーー
 N/W:(H1D3 > MTD1) > (STD2 > H2D4):S/E
■ Eventide Triad ーーーーーーーーーーーーーーーー
 Tanks→North Healers→E/W DPS→South
Japanese
■散開(北基準)--■44頭割り-------ハムカツ式改---
D3 MT D4  | 西/外:MTH1D1D3
H1 ★ H2  | 東/内:STH2D2D4
D1 ST D2   | 縦安置 北:MT組 南:ST組
■ディレイスパーク--------------------------------------
ディレイアースを避けた位置で捨てる
■ダブルメテオ-------------------------------------------
DPS:3人塔 フレア北
TH:2人塔 フレア南 ノックバック中央
■ヴォイド・コメットレイン-----------------------------
北1:H1D3 北2:MTD1 南1:H2D4 南2:STD2
■ウィンドスフィア2,3回目----------------------------
北/西 H1D3,MTD1,STD2,H2D4 南/東
■三連黒竜閃---------------------------------------------
T:北 東西:H 南:DPS
Markers
Game8/Hamkatsu uses the following markers:
ABCDare for orientation.- The
1marker in the middle is for the healer knockback position.
XIVLauncher WaymarkPresetPlugin positions
{
  "Name":"Golbez EX",
  "MapID":950,
  "A":{"X":100.0,"Y":0.029,"Z":87.0,"ID":0,"Active":true},
  "B":{"X":113.0,"Y":0.029,"Z":100.0,"ID":1,"Active":true},
  "C":{"X":100.0,"Y":0.029,"Z":113.0,"ID":2,"Active":true},
  "D":{"X":87.0,"Y":0.029,"Z":100.0,"ID":3,"Active":true},
  "One":{"X":100.0,"Y":0.029,"Z":100.0,"ID":4,"Active":true},
  "Two":{"X":100.0,"Y":0.029,"Z":100.0,"ID":5,"Active":false},
  "Three":{"X":100.0,"Y":0.029,"Z":100.0,"ID":6,"Active":false},
  "Four":{"X":100.0,"Y":0.029,"Z":100.0,"ID":7,"Active":false}
}
Timeline
 (Credit: u/ExiaKuromonji)
Frequently Asked Questions
[Game8] What was the modification made to Hamkatsu's to get to Game8?
The difference is in the lineup for Gale Spheres #2 and #3. Hamkatsu's original strategy has the tanks/healers and DPS line up differently: This has a couple issues, namely that it is difficult for the MT and D1 to maintain uptime on the boss. Hamkatsu released a follow-up video where he updated the Gale Sphere positions to what we have now (melee-in, ranged-out), which Game8 picked up, hence the "Modified Hamkatsu". |
[Void Stardust] Why are the groups split N/S instead of E/W?
This was one of the points of contention when the fight was released. Unfortunately, we don't know why Hamkatsu split the groups N/S, especially when Eventide Fall means H1 may have to cross from NE to W, and H2 from SW to E. |
[Terrastorm + Arctic Assault] Why does the MT group go outside and the ST group stay in?
This was one of the points of contention when the fight was released. We don't know why Hamkatsu put the MT group on the outside, but this was what PF eventually settled to. Many players felt that having the MT group stay towards the center, and the ST group go out made more sense. Another configuration had all the melees inside together with H1, and the ranged (with the ST) outside. |