Eden’s Promise: Eternity (Savage) - Part 2
Thoughts Per Second (TPS) strat
Note: There are some details that are added in the macro, in particular, a DPS priority order for Basic Relativity.
Things to check on Party Finder
- Shockwave Pulsars: The MT usually Reprisals all the Relativities, while the OT usually reprisals Shockwave Pulsars.
- Somber Dance: The way EN and JP parties bait Somber Dance differs- EN parties will tend to bait next to the boss, while JP will bait on the other side of the arena. MT usually baits first.
- Advanced Relativity: The macro has D3 and D4 adjust in the event D1+D3 or D2+D4 have the same (non-Fire) debuffs. Some macros have D2 and D3 adjust instead.
- Having D3 and D4 adjust means that each side is guaranteed to have one melee DPS, one ranged DPS so there’s no confusion over Dark Fire spots.
- Having D2 and D3 adjust keeps the standard based on past fights (e.g: E8S), but means that if a swap happens, there will be two melee on one side, and two ranged on the other, so the Dark Fire priorities get a little more complex.
- Terminal Relativity: Check your party’s mitigation plan.
Approximate milestones
- 30% HP at Advanced Relativity (when the boss becomes untargetable)
English
【Dark Eruption】【After Single Apoc】【Int. Relativity】
    MT     MT ST       D3  MT  D4
  D1  ▲  D2     ▲         H1   ▲   H2
   D3 ST D4   D1 D2 D4    D1   ST   D2
    H1 H2       H1 H2
              D3 ※Healer/ranged adjust based on AoE direction
【Basic Relativity】 Yellow lights = 12 o'clock
 9 o'clock (L)→ MTH1  3 o'clock (R)→STH2
 1st Beam/Dark Fire Priority: (L) D1>D2>D3>D4 (R)
 Beam order: DPS→Healers→Tanks
【Black Halo】MT Invuln→OT Invuln
【After Single Apoc】Stack in mid→Healer/range spread to where AoE exploded
【Intermediate Relativity】 Use true north
【After Dual Apoc】 Stack in front of boss→Spread based on boss
【Advanced Relativity】
 North→MTH1D1D3  ※D3, D4 adjust
 South→STH2D2D4
 Dark Fire Priority: In: Tanks>D1D2D3D4>Healers :Out
【Triple Apoc】Bait boss to the outside, ahead of the center light's 3rd position→Knockback L/R as appropriate
【Terminal Relativity】 MT mitigation, MT Reprisal, D4 Addle, D3 mitigation
 Pulsar 1: H2 mitigation (1, 2)
 Pulsar 2: OT Reprisal, H1 mitigation (2, 3)
 Pulsar 3: OT mitigation (D2 Addle if 2x caster)
Japanese
【エラプ・基本散開】【シングル後散開】【破】北基準
   MT     MT ST     D3  MT  D4
 D1  ▲  D2     ▲       H1   ▲   H2
  D3 ST D4   D1 D2 D4  D1   ST   D2
   H1 H2       H1 H2
             D3 ※AoE回転方向によりヒラ遠隔のみ左右反転
【序】黄砂時計を12時とする
  9時(左)→ MTH1  3時(右)→STH2
  優先度:左>D1>D2>D3>D4>右で1回目ビーム誘導/ファイガ散開
  ビーム誘導:DPS→ヒラ→タンク
【ブラックヘイロー】MT無敵→ST無敵
【シングル後】中央で頭割り→AoEが爆発した場所にヒラ遠隔が散開
【破】北基準、破の散開位置のライン上で配置
【ダブル後】ボス前方で頭割り→ボス基準で基本散開
【急】北(10時~2時)→MTH1D1D3 ※D3D4調整
   南(4時~8時)→STH2D2D4
   ファイガ: 内:タンク・D1D2D3D4・ヒーラ:外
【トリプル】中央から出る予兆の3回目側より少し先の外周にボス誘導→左or右斜めの狭い方にノックバック
【終】 MT軽減、MTリプ、D4アドル、D3軽減
 パルサー1:H2軽減 (1,2)
 パルサー2:STリプ、H1軽減 (2,3)
 パルサー3:ST軽減 (D2アドル)
Markers
(These markers are the same as the Japanese markers from Part 1) 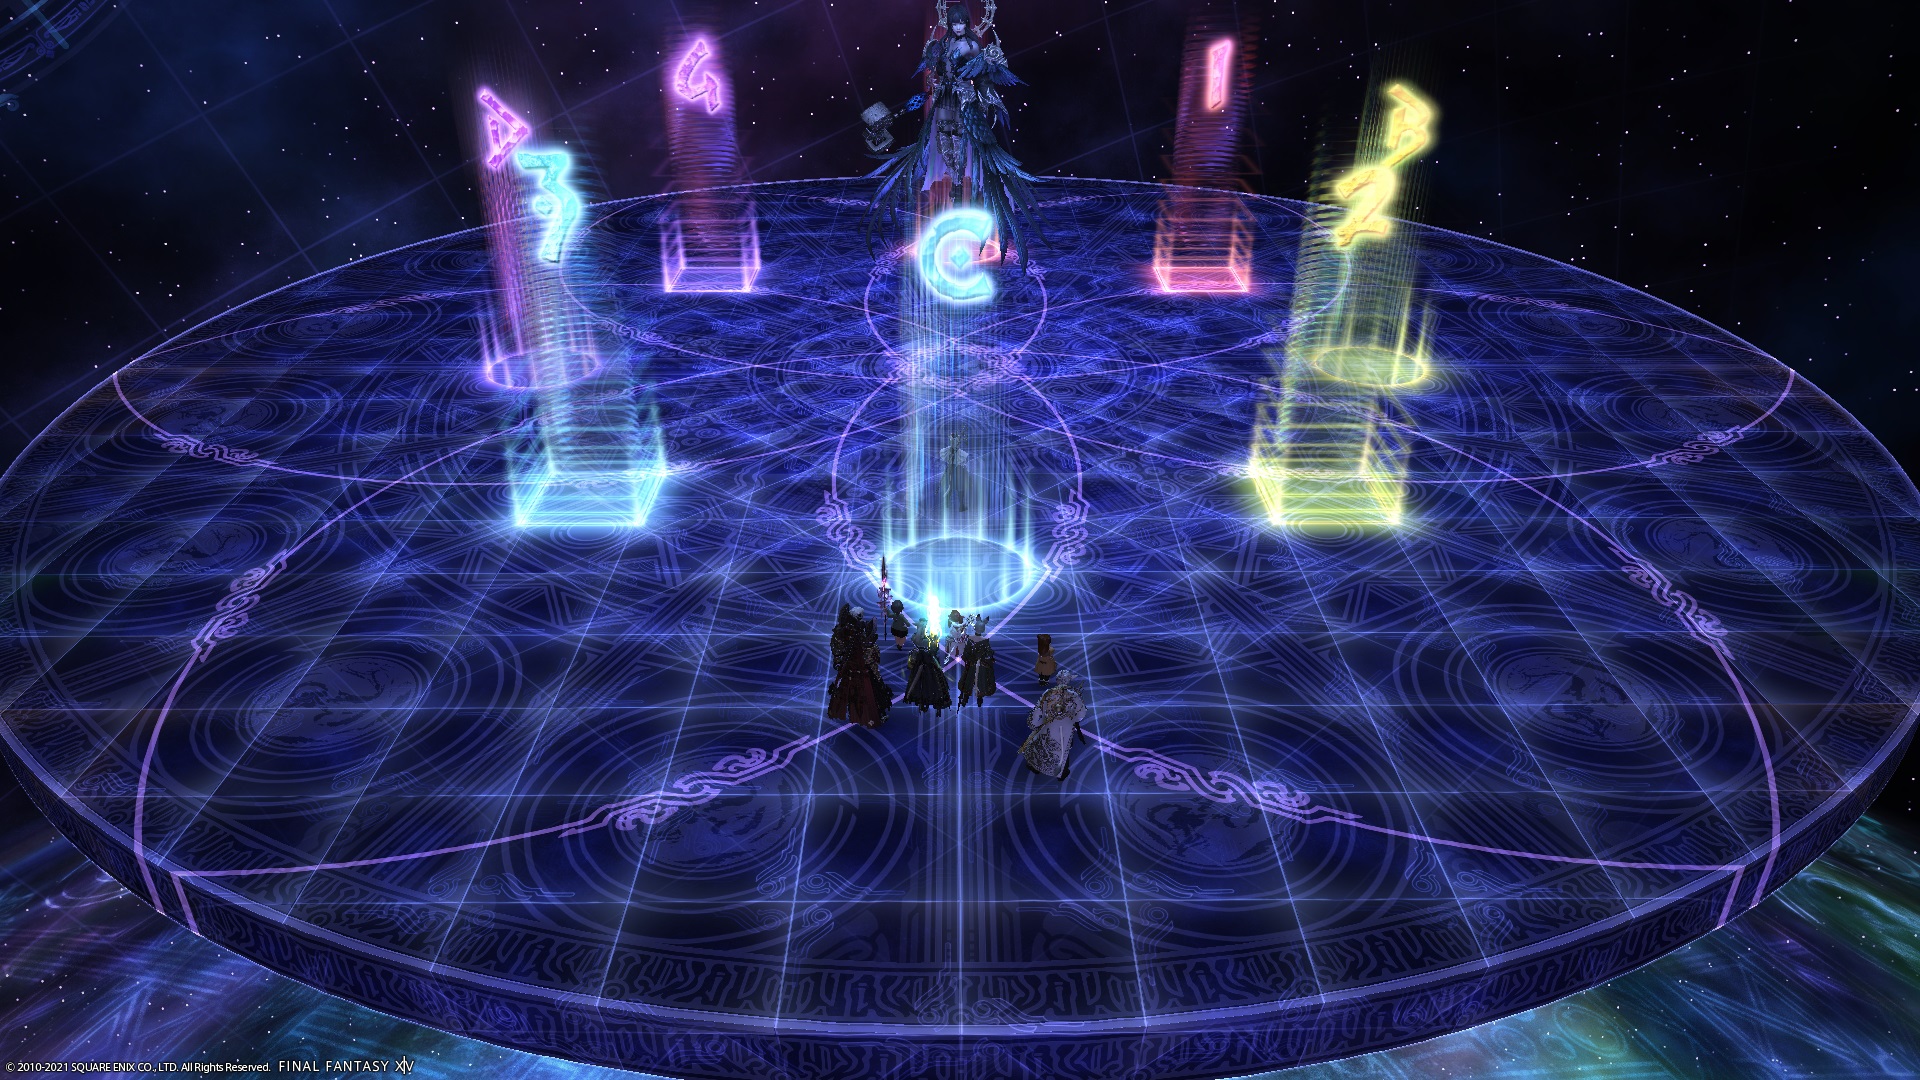
XIVLauncher WaymarkPresetPlugin positions
{
  "Name":"E12S P2",
  "MapID":759,
  "A":{"X":0.0,"Y":75.0,"Z":-85.0,"ID":0,"Active":true},
  "B":{"X":10.0,"Y":75.0,"Z":-75.0,"ID":1,"Active":true},
  "C":{"X":0.0,"Y":75.0,"Z":-65.0,"ID":2,"Active":true},
  "D":{"X":-10.0,"Y":75.0,"Z":-75.0,"ID":3,"Active":true},
  "One":{"X":7.071,"Y":75.0,"Z":-82.071,"ID":4,"Active":true},
  "Two":{"X":7.071,"Y":75.0,"Z":-67.929,"ID":5,"Active":true},
  "Three":{"X":-7.071,"Y":75.0,"Z":-67.929,"ID":6,"Active":true},
  "Four":{"X":-7.071,"Y":75.0,"Z":-82.071,"ID":7,"Active":true}
}
Advanced Relativity
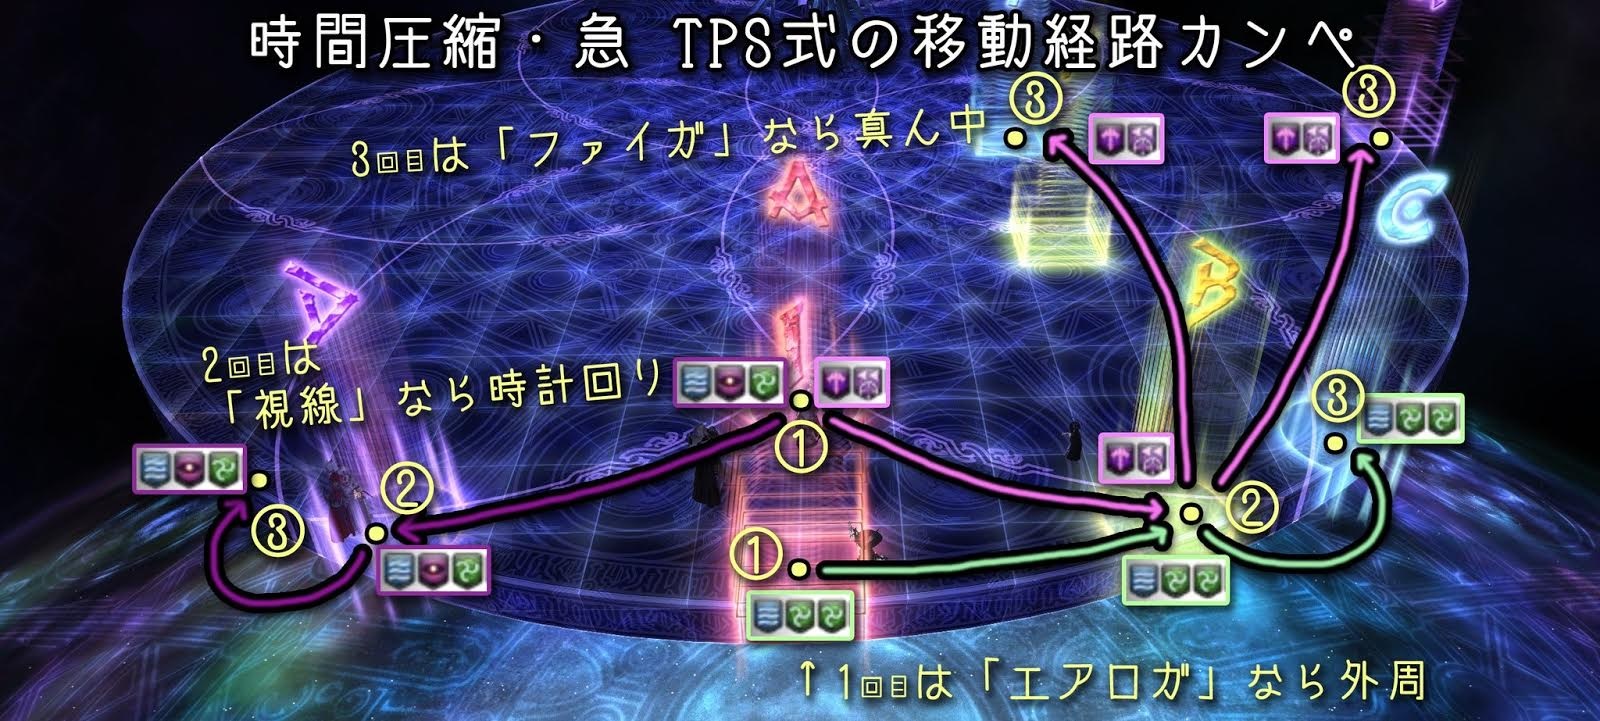
Timeline
 (Credit: u/Syldris)