The Minstrel’s Ballad: Thordan’s Reign
A more up-to-date reference would be Nukemaru’s guide, which Game8 also featured:
English
■ Basic Spread ■ Thunder Spread
 D3  MT  D4      MT
 H1  ◎  H2     D1  ◎  D2
 D1  ST  D2   H1  ST  H2
           D3  D4
■ Adds phase
 MT: West ST: East Dives: N→S→N
■ Towers Basic spread → take nearest tower
■ KoR #1 Marked Healer → 1 o'clock
■ KoR #2 Take knight as N
 Towers → W:D3 H1 H2 D4:E
 Towers → Gather mid → Knockback + Stack
■ KoR #3 ※ Take outer knight as N
 Stack → NW Tether → SW Dive → E
■ KoR #4 Gather behind boss → Spread
Japanese
■基本散開    ■百雷散開
 D3  MT  D4     MT
 H1  ◎  H2    D1  ◎  D2
 D1  ST  D2  H1  ST  H2
          D3  D4
■雑魚フェーズ
 MT:西 ST:東 青玉:北→南→北
■メテオ(塔) 基本散開付近を優先
■ナイツ1回目  緑マーカーヒラ:1時
■ナイツ2回目  外周側騎士を北
 塔:西からD3 H1 H2 D4
 塔→中央→ノックバック位置で頭割り
■ナイツ3回目  外周騎士を12時
 頭割:10時 線:8時 青玉:3時
■ナイツ4回目  ボス背面集合→散開
Markers
You can use markers in this fight, but they’re not really needed as Thordan leaves his sword behind at true North for the parts where you have map-relative spreads.
ABCDare for orientation.- The
1marker is for the marked healer at the first Knights of Round mechanic.
XIVLauncher WaymarkPresetPlugin positions
{
  "Name":"Thordan EX",
  "MapID":91,
  "A":{"X":0.0,"Y":0.039,"Z":-19.0,"ID":0,"Active":true},
  "B":{"X":19.0,"Y":0.039,"Z":0.0,"ID":1,"Active":true},
  "C":{"X":0.0,"Y":0.039,"Z":19.0,"ID":2,"Active":true},
  "D":{"X":-19.0,"Y":0.039,"Z":0.0,"ID":3,"Active":true},
  "One":{"X":8.03,"Y":0.039,"Z":-17.22,"ID":4,"Active":true},
  "Two":{"X":0.0,"Y":0.0,"Z":0.0,"ID":5,"Active":false},
  "Three":{"X":0.0,"Y":0.0,"Z":0.0,"ID":6,"Active":false},
  "Four":{"X":0.0,"Y":0.0,"Z":0.0,"ID":7,"Active":false}
}
{
  "Name":"Thordan Unreal",
  "MapID":963,
  "A":{"X":0.0,"Y":0.039,"Z":-19.0,"ID":0,"Active":true},
  "B":{"X":19.0,"Y":0.039,"Z":0.0,"ID":1,"Active":true},
  "C":{"X":0.0,"Y":0.039,"Z":19.0,"ID":2,"Active":true},
  "D":{"X":-19.0,"Y":0.039,"Z":0.0,"ID":3,"Active":true},
  "One":{"X":8.03,"Y":0.039,"Z":-17.22,"ID":4,"Active":true},
  "Two":{"X":0.0,"Y":0.0,"Z":0.0,"ID":5,"Active":false},
  "Three":{"X":0.0,"Y":0.0,"Z":0.0,"ID":6,"Active":false},
  "Four":{"X":0.0,"Y":0.0,"Z":0.0,"ID":7,"Active":false}
}
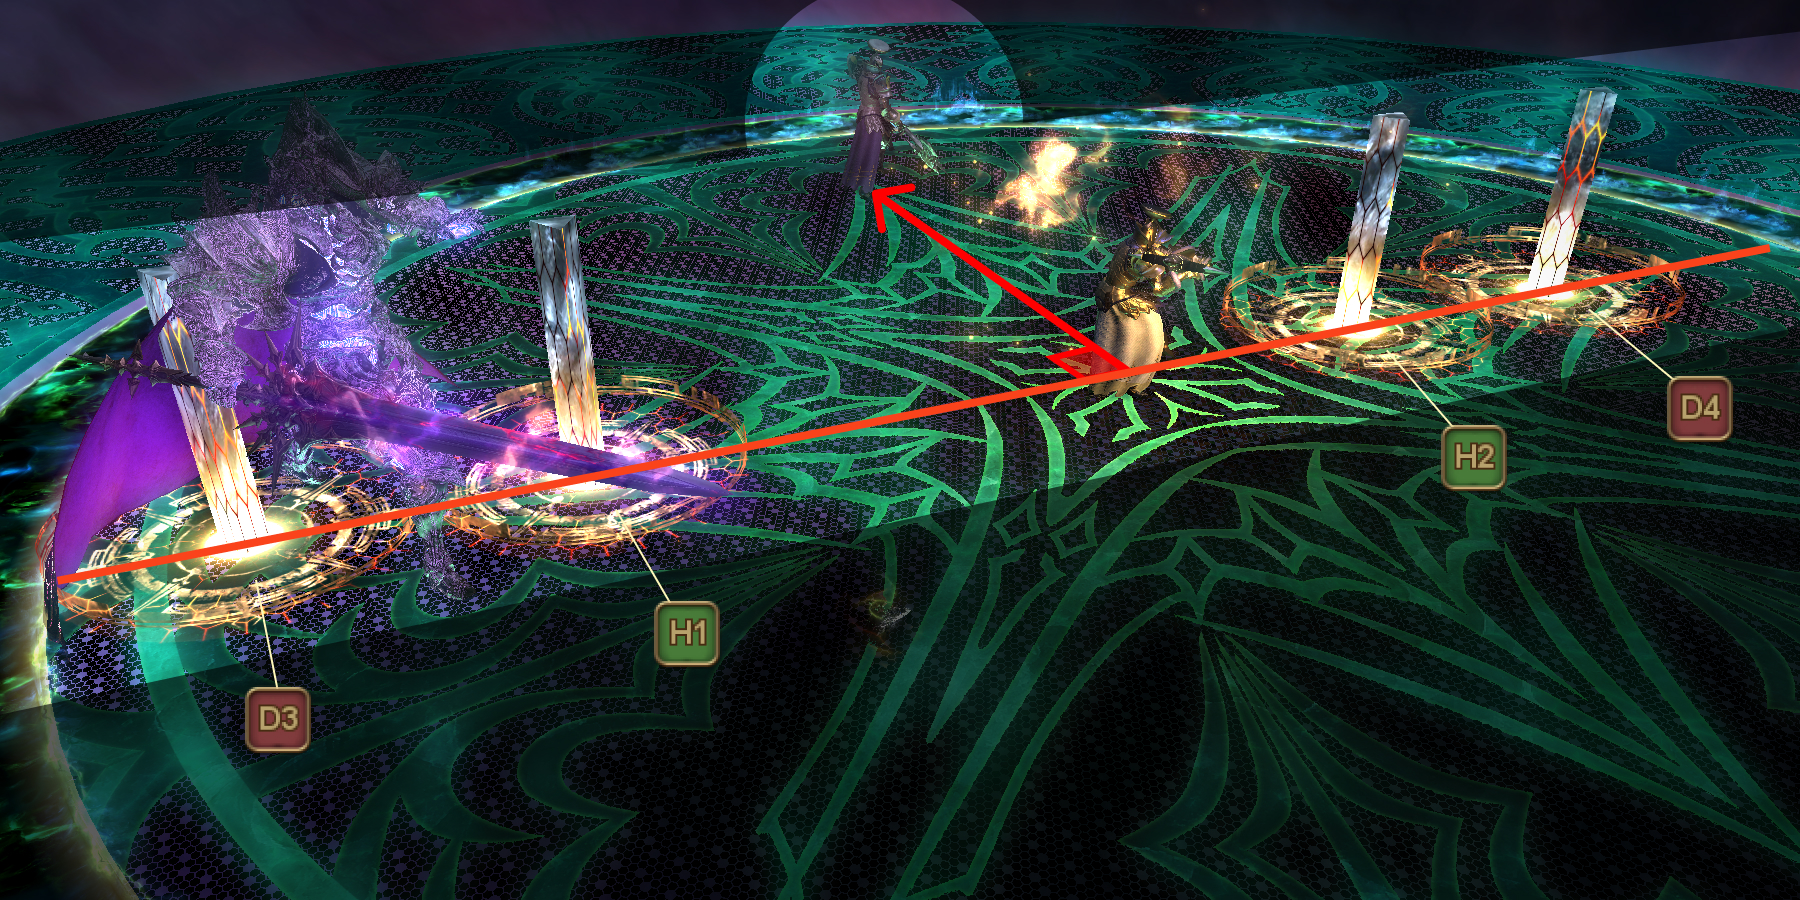
Knights of Round #2 (4x towers)
The towers always spawn on the line perpendicular to the knight that spawns somewhere towards the outside of the arena.
Using that knight as north (N.B: not Thordan or the Dragon Eye), we assign the healers and ranged towers relative to that knight. Tanks and melee should fill in where possible.
Notes
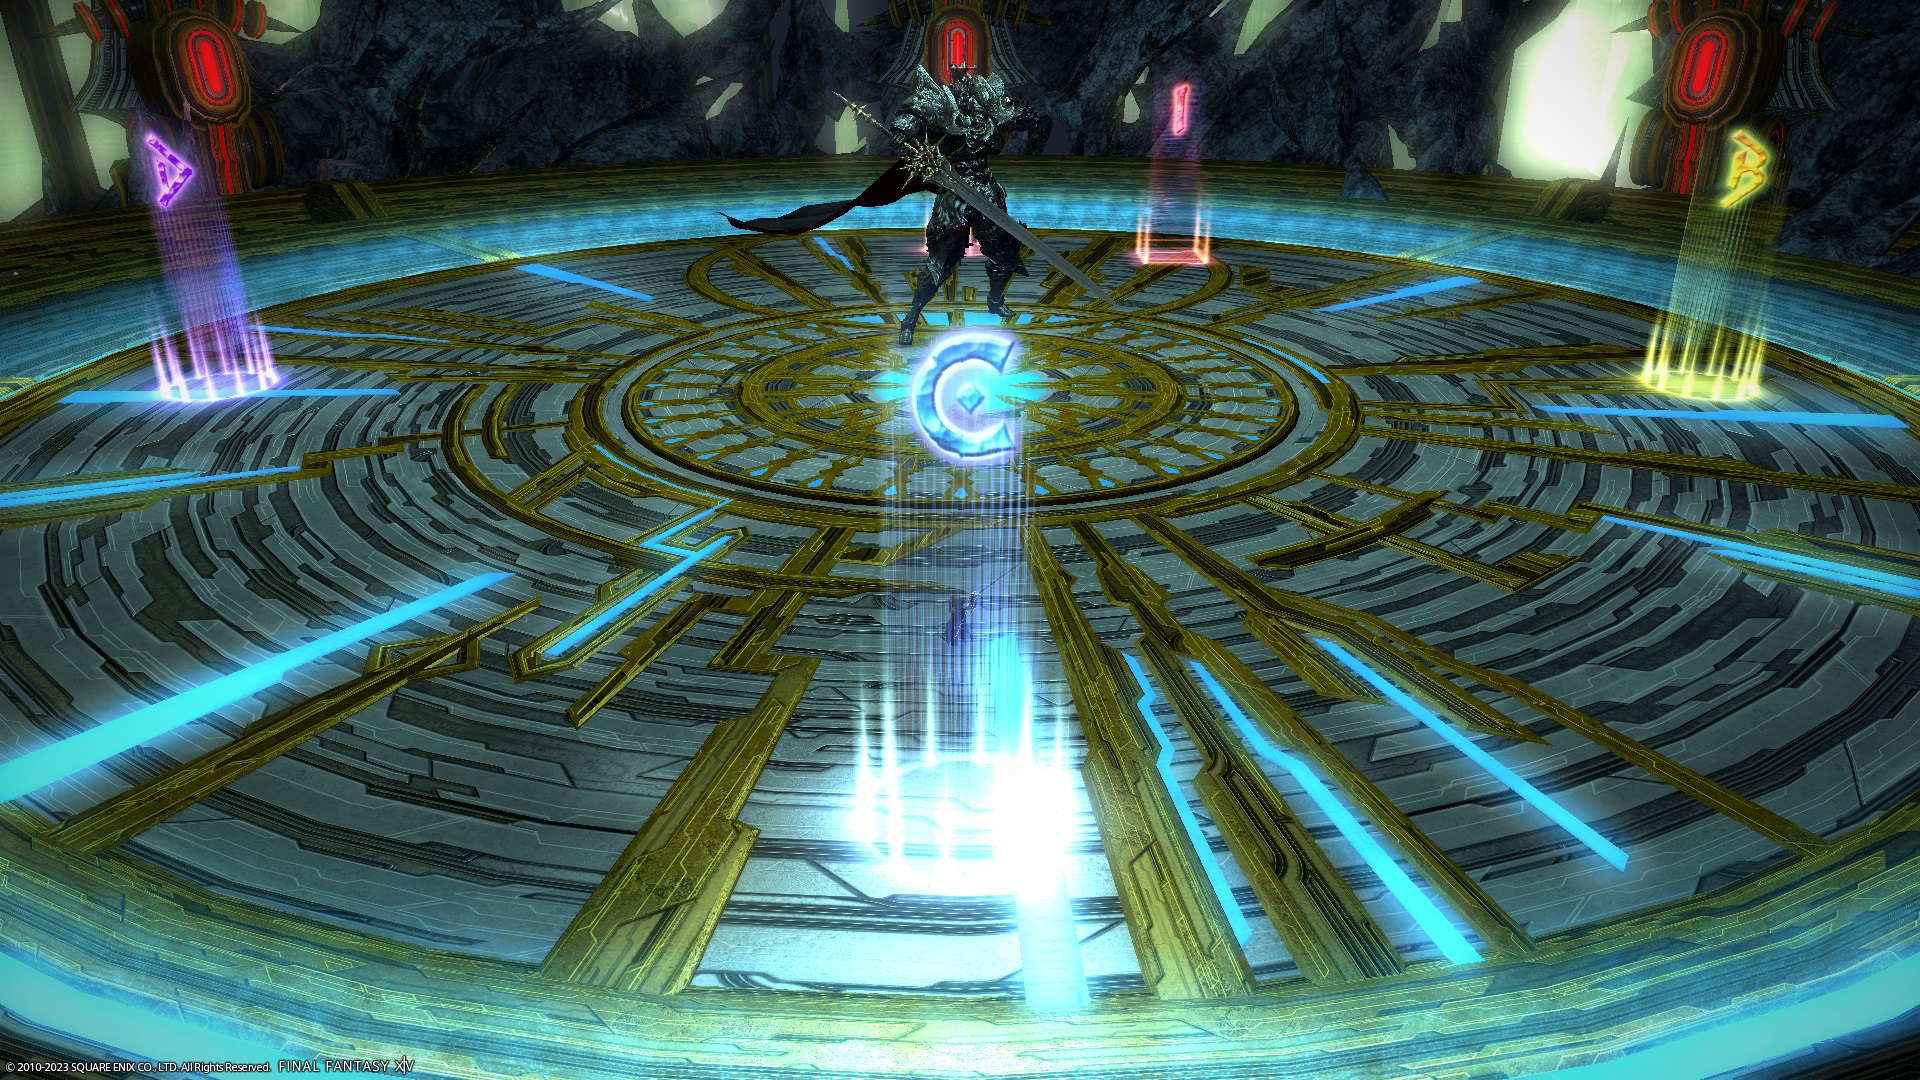
You don’t have to destroy all the small Comet Circles during the Meteors phase- you can let one explode and still survive (it will deal a little over half the party’s max HP).
If your party is struggling with this phase, you can choose to ignore the north Comet (which is easily recognisable via Thordan’s sword just beside it).