Abyssos: The Sixth Circle (Savage)
The following macros are from Game8, which uses Nukemaru’s strat:
Some parties will replace Nukemaru’s Cachexia 1 with ZizieZip’s method (see below).
Japanese
(Nukemaru’s Cachexia 1)
※MT組:MTH1D1D3 ST組:STH2D2D4
 【基本散開】  【カヘキシー1回目】
MT/D3 ST/D4     8      8
     ★      12 20 ★ 20 12
H1/D1 H2/D2  16       16
【 頭割り+扇範囲 】| 【4:4頭割り】
西:MT組 東:ST組|西側→MT組 東側→ST組
※時計回りで頭割り|※内周4マスを使用
【サイコロ】    |【チェンジバースト2回目】
西:奇数     |西→T・H 東→DPS
東:偶数     |※AOEも上記方向に捨てる
【カヘキシー2回目】
西:紫デバフ 東:緑デバフ
北・南外周マス→AoE 内周マス→頭割り
English
(Nukemaru’s Cachexia 1)
  【Spread】  【Cachexia 1 (Nukemaru)】
 MT/D3 ST/D4       8      8
      ★        12 20 ★ 20 12
 H1/D1 H2/D2    16       16
【Stacks+fan AoE (Poly 1) + 4:4 stacks (Poly 3)】
 West:MTH1D1D3 East:STH2D2D4
 ※ Poly 1: Rotate cw ※ Poly 3: Use inner tiles
【Limit Cut】 【Exchange of Agonies 2】
 West: Odd  West→T+H East→DPS
 East: Even  ※AoEs go outside as above
【Cachexia 2】
 West:Purple East:Green
 N/S Outer tiles→AoE N/S Inner tiles→Stacks
English parties will replace Nukemaru’s Cachexia 1 strat with ZizieZip’s Cachexia 1 strat.
English
(ZizieZip’s Cachexia 1)
【Spread】  【Cachexia】
 D3   D4  Purple→West Green→East
  MT ST   ■ Cachexia 1 (ZizieZip)
    ●      T T  ※ 20s timers start
  D1 D2   H   H  under boss circle
 H1   H2  D   D
【Limit Cut】    D D   N:D1>2>3>4:S
 Odd→West  ■ Cachexia 2
 Even→East   Stacks→2nd or 3rd row
【Poly 1 + Poly 3】 AoEs→1st or 4th row
 West:MTH1D1D3
 East:STH2D2D4 ※ Poly 1: Rotate cw
【Exchange of Agonies 2】
 West→T+H
 East→DPS
Japanese
(ZizieZip’s Cachexia 1)
 【基本散開】  【カヘキシー】
 D3   D4  紫→西 緑→東
  MT ST   ■ カヘキシー1回目 (ジジー・ジップ)
    ●      T T  ※20秒の人はそもそも
  D1 D2   H   H   タゲサ踏む
 H1   H2  D   D
【サイコロ】     D D  北:D1>2>3>4:南
 西:奇数  ■ カヘキシー2回目
 東:偶数   北・南外周マス→AoE 内周マス→頭割り
【頭割り+扇範囲】
 西:MTH1D1D3
 東:STH2D2D4 ※時計回りで頭割り
【チェンジバースト2回目】
 西→T・H 東→DPS
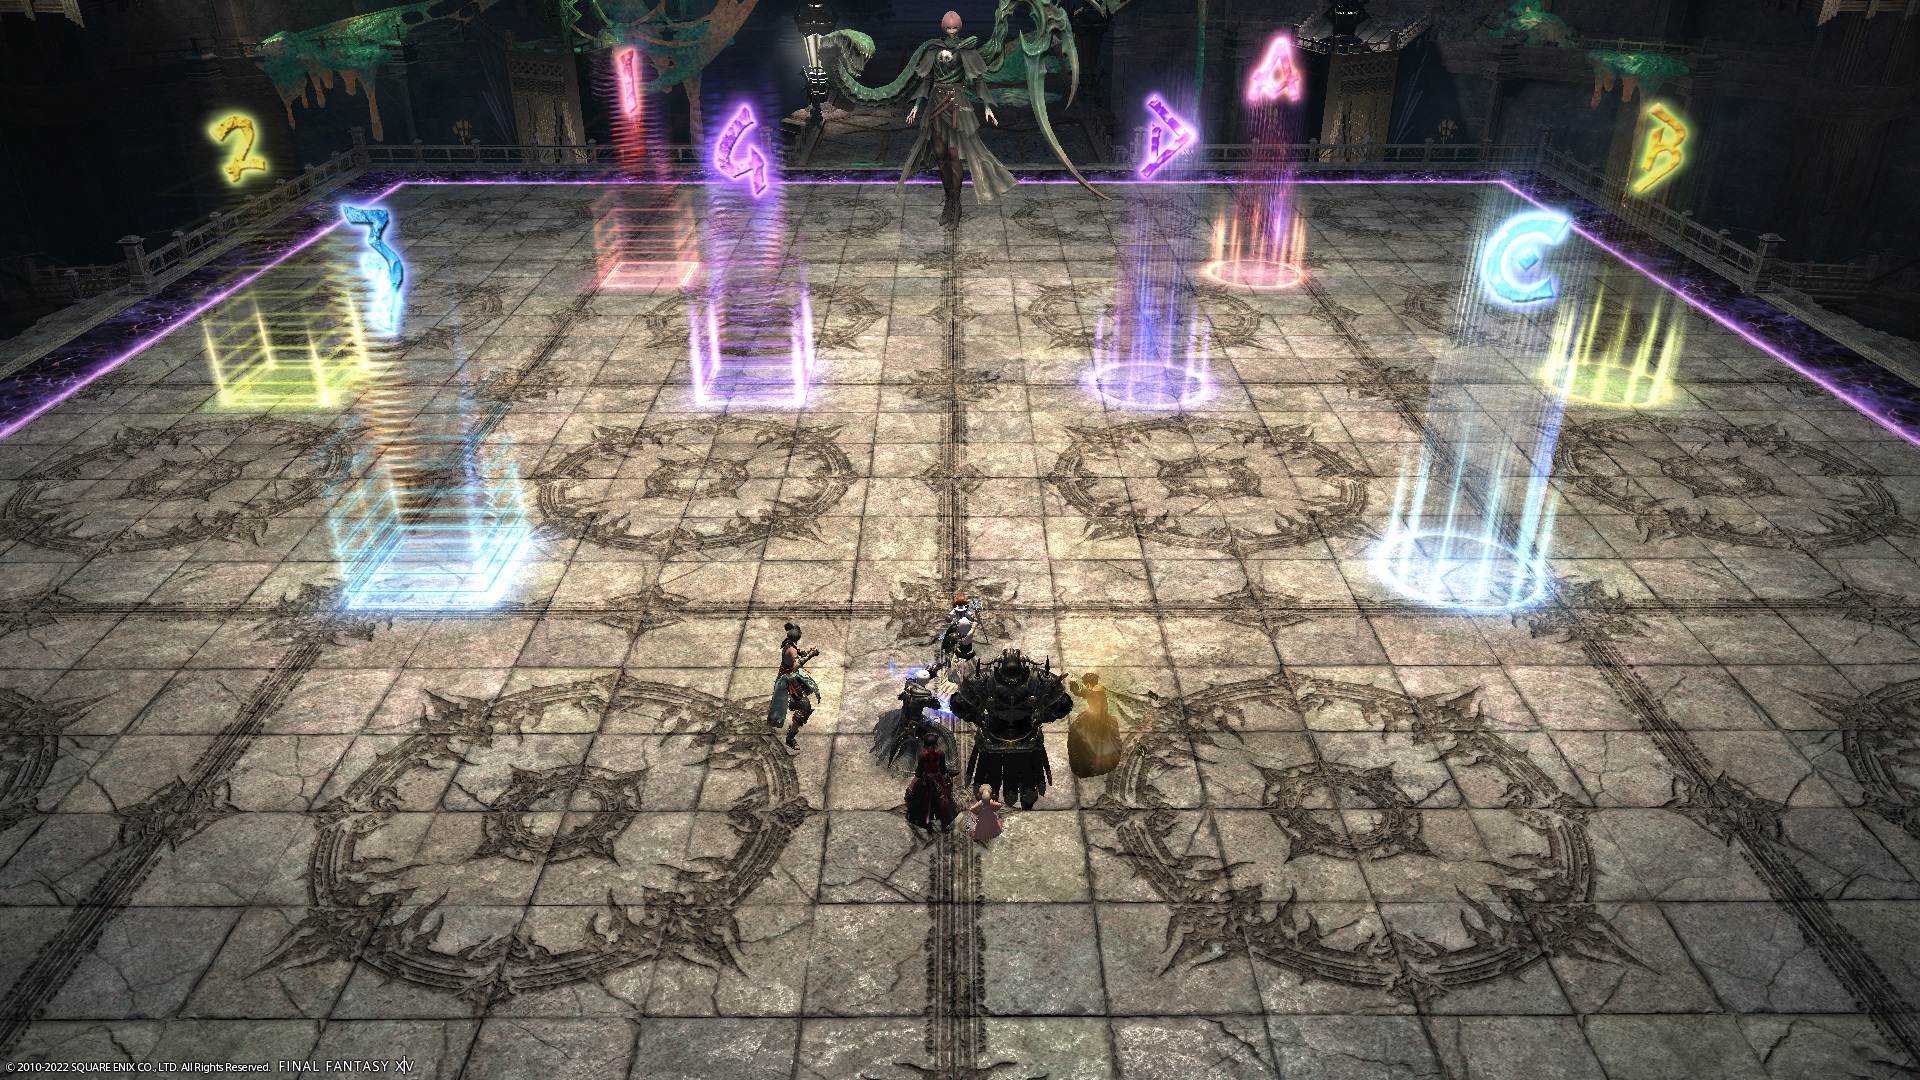
Markers (Nukemaru)
These markers are for Nukemaru’s Cachexia 1:
1andA: 8 seconds2andB: 12 seconds3andC: 16 seconds4andD: 20 seconds
Players rotate moving “down” in the markers (i.e: 4→3→2→1→4 and D→C→B→A→D)
XIVLauncher WaymarkPresetPlugin positions
{
  "Name":"P6S (Nukemaru)",
  "MapID":881,
  "A":{"X":108.7,"Y":0.0,"Z":91.3,"ID":0,"Active":true},
  "B":{"X":115.0,"Y":0.0,"Z":100.0,"ID":1,"Active":true},
  "C":{"X":108.7,"Y":0.0,"Z":108.7,"ID":2,"Active":true},
  "D":{"X":104.5,"Y":0.0,"Z":100.0,"ID":3,"Active":true},
  "One":{"X":91.3,"Y":0.0,"Z":91.3,"ID":4,"Active":true},
  "Two":{"X":85.0,"Y":0.0,"Z":100.0,"ID":5,"Active":true},
  "Three":{"X":91.3,"Y":0.0,"Z":108.7,"ID":6,"Active":true},
  "Four":{"X":95.5,"Y":0.0,"Z":100.0,"ID":7,"Active":true}
}
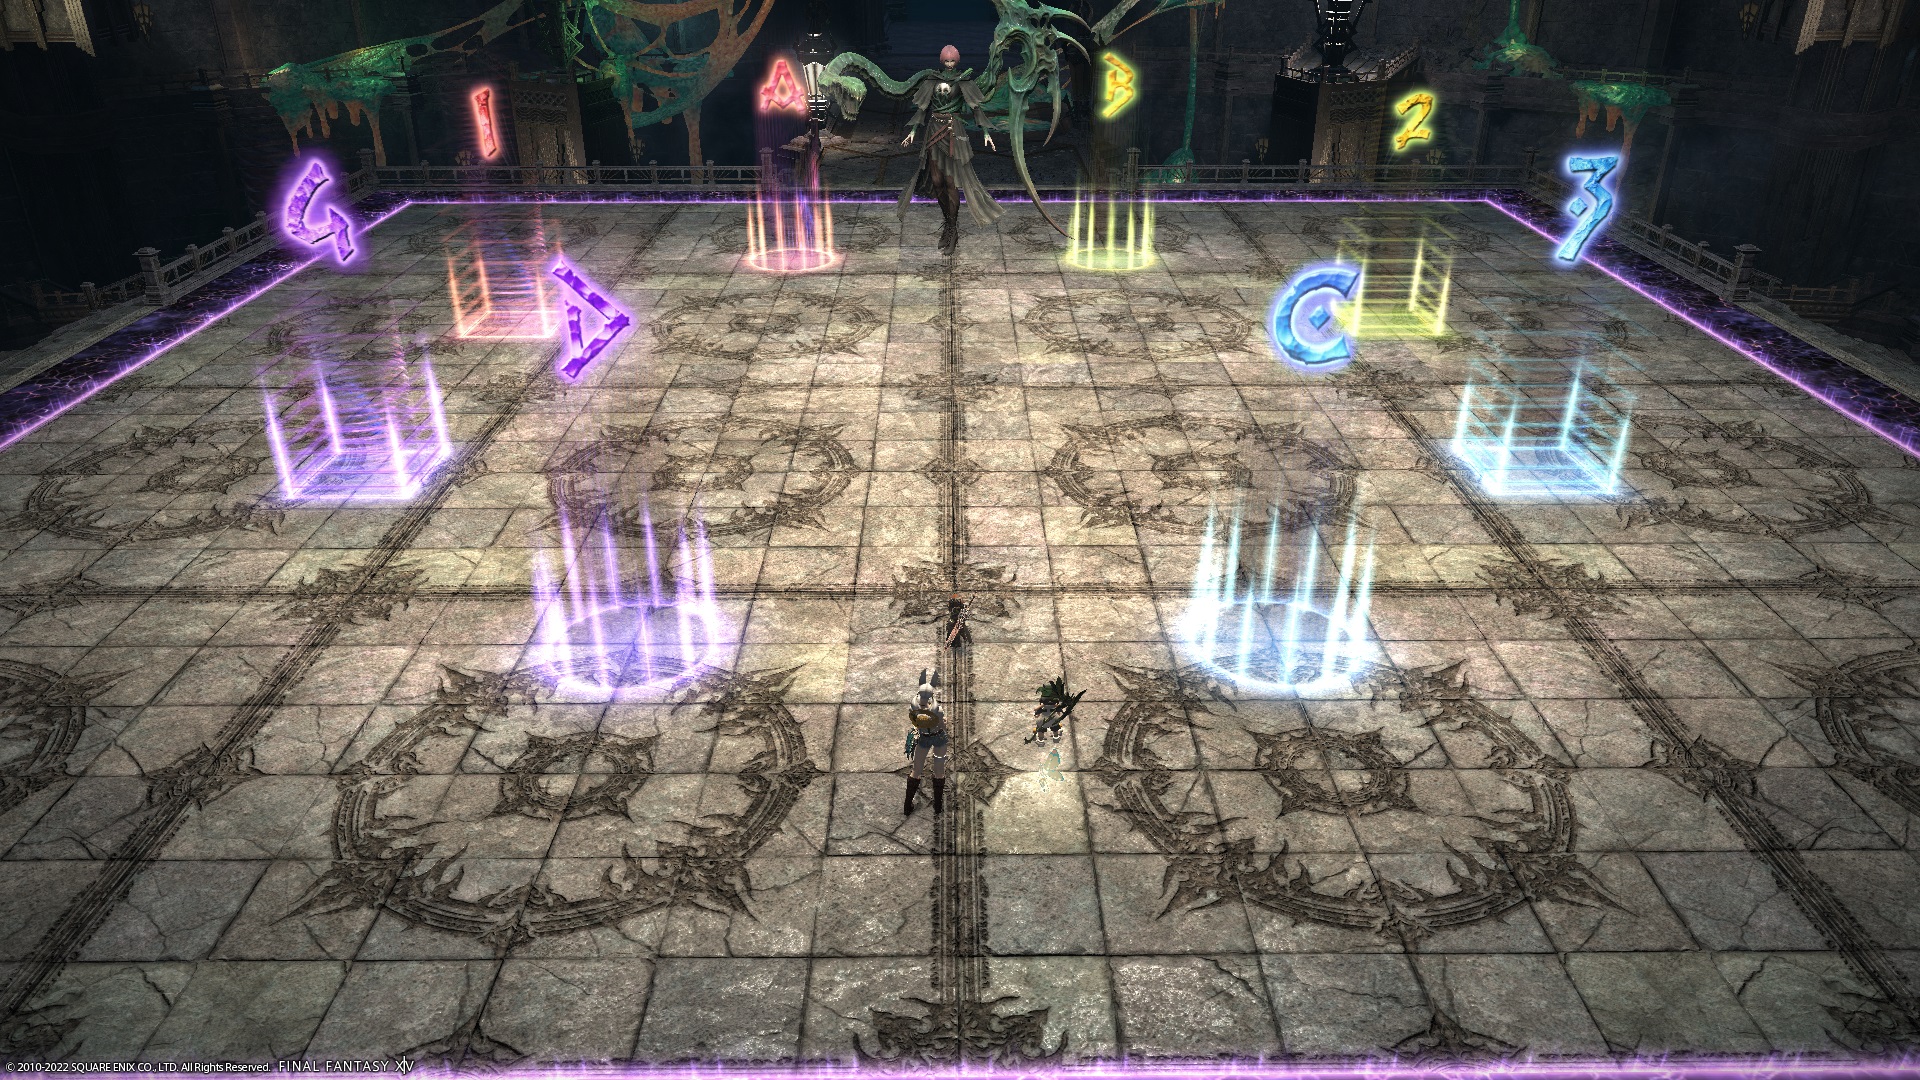
Markers (ZizieZip)
These markers are for ZizieZip. The markers are colour-coded in each corner to make callouts easier.
In addition, the “purple-ish” markers are on the west side, and the “green-ish” markers (blue + yellow) are on the east side to help remember which side the purple/green debuffs go.
Letters are N/S, while numbers are E/W to also help with that grouping when dodging the fan AoEs.
XIVLauncher WaymarkPresetPlugin positions
{
  "Name":"P6S (ZizieZip)",
  "MapID":881,
  "A":{"X":95.0,"Y":0.0,"Z":88.333,"ID":0,"Active":true},
  "B":{"X":105.0,"Y":0.0,"Z":88.333,"ID":1,"Active":true},
  "C":{"X":105.0,"Y":0.0,"Z":111.666,"ID":2,"Active":true},
  "D":{"X":95.0,"Y":0.0,"Z":111.666,"ID":3,"Active":true},
  "One":{"X":88.333,"Y":0.0,"Z":95.0,"ID":4,"Active":true},
  "Two":{"X":111.666,"Y":0.0,"Z":95.0,"ID":5,"Active":true},
  "Three":{"X":111.666,"Y":0.0,"Z":105.0,"ID":6,"Active":true},
  "Four":{"X":88.333,"Y":0.0,"Z":105.0,"ID":7,"Active":true}
}
Timeline
 (Credit: u/ExiaKuromonji)
Aetheric Polynominoids
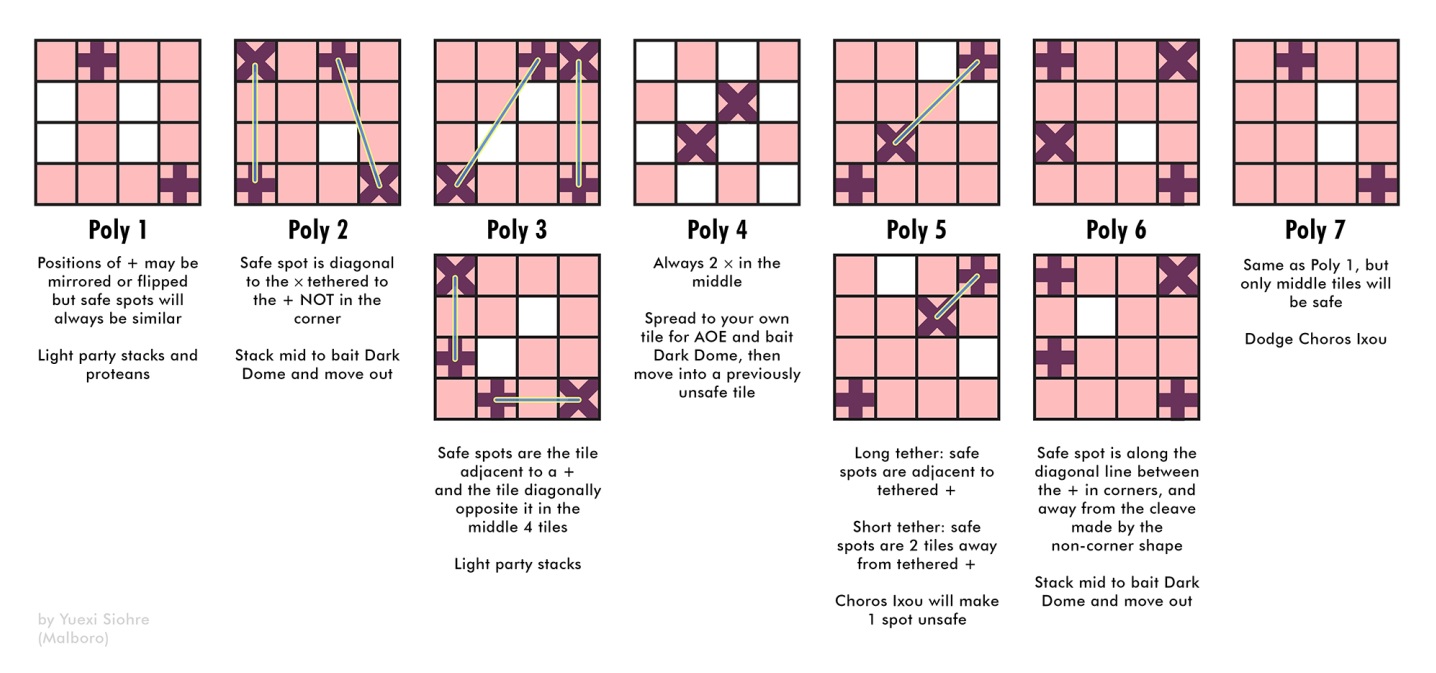 (Credit: Yuexi Siohre)
Cachexia 1
English PFs will use ZizieZip’s strat to resolve Cachexia 1.
煉獄零式2層:カヘキシー(緑紫デバフ)
— ジジー・ジップ🐥 (@ZizieZip) August 31, 2022
ぐるぐる回らなくても、少しの移動だけで処理できそう。
デバフの残り秒数に関係なく「北T-H-D4321南」順に並べばめちゃくちゃ簡単。
基本の立ち位置に各マーカー、順番にタゲサをちょっと踏み越えるだけでOKです。https://t.co/VMWjsPhUFb pic.twitter.com/CF32Zq8a1U
Note that there are two versions of the strat going around:
- One based on roles (this is the one used in the macro)
- One based on timers (we aren’t using this)
The two players with the 20s debuffs start a little under the boss. All other players can wait for their vulnerability debuff to wear off before then stepping inside the boss’s hitbox.